HDR photo editing: from brackets to listing-ready photos
Turn your bracketed exposures into natural, listing-ready HDR photos. This guide walks you through uploading, choosing your settings, reviewing and delivering.
How to edit HDR photos, step by step
- 1
Open or create a listing
Log in to open the HDR editor. Pick a listing from the selector at the top right, or create a new one. Every shoot lives inside its listing.
A listing keeps all the edited photos of one property together, ready to download or share.
- 2
Choose Unedited Photos
In the Add Photos menu, choose Unedited Photos. This is the HDR flow. Already Edited Photos skips HDR and is meant for staging only.
- 3
Upload your exposures
Drop your single exposures or brackets onto the upload area. RAW files from all major cameras work, as well as JPG, PNG, HEIC and TIFF. Keep the page open while the files upload.
RAW previews develop a few at a time. You don't have to wait for them before you continue.
- 4
Check how your brackets are grouped
With Merge Multi-Exposure Photos (HDR) on, brackets are grouped into scenes. By default they're grouped by capture time. You can also use automatic grouping, a fixed bracket size of 3, 5 or 7, or group them by hand. Drag one bracket onto another to merge scenes, or split a group with Edit.
A scene can have up to 7 exposures.
- 5
Pick your editing style and options
In the sidebar, choose an editing style. Stager Classic V2 is the newest. Then switch on what you need: perspective and lens correction, photographer and camera removal, sky replacement, fire in fireplace, TV blackout, auto privacy and blur license plates. Your choices are remembered for next time.
- 6
Enhance
Click Enhance Now and confirm. Processing usually takes about 1 to 3 minutes. Each photo shows its progress as it merges exposures, corrects lines, edits details and applies your style.
- 7
Review and fine-tune
Hold a photo to compare it with the original. Open Review Images to fine-tune: adjust exposure, color and the window pull in Basic Edits, or retouch, stage and remove objects in the other tabs. Want a different result? Use Reprocess Enhancement with new settings.
- 8
Download or deliver
Download the photos you selected, or add them to your delivery and download or share them in one go. Choose the resolution, including super high resolution for print, and PNG or JPEG.
What a result looks like
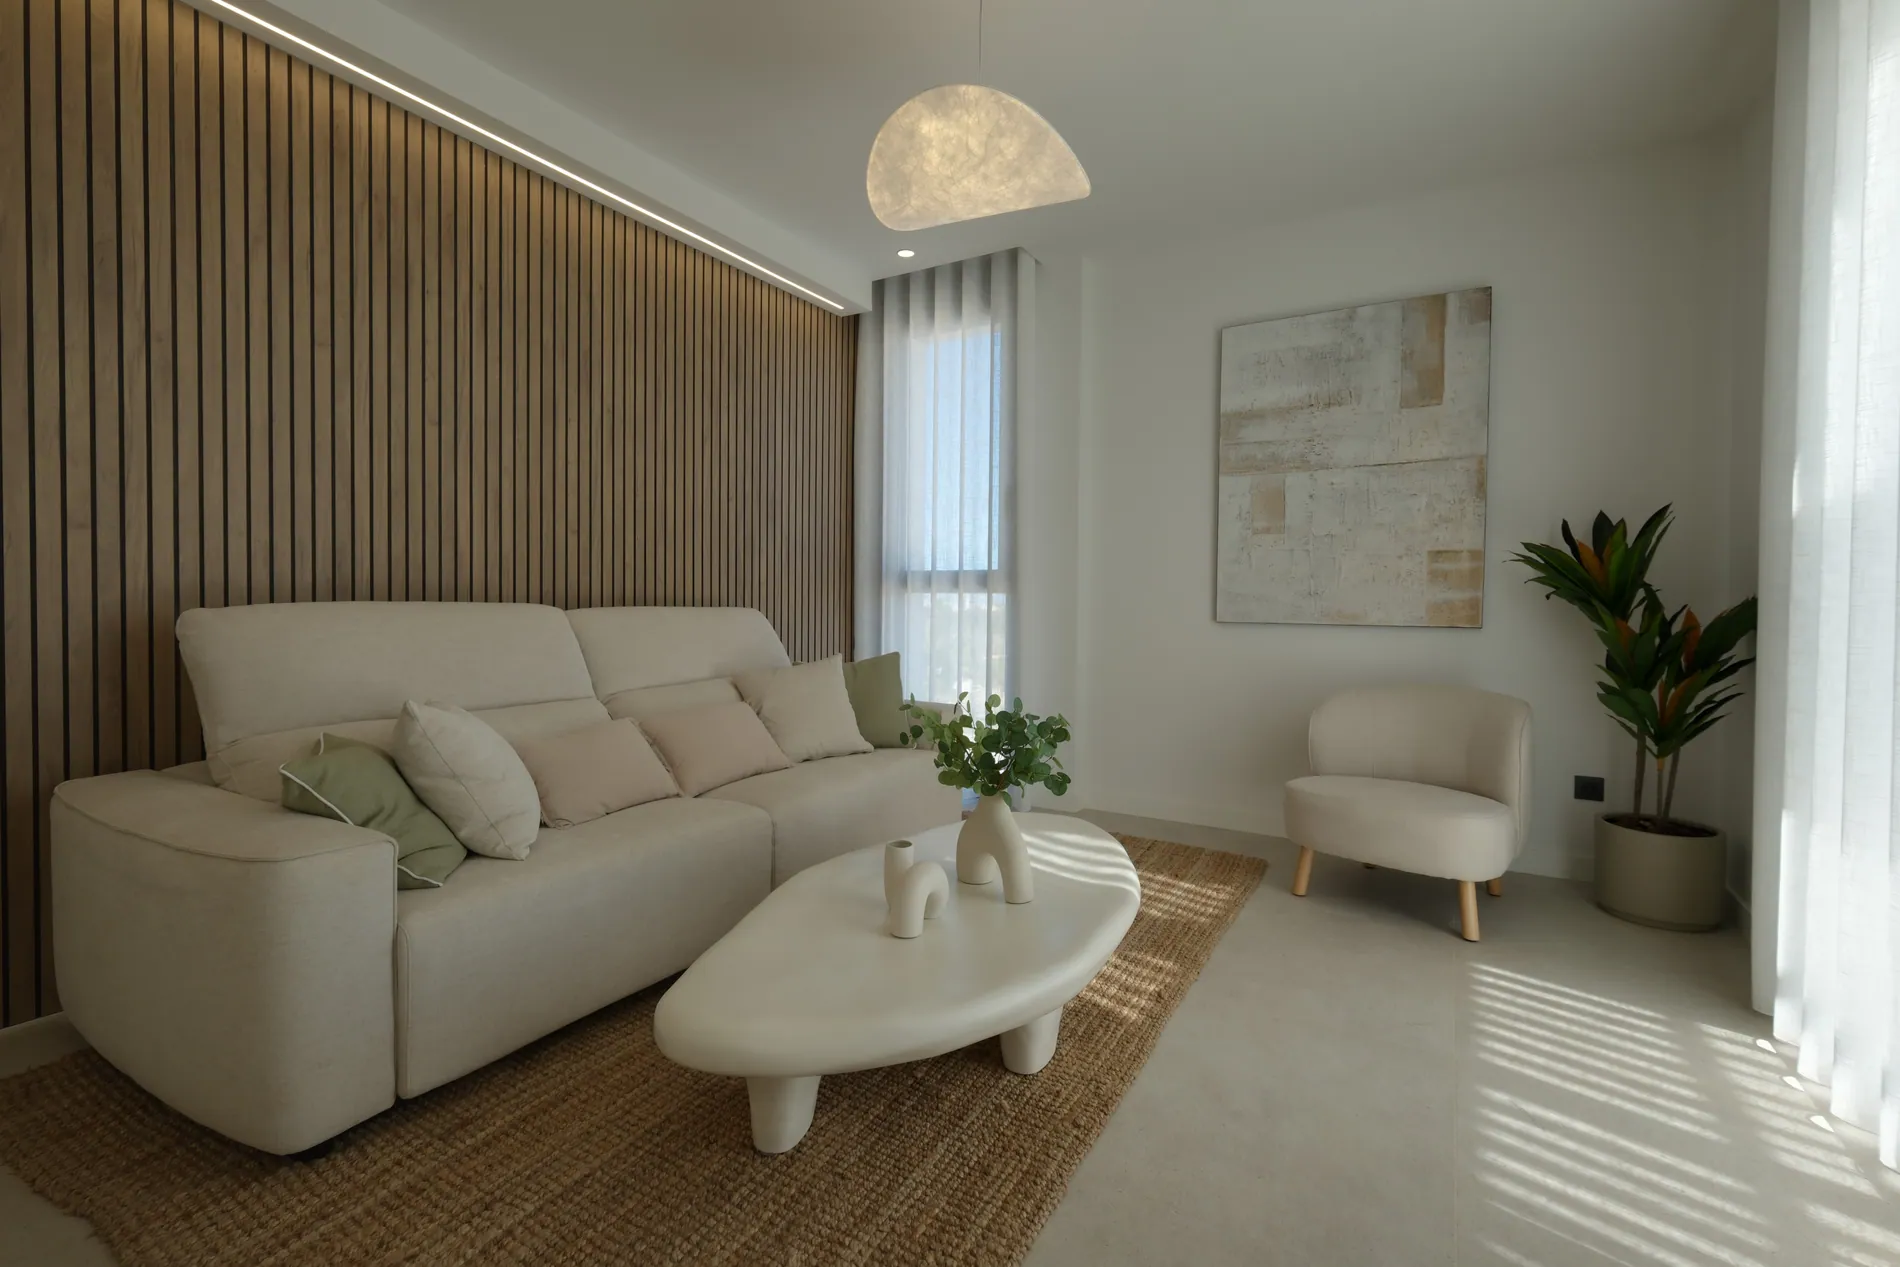
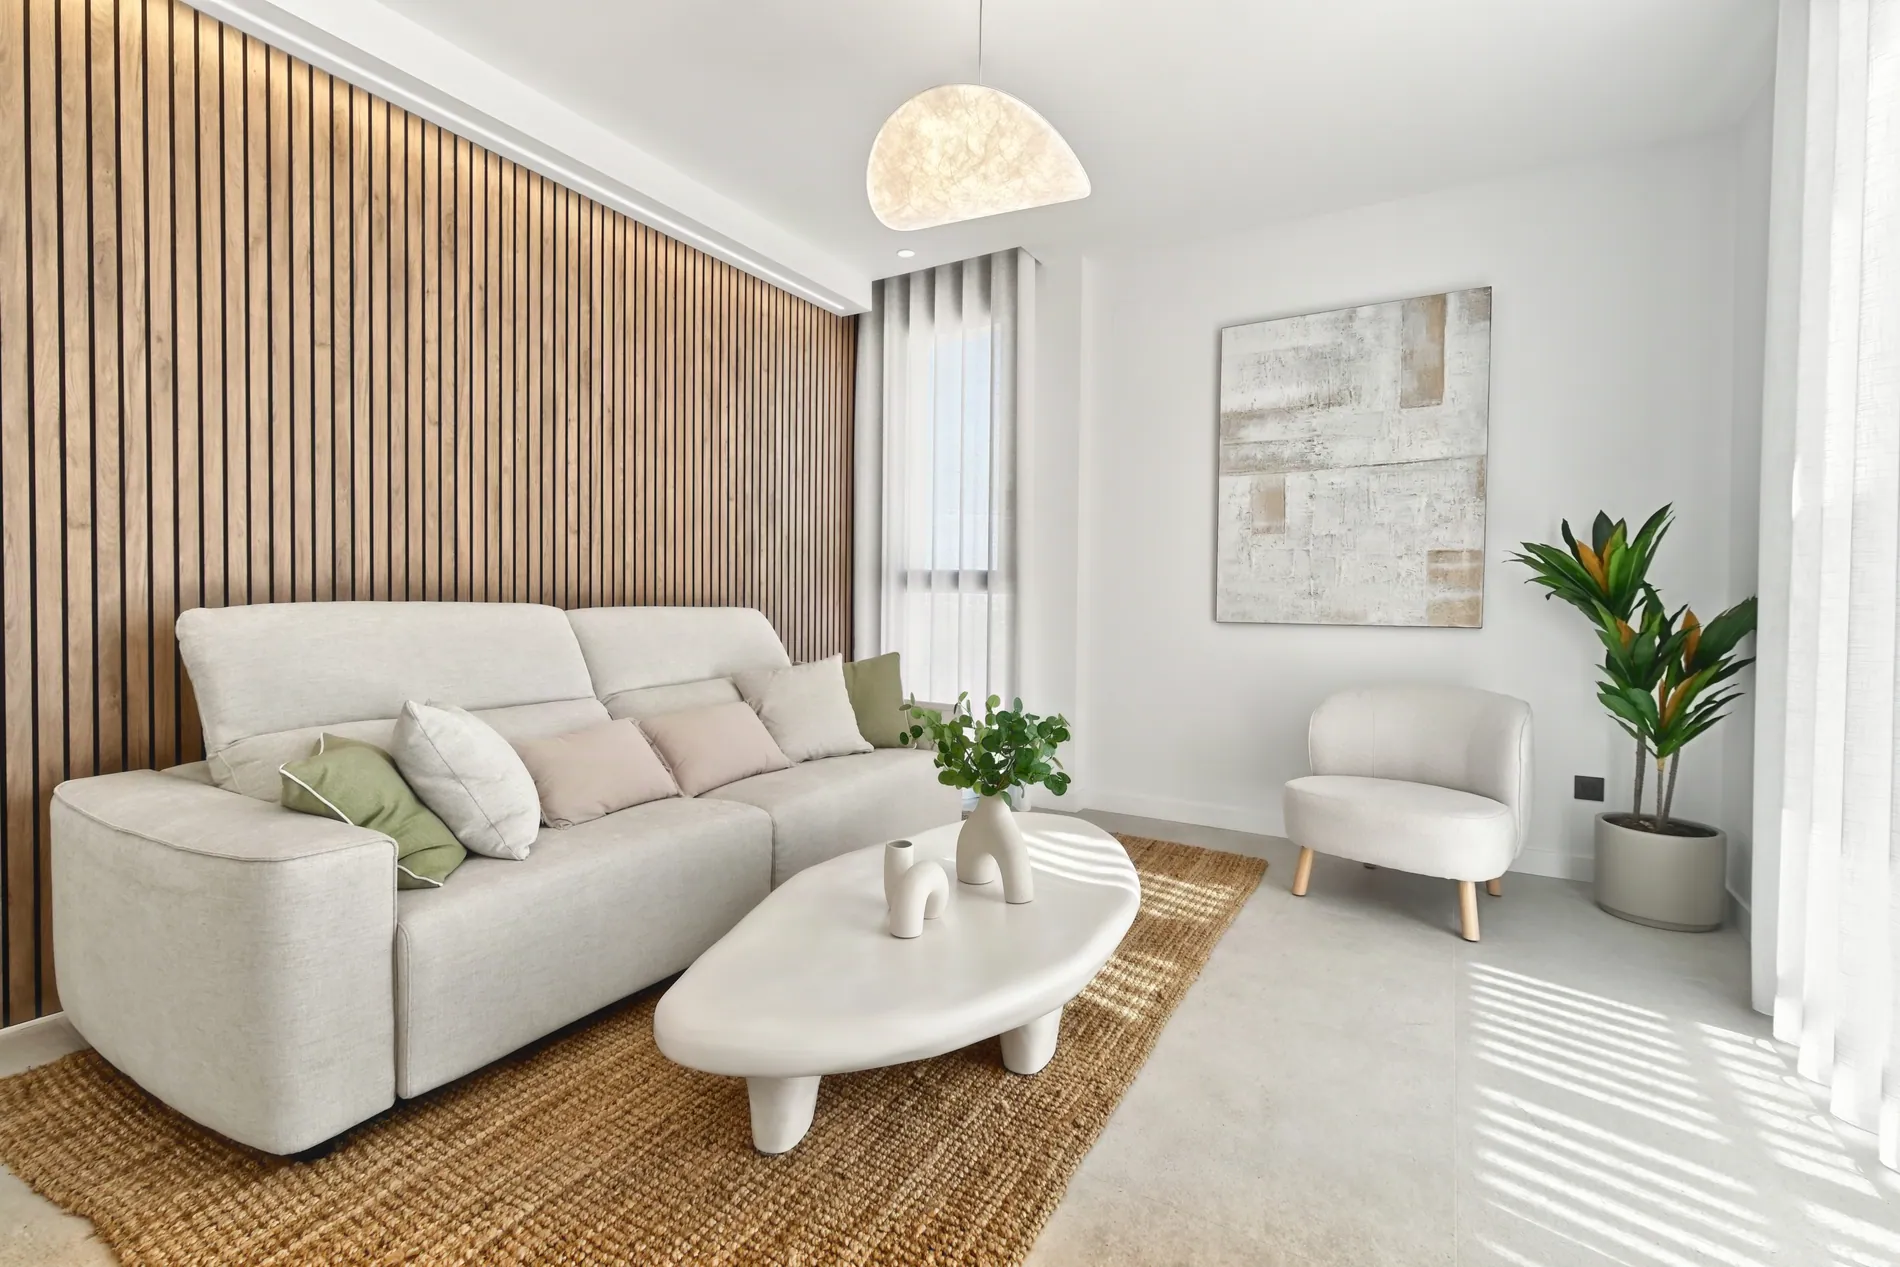
Drag the slider to compare the original with the HDR edit.
Pro tips
Shoot from a tripod
Brackets that line up perfectly merge cleanly. If the camera moves between shots, the merge can fail.
Shoot each scene in one go
Capture all exposures of a room back to back. Grouping by capture time relies on the gap between scenes.
Automate whole shoots with Dropbox
Connect Dropbox in your account. Each subfolder you upload is edited automatically 10 minutes after the last file arrives.
Start from a profile
In Basic Edits, start from a profile like Airy, Crisp, Golden or Deep, or create your own and reuse it.
Quick check
Three quick questions to check you've got it.
1.How many exposures can one scene have?
2.Where do you adjust the window pull?
3.What should you do while your photos upload?
FAQ
Yes. You can upload single exposures or brackets. Single photos are enhanced on their own.
RAW files from all major cameras (ARW, CR2, CR3, NEF, DNG, ORF, PEF, RAF, RW2, SRW), plus JPG, PNG, WEBP, HEIC and TIFF.
Usually about 1 to 3 minutes after the upload finishes.
Yes. Use Reprocess Enhancement on a photo to run it again with another style or different options.
Choose low, high or super high resolution (for print), and PNG or JPEG. You can also add a "Virtually Enhanced" disclaimer.
Try it with your own shoot.
Upload a set of brackets and see your first HDR edits in minutes.
Open the HDR editor