AI photo retouching: edit photos with plain-word instructions
Describe a change in your own words and the AI Photo Retoucher edits the photo for you: swap furniture, remove clutter or add details. Every version is kept, so you can always go back.
How to retouch a photo, step by step
- 1
Open the AI Photo Retoucher
Log in and open AI Photo Retoucher from your tools. You can also jump in from a staged photo with the Retouch button.
- 2
Upload one photo
Upload a photo from your computer, or select one from your library. RAW, JPG and PNG are supported.
- 3
Describe the change
Type what you want in Custom Instructions. Be specific: say what to change and where. For example, "replace the bed with a modern one" or "remove the cardboard box on the floor".
One clear change per instruction gives the best results. Chain several edits instead of asking for everything at once.
- 4
Choose the quality
Use the AI model picker: Fast Editing for quick tests, Medium Quality for most photos (the default) or High Quality for your final version.
- 5
Edit and review
Click Edit Photo Now. Most edits take 10 to 20 seconds. Compare the result with the slider, then choose Accept Render or Discard Render.
- 6
Keep going, or go back
Every version appears in the strip under the photo. Select any version to edit it further, or return to the original. When you edit a render, you choose whether to use that render or the original.
- 7
Download
Select the version you like and click Download Render. Choose the resolution and format in the export window.
One photo, two instructions
Each edit builds on the last. Two short instructions like these turn an empty room into a finished space.
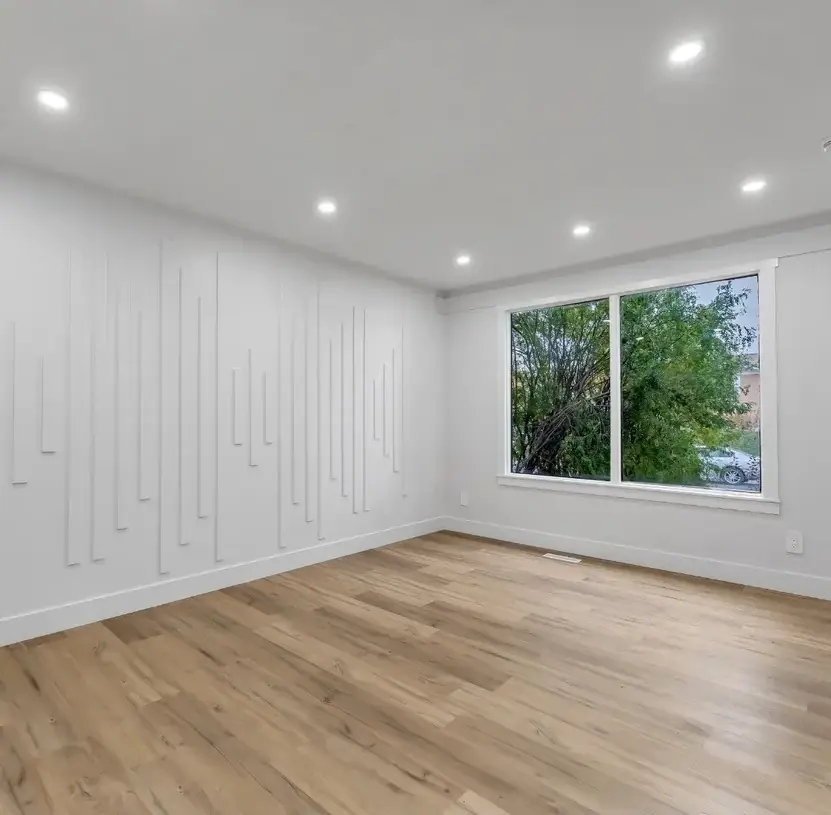 1
1Original photo
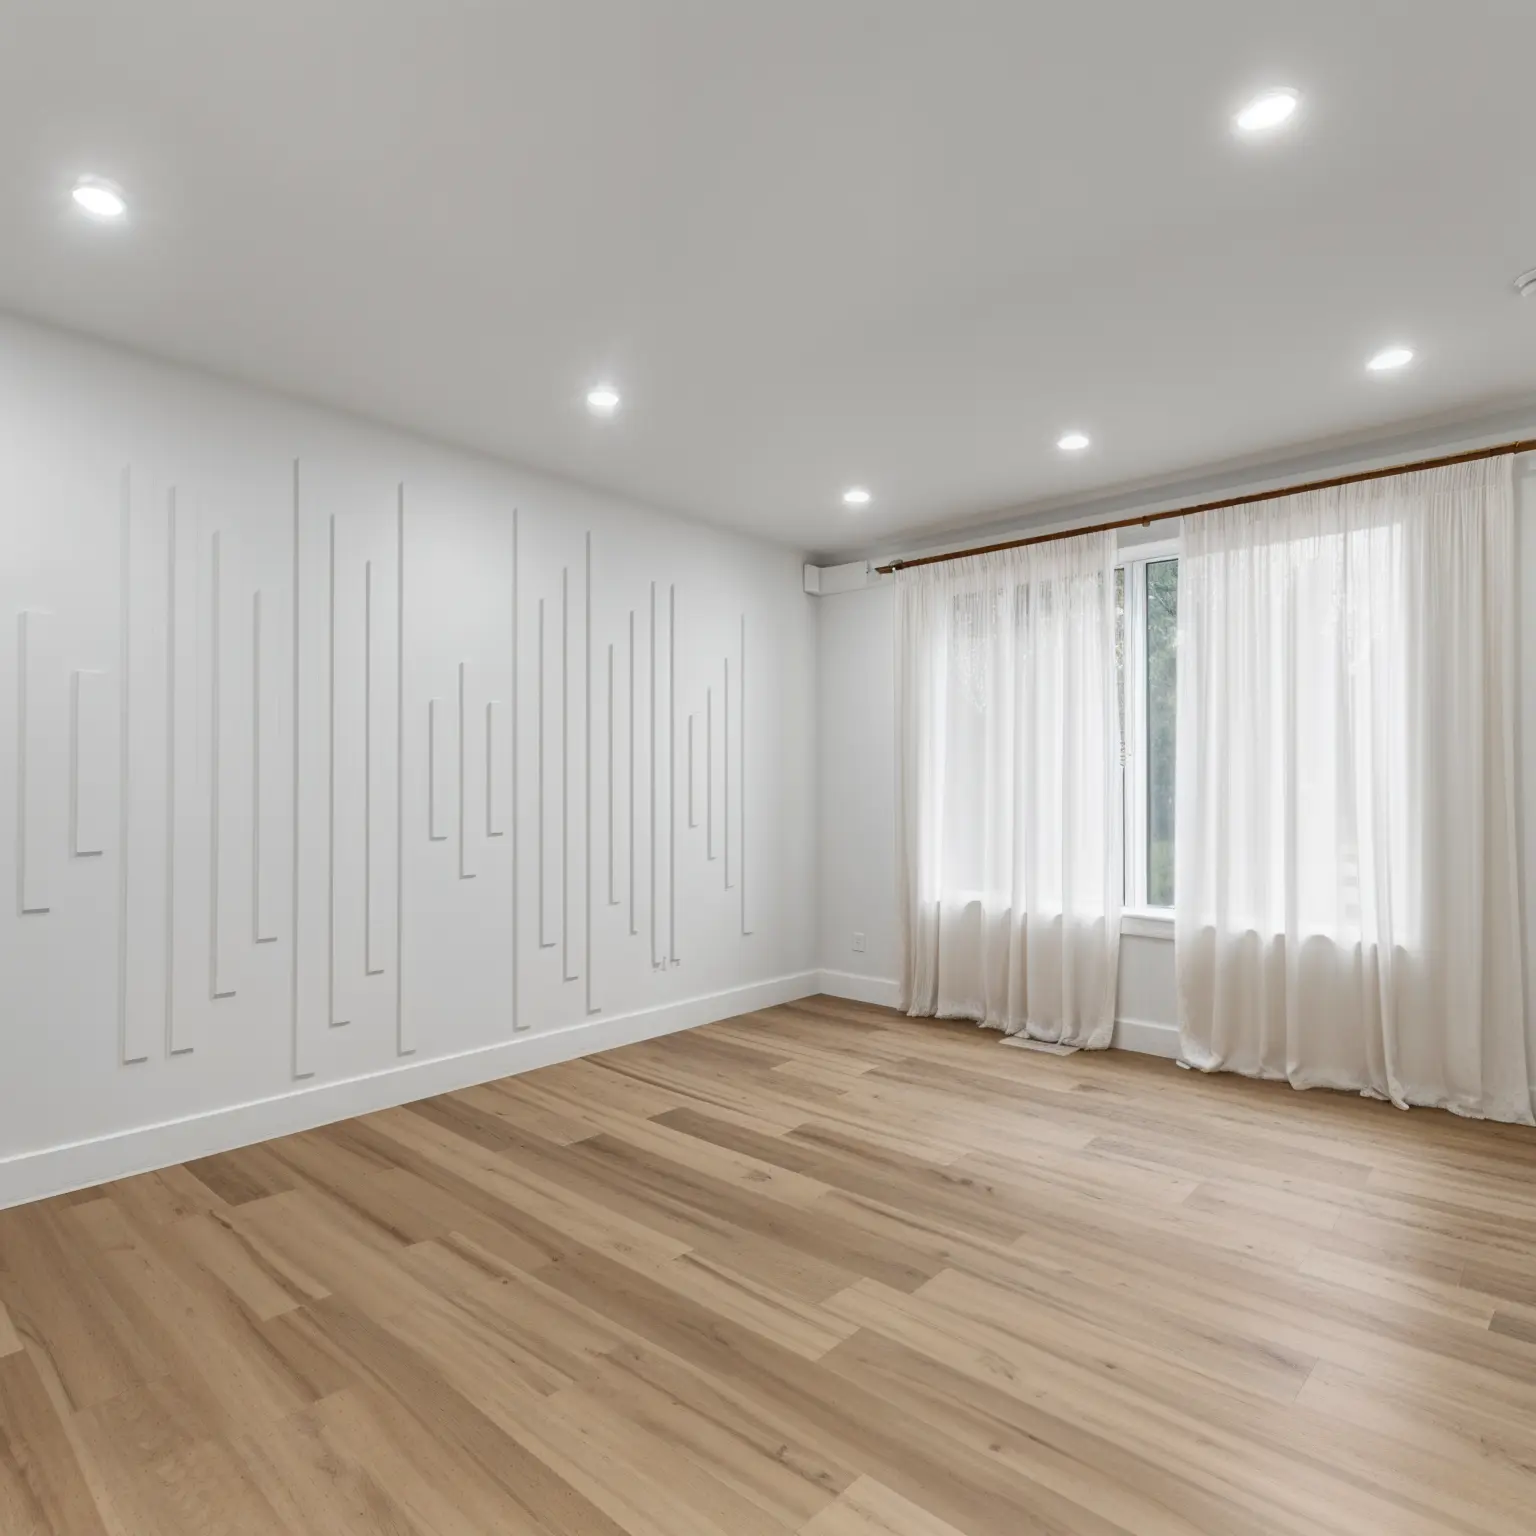 2
2> Add sheer white curtains to the window
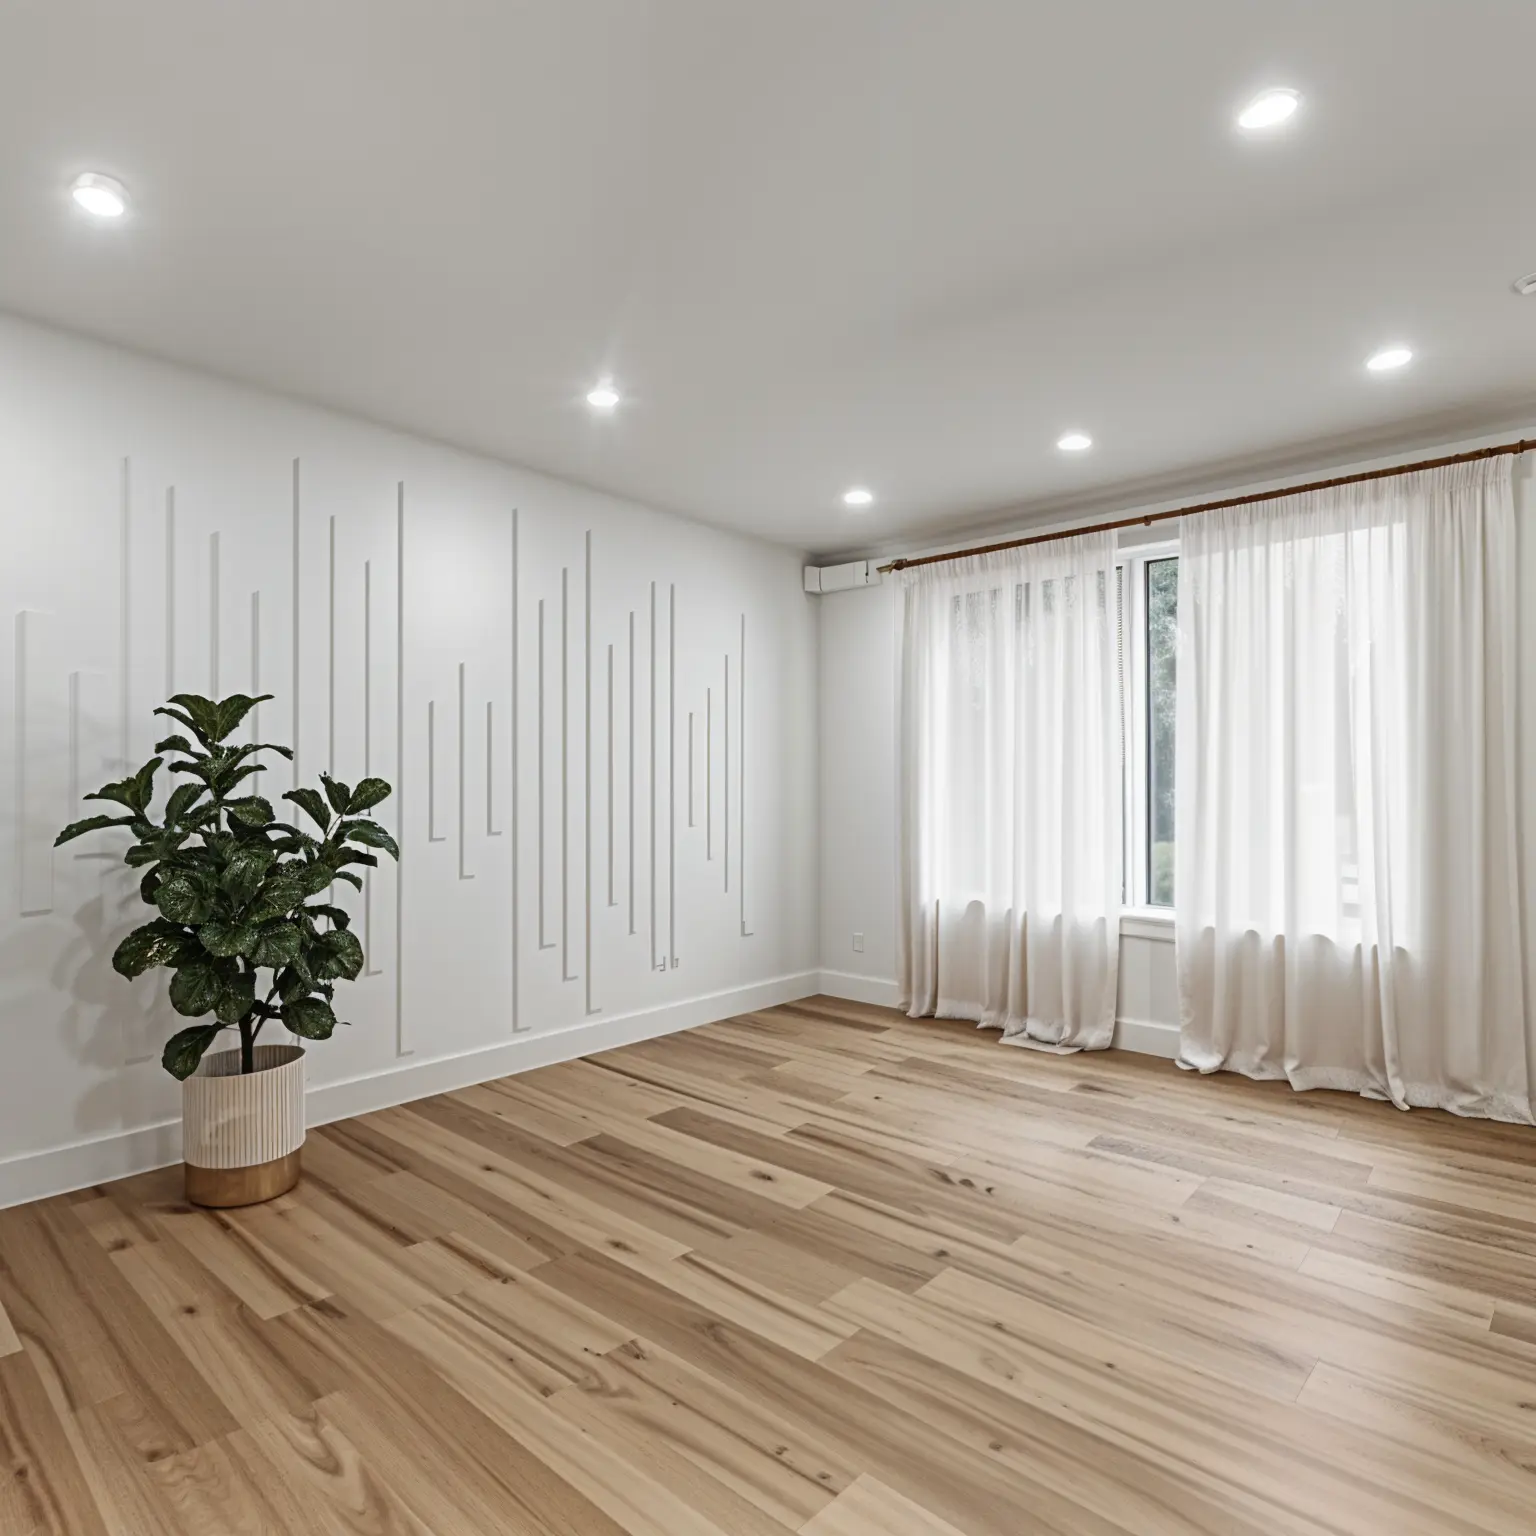 3
3> Add a large potted plant in the left corner
Pro tips
Be specific
Name the object and where it is: "the lamp on the left side table", not just "the lamp".
One change at a time
Short, single instructions work better than long lists. Chain them, one version at a time.
Test fast, finish in high quality
Try ideas with Fast Editing, then run your final instruction with High Quality.
Keep it honest
Retouch to show the property at its best, not to hide defects. Label virtually changed photos where your portal asks for it.
Quick check
Three quick questions to check you've got it.
1.How do you tell the retoucher what to change?
2.Which quality is best for a quick test?
3.Can you go back to an earlier version?
FAQ
No. Just describe the change in words. If you prefer to paint over an object to remove it, use the AI Magic Eraser instead.
Usually 10 to 20 seconds. Complex edits can take up to a few minutes.
Yes. Add up to 6 reference images with Custom Furniture Reference, and position items with Manual Placement.
Choose Discard Render, rewrite your instruction and try again.
You don't need one: every version is kept, and you can select the original or any earlier render at any time.
Try your first instruction.
Upload a photo and describe one change. You'll see the result in seconds.
Open the AI Photo Retoucher