AI sky replacement: a blue sky in one click
Swap a grey, flat or blown-out sky for a clear blue one. This guide shows how to replace the sky on one photo, make it automatic in the HDR editor, and fix a whole shoot at once.
How to replace a sky, step by step
- 1
Open Sky Replacement
Log in and choose Sky Replacement from your tools.
- 2
Upload an exterior
Upload a daylight photo where the sky is visible: a facade, a garden or a pool.
- 3
Replace the sky
In AI Sky Replacer, click Replace Sky Now. There's nothing to mask or select.
The light and white balance shift slightly to suit the new sky, and reflections in windows and pools follow it.
- 4
Compare and re-render
Compare before and after. If an edge isn't perfect or you want a different sky, re-render: each photo includes 9 free re-renders.
- 5
Download
Download the result. It comes back at your photo's full resolution, with roof edges, railings and leaves still sharp.
- 6
Make it automatic
In the HDR editor, keep Sky Replacement switched on in your HDR settings. It's on by default, and your exteriors get a blue sky as part of the edit.
- 7
Fix a whole shoot at once
In the HDR editor, select your exteriors and open Sky Replacement & Twilight. Choose Blue Sky and apply it to every selected photo.
What a result looks like
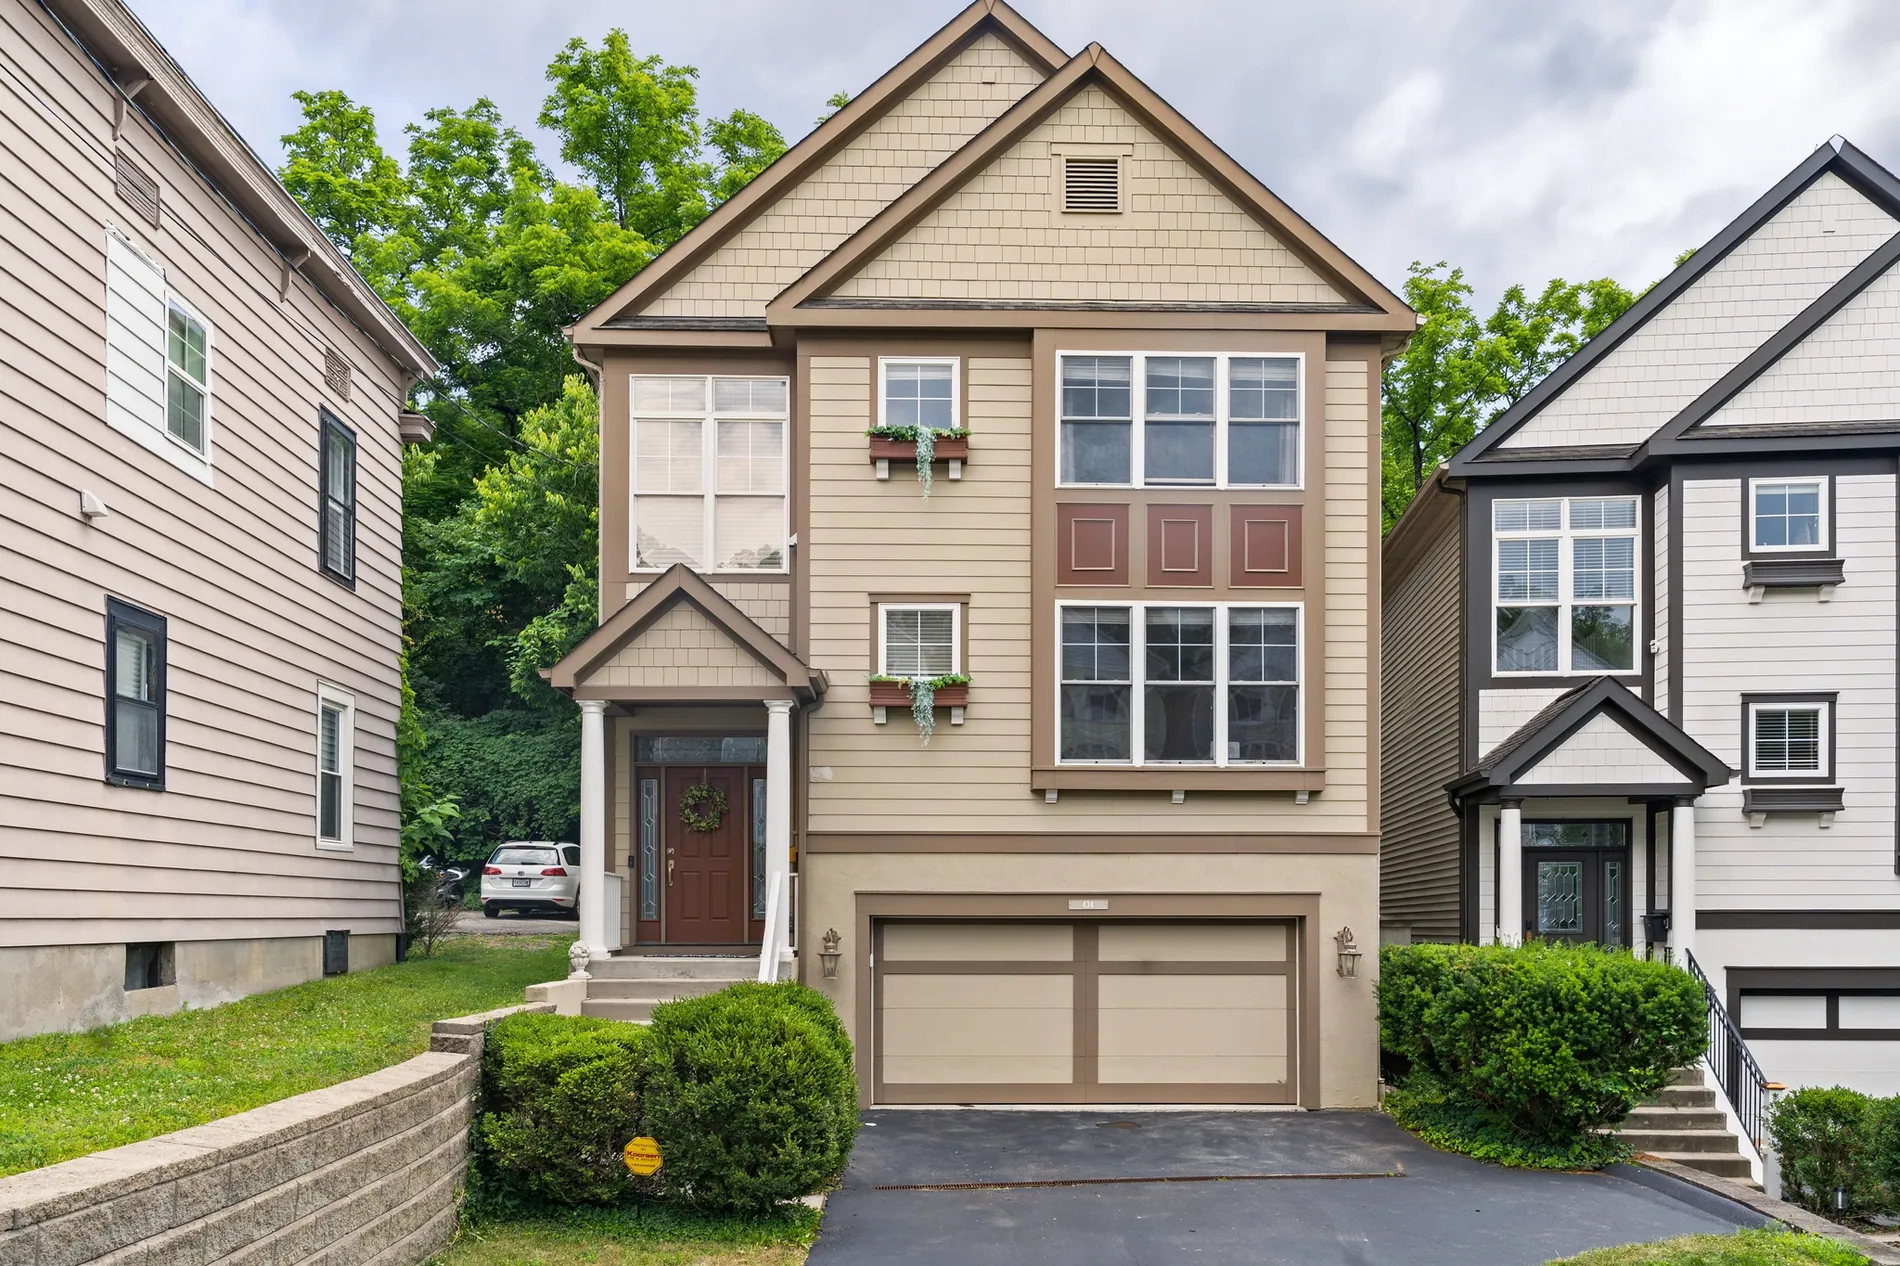
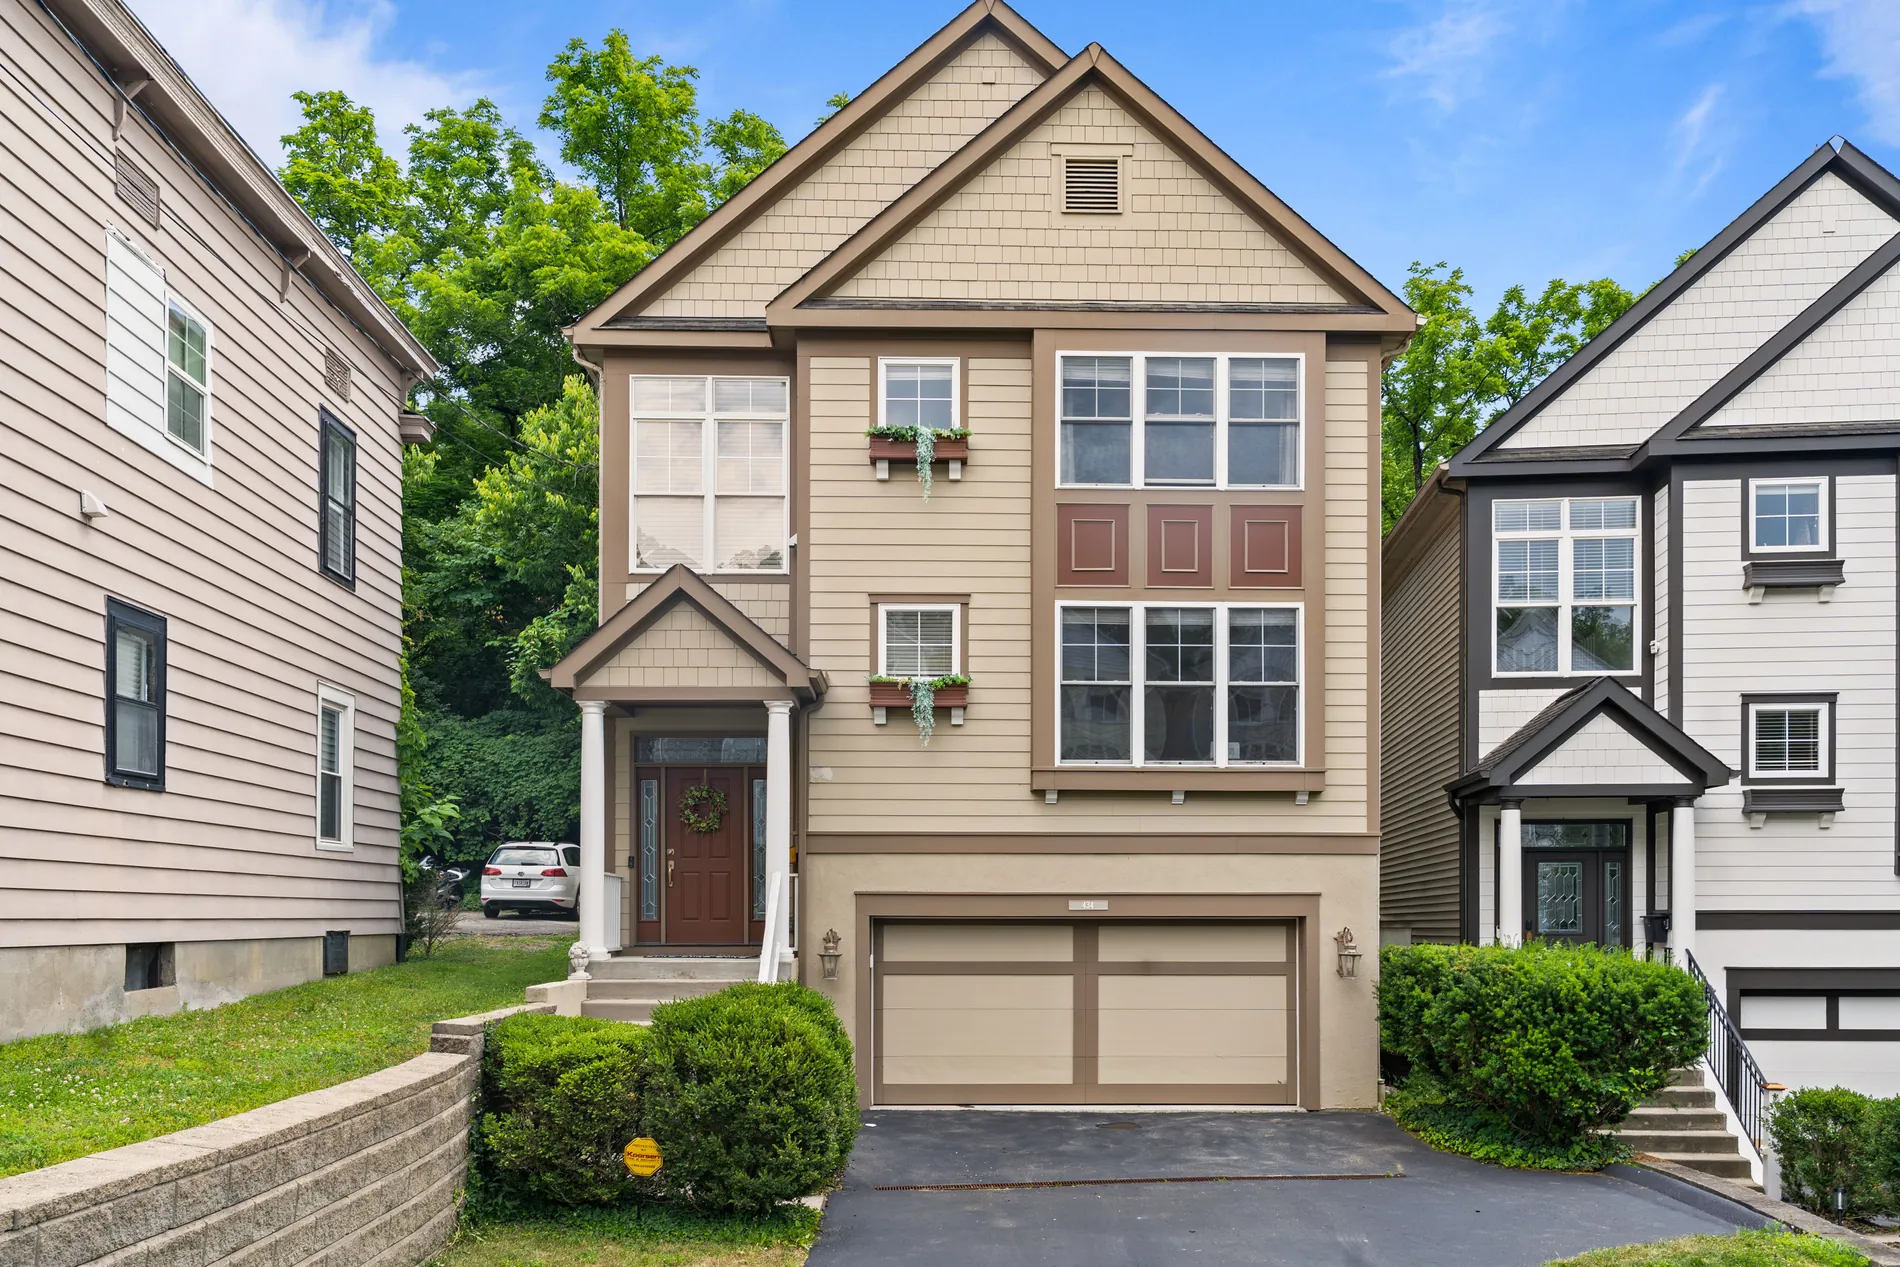
Drag the slider to compare the flat white sky with the new blue one.
Pro tips
Start from a daylight exterior
Facades, gardens and pools with the sky clearly in frame give the cleanest results.
Leave it on for every shoot
With Sky Replacement switched on in your HDR settings, every exterior of a property gets the same clear sky.
Want an evening look?
For a twilight sky and warm evening light, use Day-to-Dusk instead.
Keep it honest
Show the property on a clear day, not something that hides what's around it. Label edited photos where your MLS or portal asks for it.
Quick check
Three quick questions to check you've got it.
1.What do you need to mask before replacing the sky?
2.How do you get a blue sky on every shoot automatically?
3.You want a twilight sky instead. Which tool do you use?
FAQ
No. The result comes back at your photo's full resolution, the same pixel size you uploaded.
Yes. The new sky is blended around rooflines, chimneys and branches, and fine detail from your original photo is carried into the result.
The light and white balance shift slightly to suit the new sky. Buildings, trees, gardens and pools keep their shape.
Each photo uses 1 credit and includes 9 free re-renders.
Use it to show the property on a clear day, not to hide what's around it. Label edited photos where your MLS or portal asks for it.
Try it on your next exterior.
Upload a photo with a grey sky and see it under a blue one, at full resolution.
Open Sky Replacement