On this page
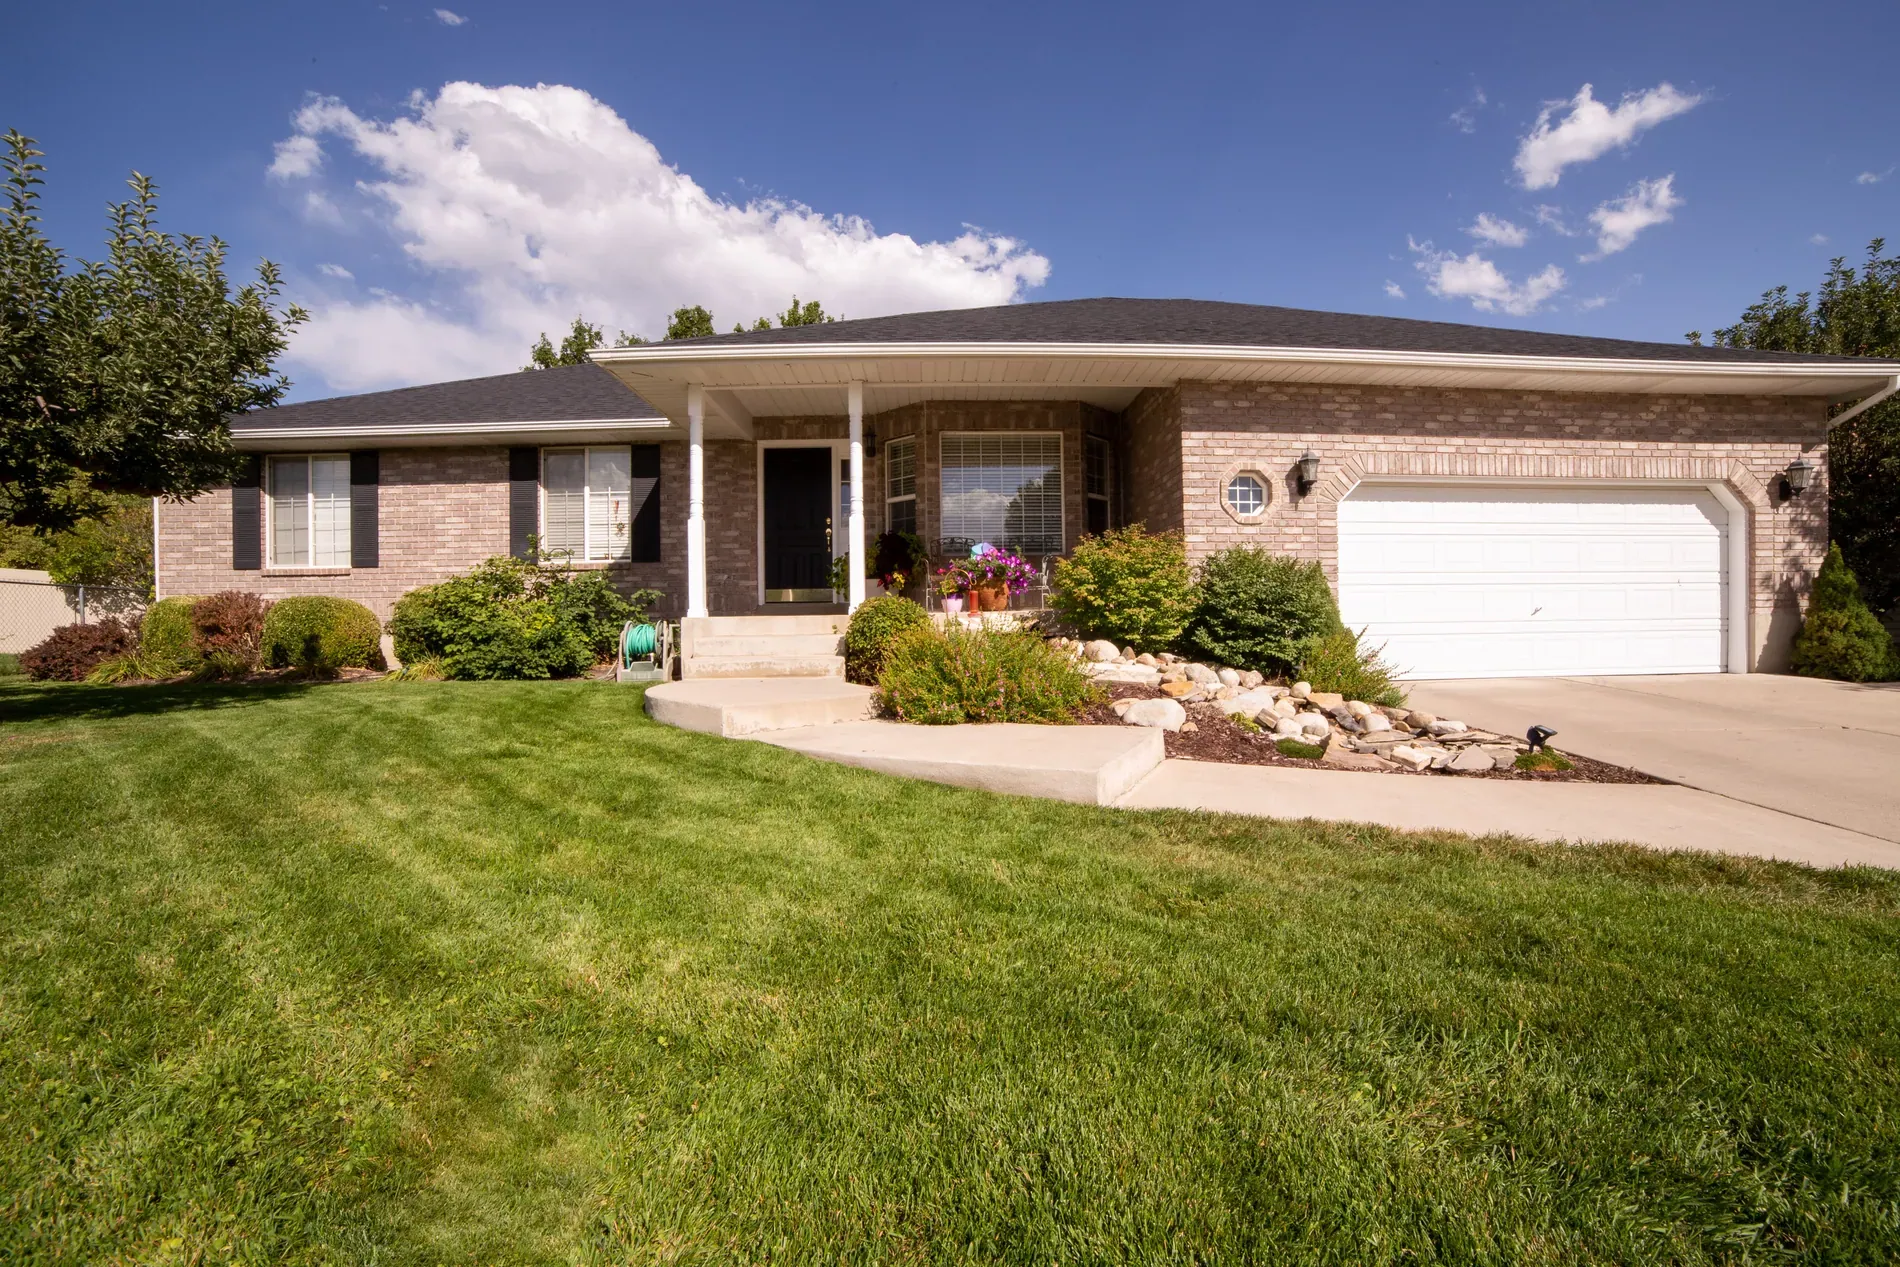
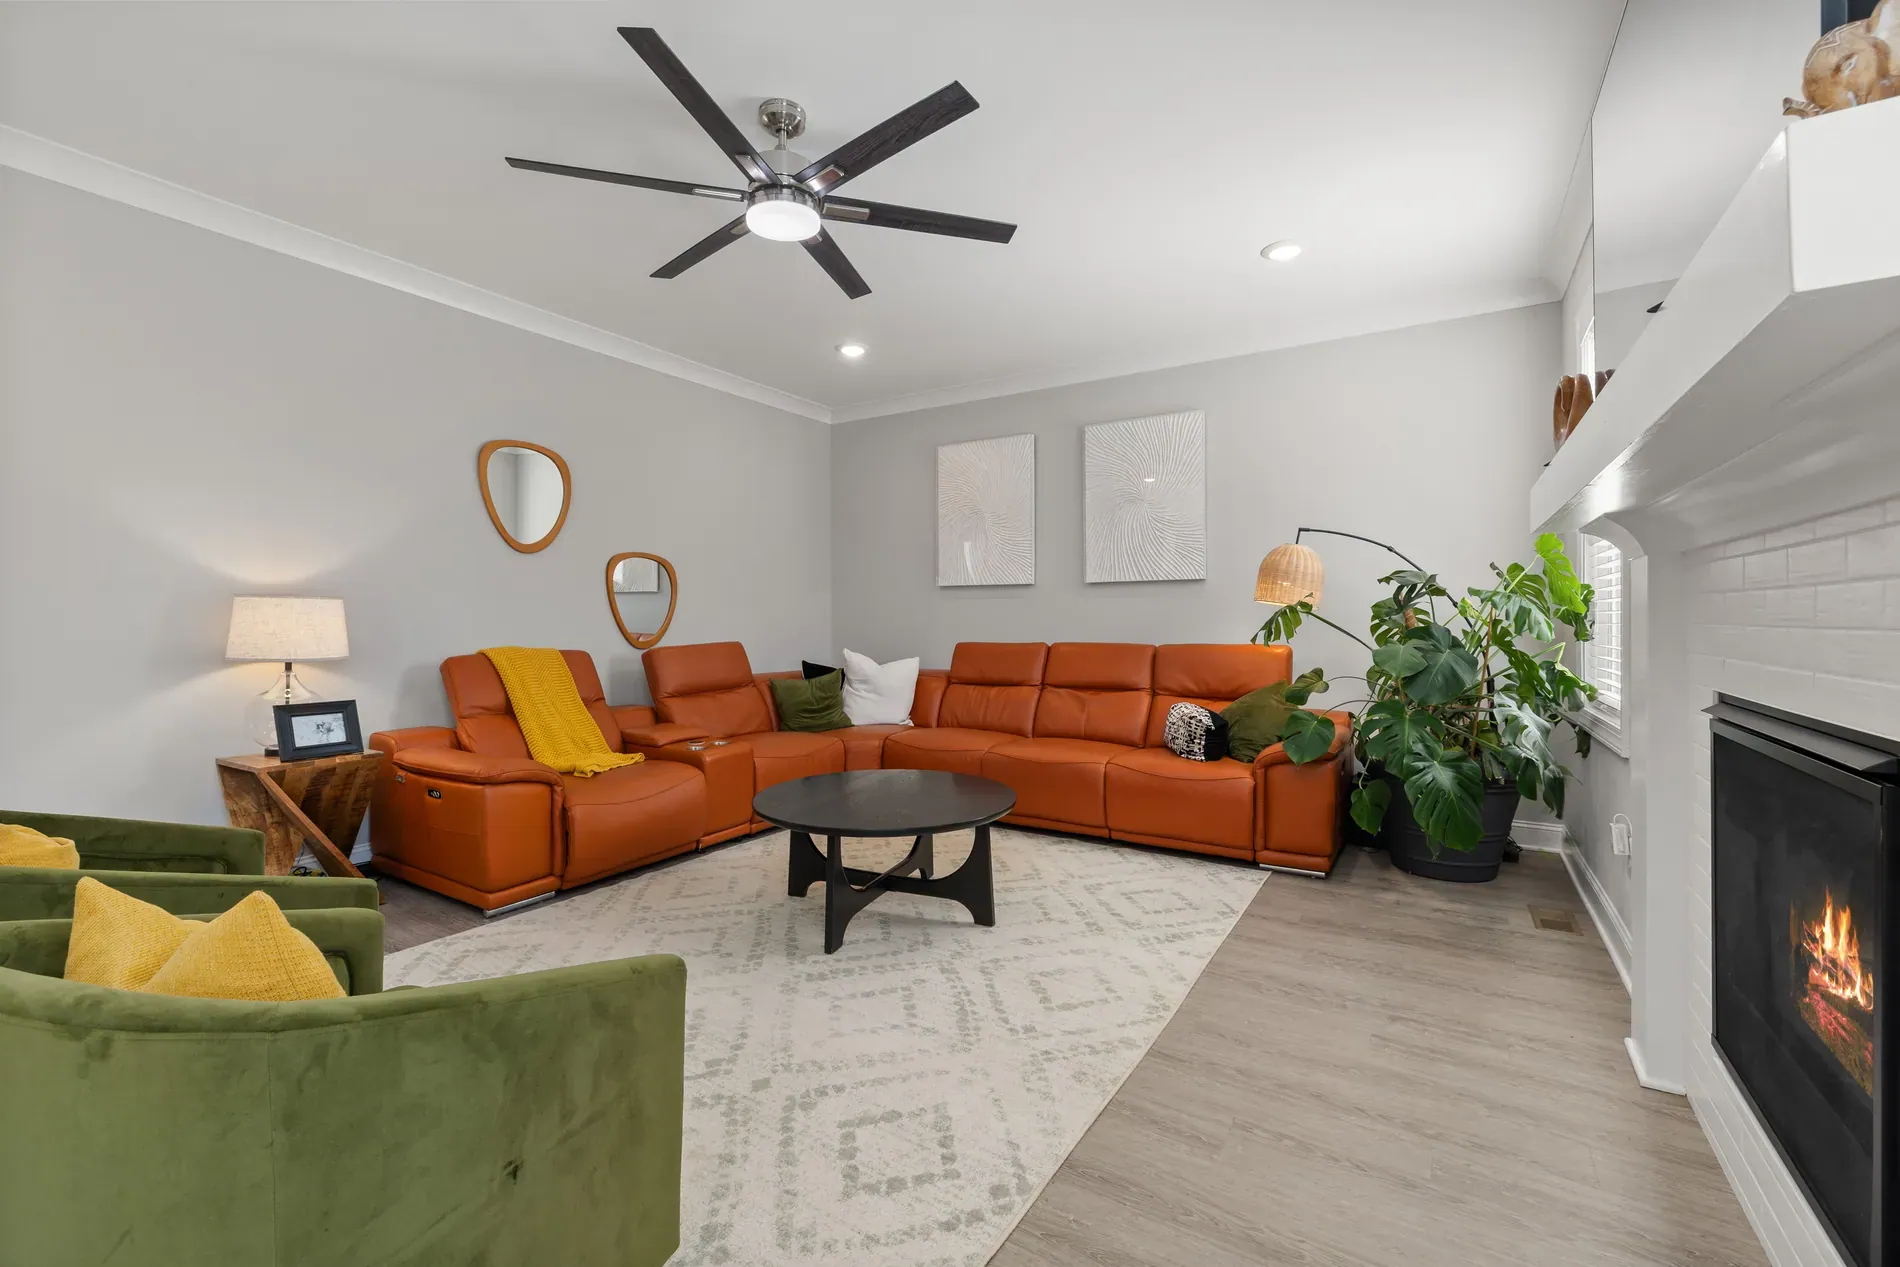
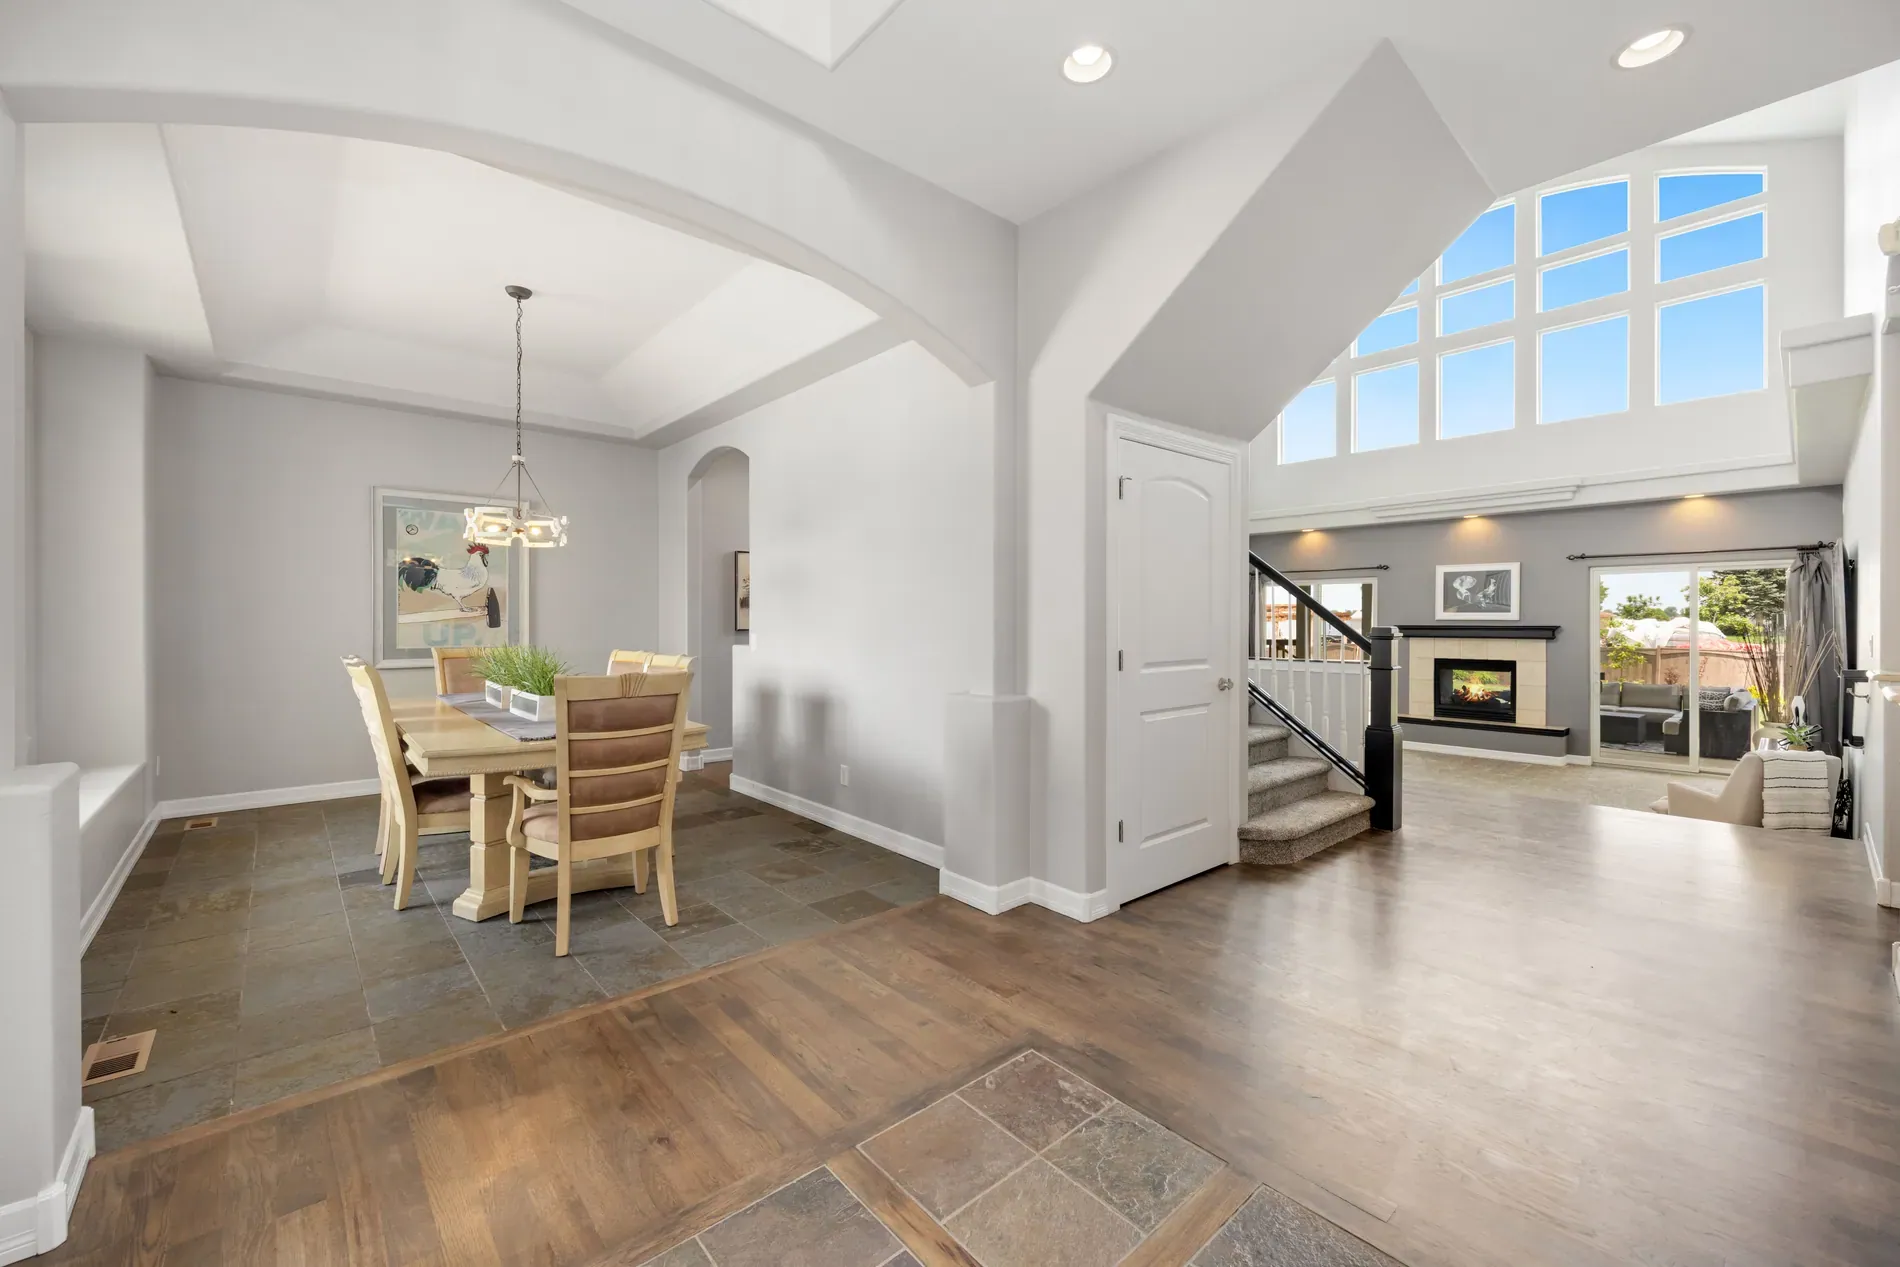
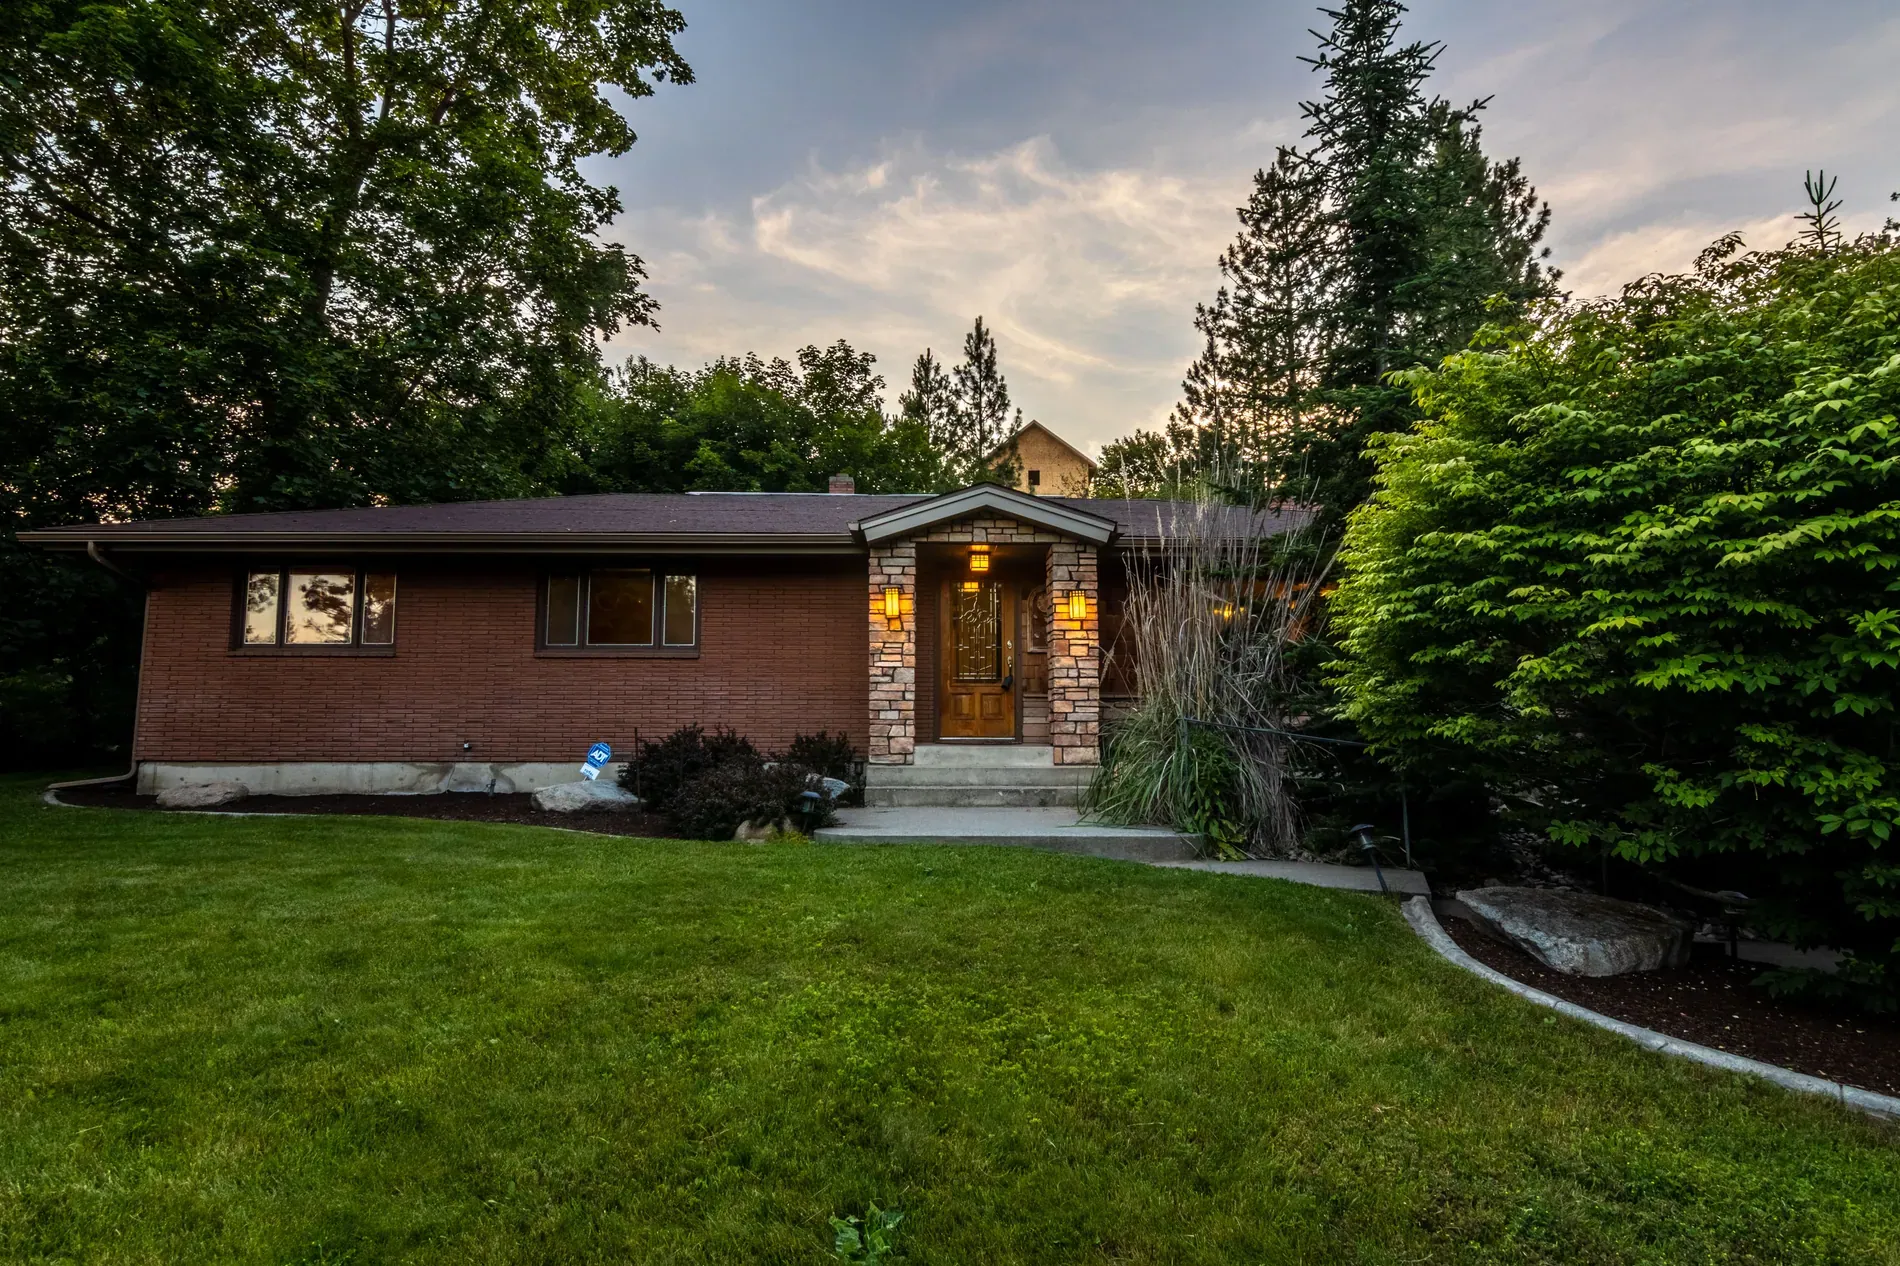
Fixer-uppers have a photo problem. The listing has to show the property as it is, and as it is, it often looks worse than it will after a few weeks of work. Buyers who can't picture the result scroll past. Knowing how to show a fixer-upper's potential in real estate photos, honestly, can bring those buyers back.
This guide covers three tools, from small changes to big ones, and how to present them so the listing stays truthful.
Change the wall color
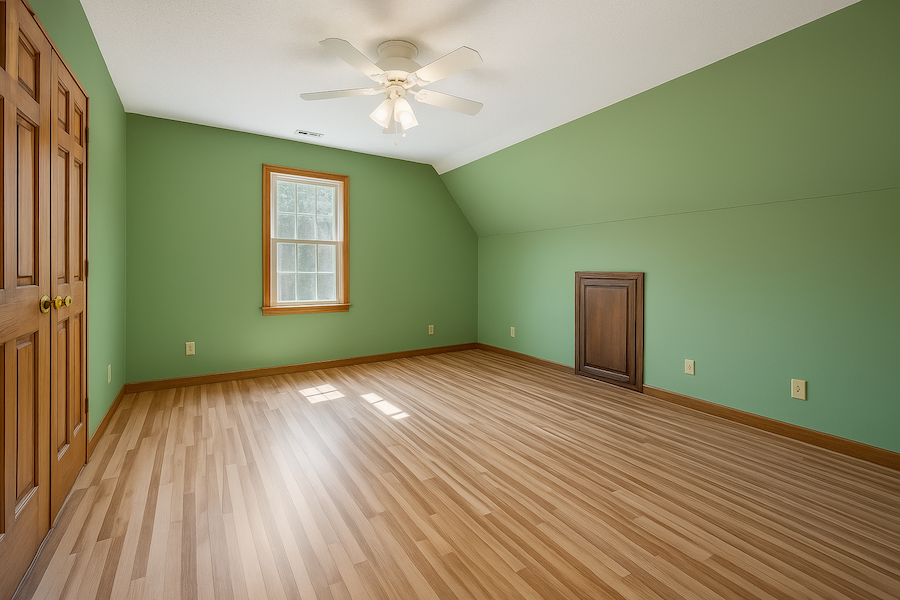
A bold accent wall or a dated color can make a good room look tired. With virtual wall painting, pick any color from the full color picker and the walls are repainted. You can paint the ceiling too, and visible walls of adjoining rooms are painted so the color stays consistent.

Change the floor
Floors date a room fast. With floor replacement, choose parquet, tile, stone, concrete, carpet, cork or linoleum, or upload a photo of a specific product to match its color, texture and pattern. It works best where the floor is clearly visible, such as living rooms, kitchens, bedrooms and hallways.


Virtual renovation: the whole room
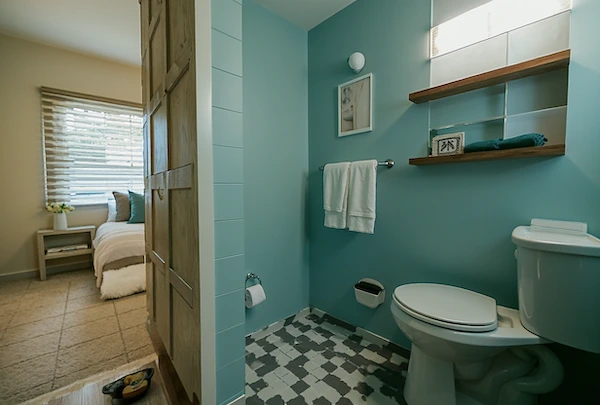
For rooms that need more than paint or floors, virtual renovation shows the room renovated. Four choices shape the result: the room type (19, including exteriors), the style (11, such as Modern, Scandinavian or Japandi), optional colors, and your own instructions, like "white shaker cabinets and oak floors". Three AI models, Artistic, Stylist and Creative, each interpret the renovation differently, so try more than one.

Which tool for which problem
| Problem | Tool | Why |
|---|---|---|
| Dated or bold paint | Wall painting | The smallest change, closest to the real room |
| Worn carpet or old tiles | Floor replacement | Shows a common, affordable upgrade |
| Dated kitchen or bathroom | Virtual renovation | Fixtures and finishes change together |
| Bare loft or shell | Virtual renovation | Shows a finished, livable space |
| Crumbling facade or courtyard | Virtual renovation (exterior) | Shows what restoration could look like |
Present it as potential, not as the property
These are visualizations of work that hasn't been done. Present them that way:
- Show the current photo first, with the visualization right after it.
- Label it clearly, for example as a virtual renovation or a visualization.
- Never hide damage, damp, cracks or stains with paint, floors or renovation.
- Check local rules. Some MLSs prohibit certain changes outright; Stellar MLS in Florida, for example, prohibits changing paint colors and permanent fixtures in listing photos. See the rules for edited and virtually staged listing photos.
Who uses it
- Agents with fixer-uppers, to show what the property could become next to how it is today.
- Developers and flippers, to present a project's finished look before work starts.
- Photographers, as an add-on for clients with renovation projects; see how much to charge for real estate photography.
Each photo uses 1 credit and includes 9 free re-renders, so you can try several colors, floors or styles before choosing.
Frequently asked questions
Use virtual renovation, new wall colors or new floors to visualize the result, and always show the current photo next to it with a clear label.
Yes. Pick any color and the walls are repainted; you can include the ceiling, and visible walls of adjoining rooms are painted too.
Parquet, tile, stone, concrete, carpet, cork and linoleum, or upload a photo of a specific flooring product to match it.
Yes. Choose the exterior room type to visualize a renovated facade, courtyard or garden.
Yes, as a clearly labeled visualization next to the current photos. Never present it as the property's current condition or use it to hide damage.