On this page
- File format: shoot RAW
- Exposure mode and shutter speed
- Aperture: sharp from front to back
- ISO: keep it at base
- White balance: fixed, not auto
- Focal length: wide, but not stretched
- Camera height and keeping verticals straight
- Focus: set it once
- Real estate photography settings, room by room
- What about flash?
- What the edit takes care of
There's no single perfect setup for every house, but there are good defaults. Most real estate photographers settle on a short list of settings they use on almost every shoot, and change only a few of them from room to room. This guide explains the best camera settings for real estate photography, why each one matters and where to start.
The values below are common starting points, not rules. Test them with your own camera and lens, and adjust them to the look you deliver. For how many exposures to shoot per scene, see our separate real estate photography bracketing guide.
File format: shoot RAW
RAW files keep far more detail in bright windows and dark corners than JPEGs, and let you change white balance afterwards without losing quality. Stager AI accepts RAW (ARW, CR3, NEF, DNG and more), JPEG, PNG and TIFF, but RAW gives the edit the most to work with.
Exposure mode and shutter speed
Use manual mode, or aperture priority if you prefer, so the aperture stays fixed and only the shutter speed changes between bracketed frames. On a tripod, the shutter speed can be as slow as the scene needs: half a second or more in a dim room is normal. Use a 2-second timer or a remote so you don't shake the camera.
Aperture: sharp from front to back
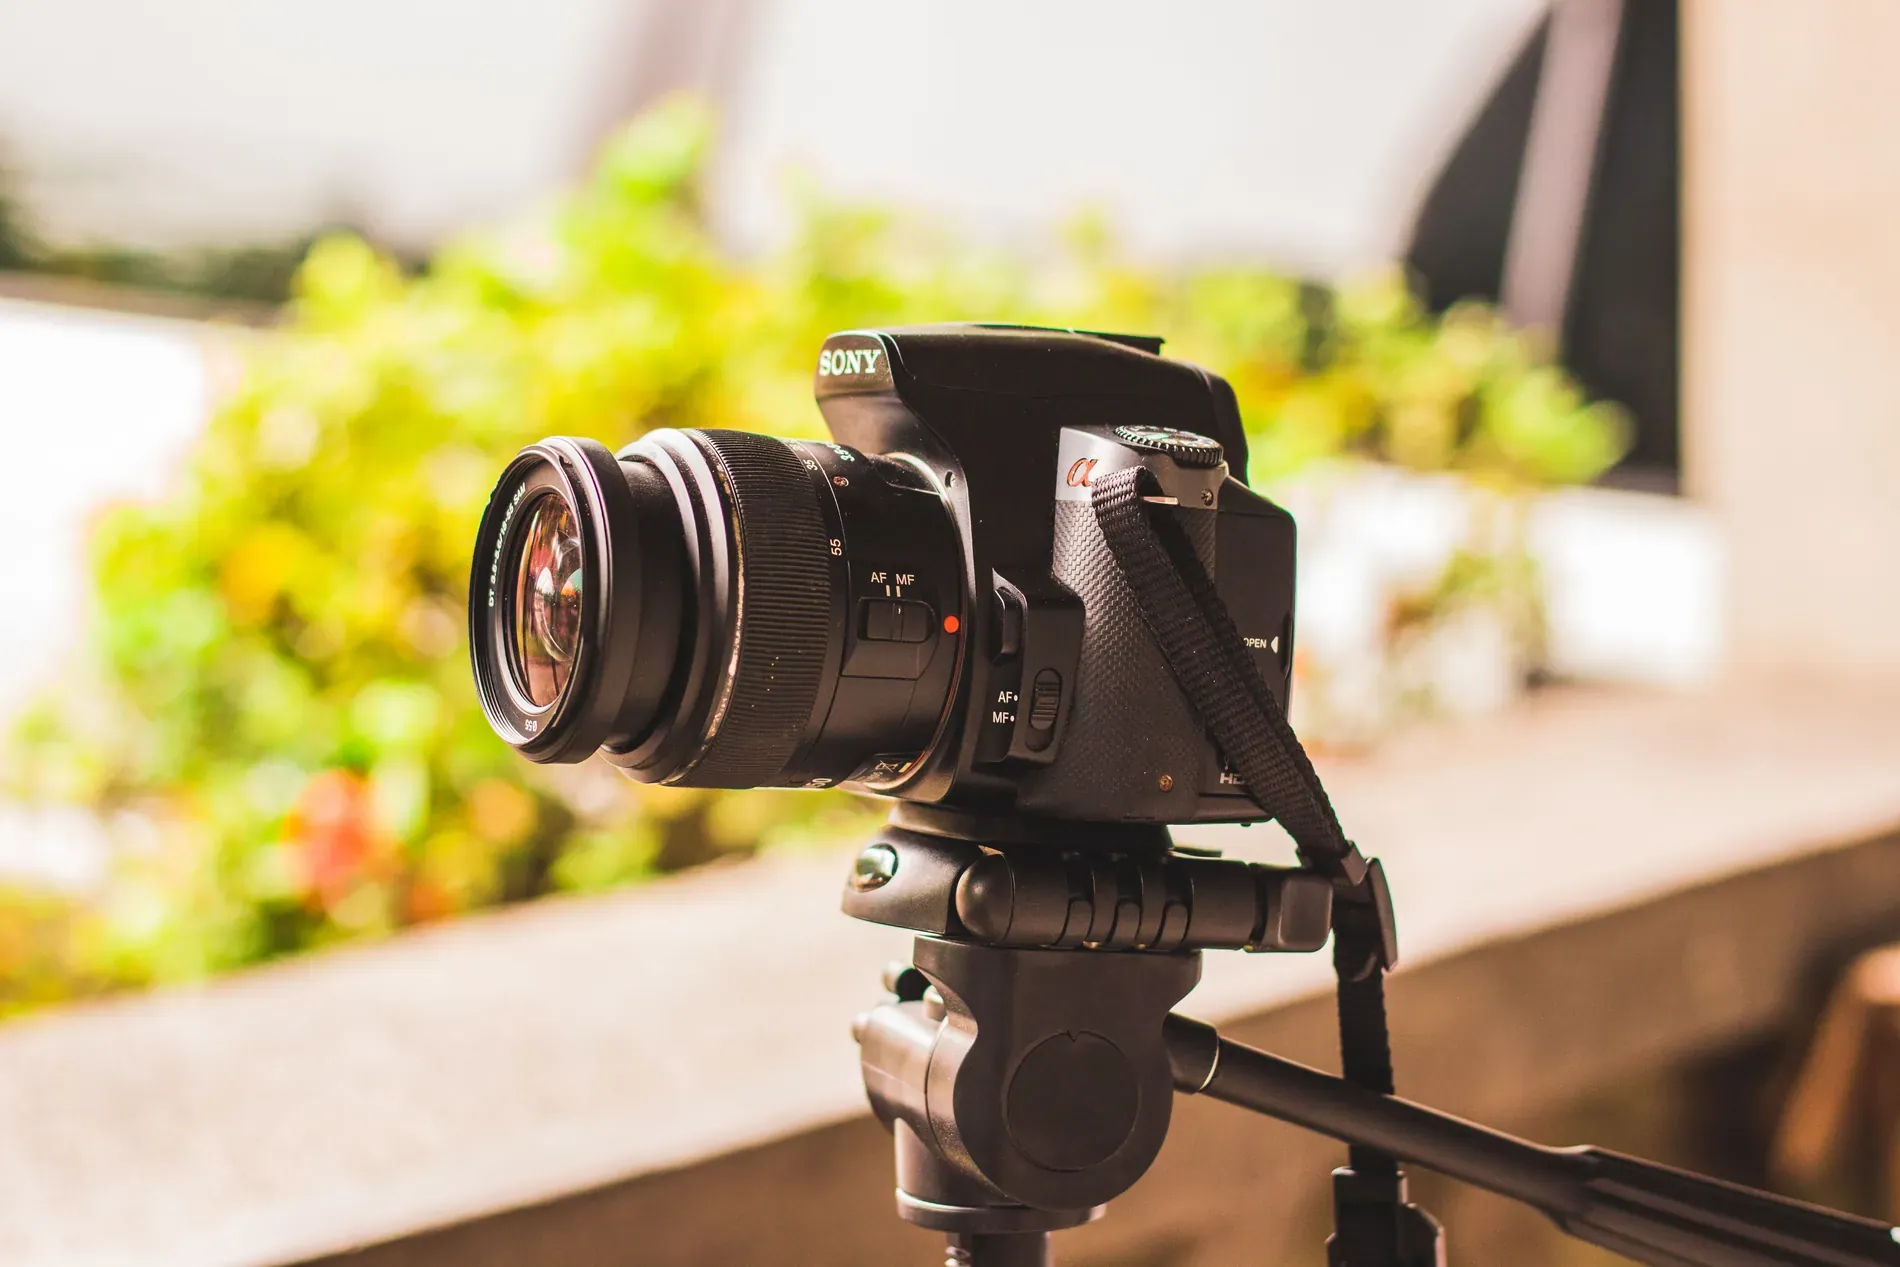
Real estate photos need the whole room in focus, from the nearest chair to the far window. A middle aperture, commonly around f/7.1 to f/11, gives enough depth of field with most wide lenses and keeps them at their sharpest. Very small apertures like f/16 or f/22 add depth but soften the whole image, so there's rarely a reason to go there.
ISO: keep it at base
With a tripod, there's no need to raise ISO. Keep it at your camera's base ISO, often 100 or 64, for the cleanest shadows. Turn auto ISO off, so it doesn't change between frames of a bracket.
White balance: fixed, not auto
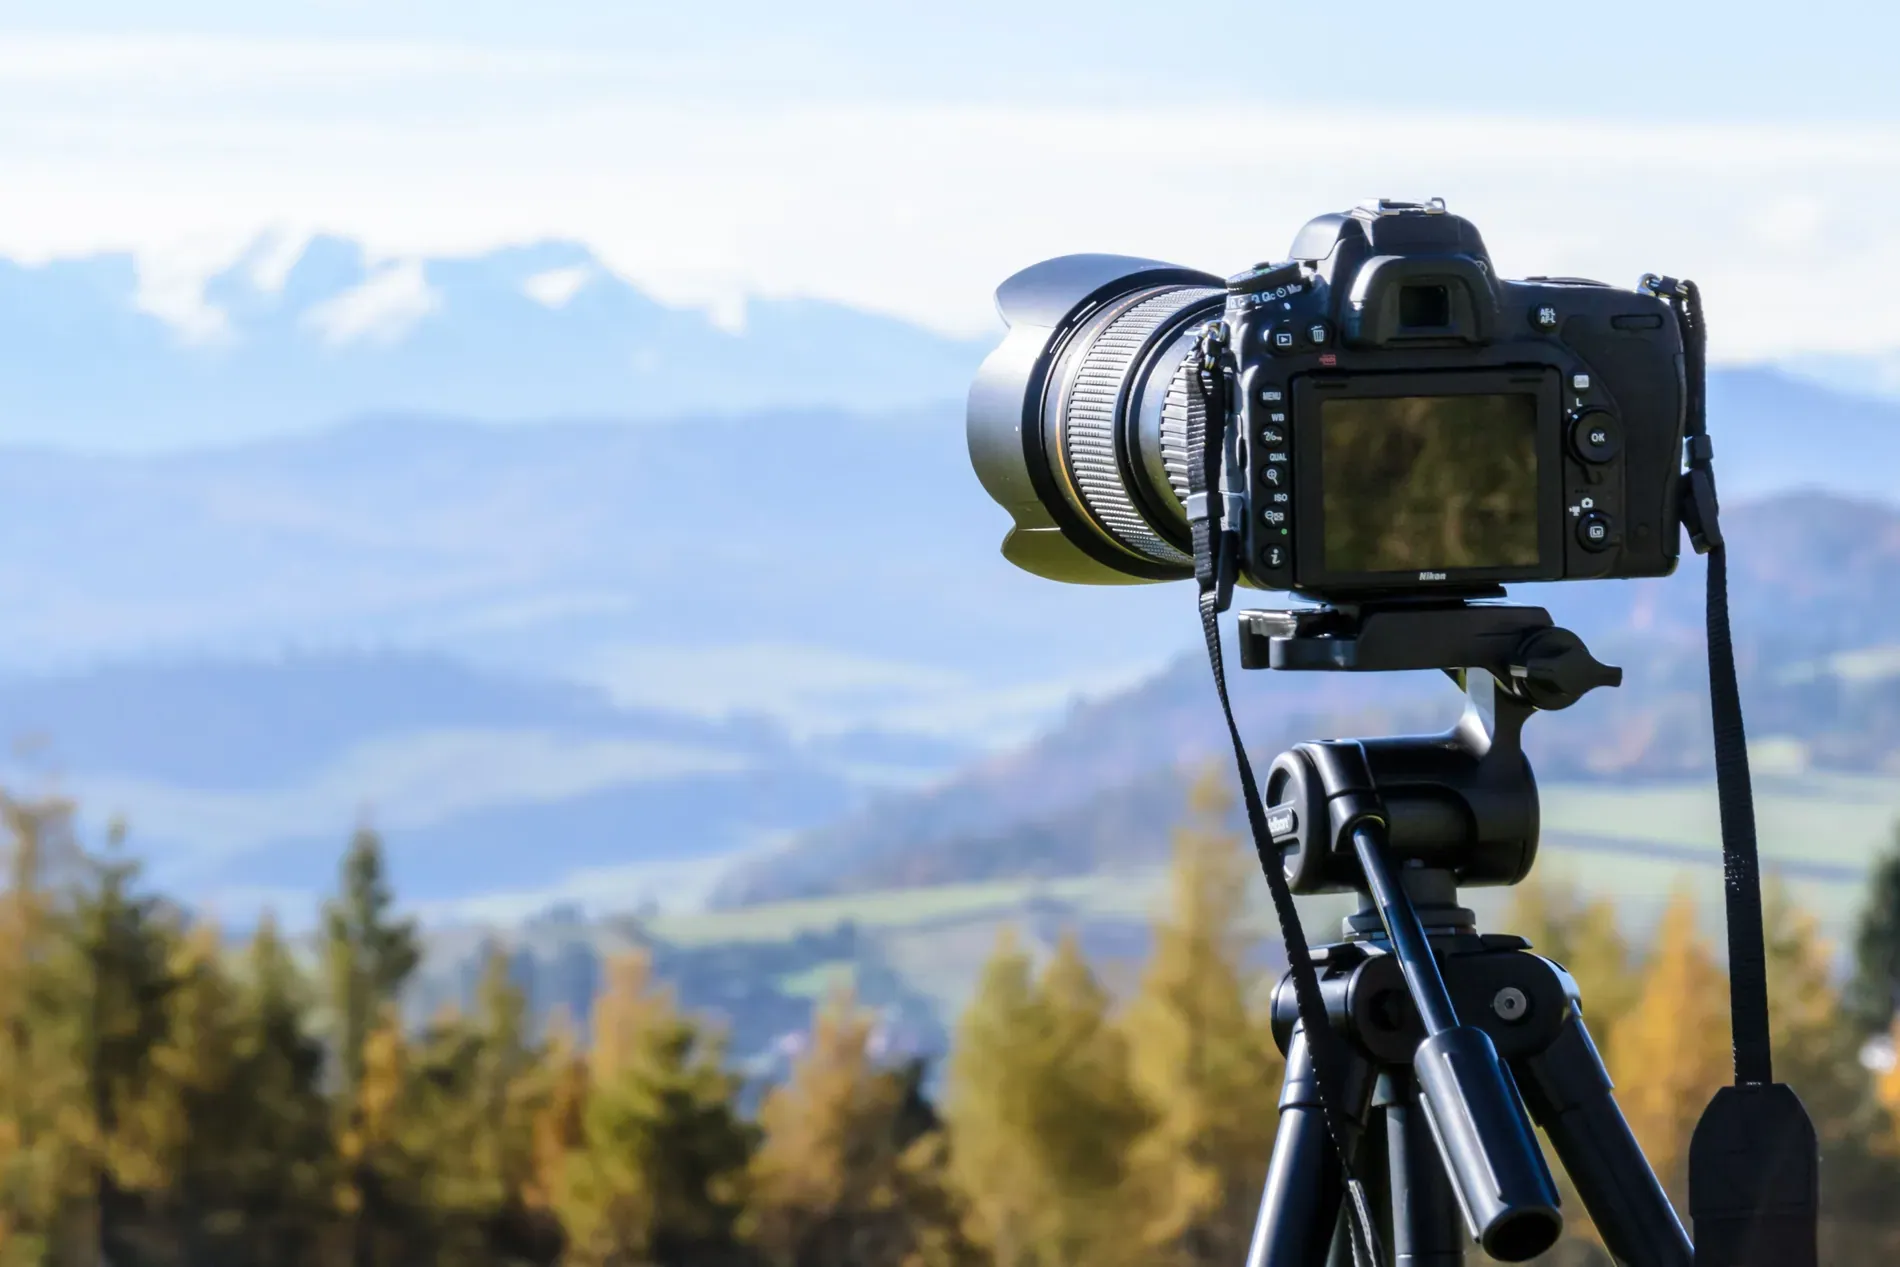
Auto white balance can shift between frames and between rooms, which makes merges and galleries inconsistent. Set it to a fixed value, such as daylight or a specific Kelvin temperature, and correct it later in the RAW file. Mixed light, like warm bulbs next to cool daylight, is the most common cause of color casts; turning on all lights of the same type helps, and the edit can balance the rest.
Focal length: wide, but not stretched
Interiors need a wide lens to show the room, but the widest settings stretch furniture at the edges and make rooms look bigger than they feel. Many photographers work around 16 to 24 mm on a full-frame camera, or the equivalent on other sensors, and go wider only in small bathrooms. Lens correction in the edit removes barrel distortion, but it can't undo the stretch of an extreme focal length.
Camera height and keeping verticals straight
Camera height changes how a room feels. Too high and you look down on the furniture; too low and ceilings dominate. A common starting point for living rooms and bedrooms is around chest height, a little lower in rooms with low furniture, and around counter height in kitchens and bathrooms. Whatever you choose, use the same height across a gallery.
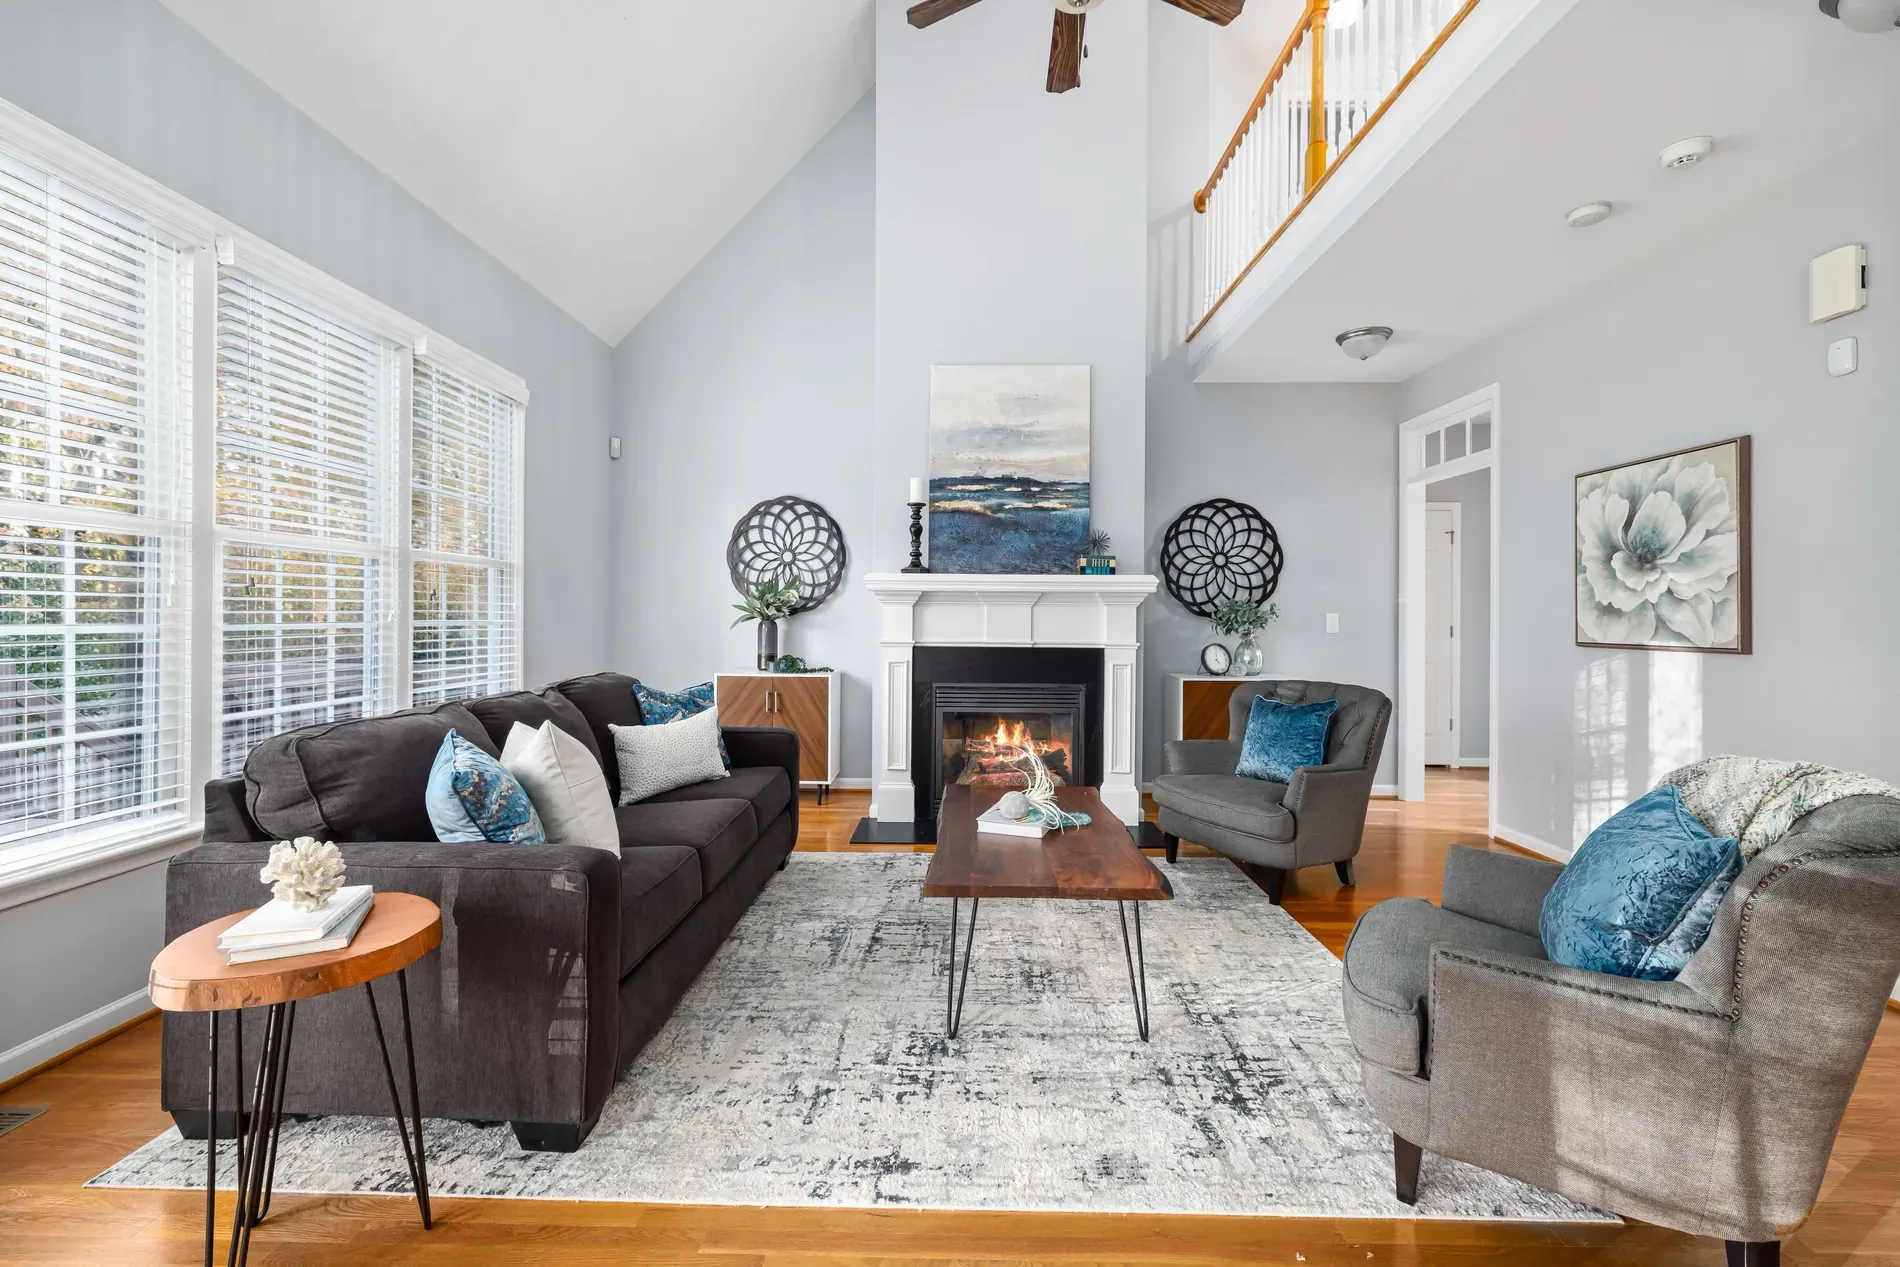
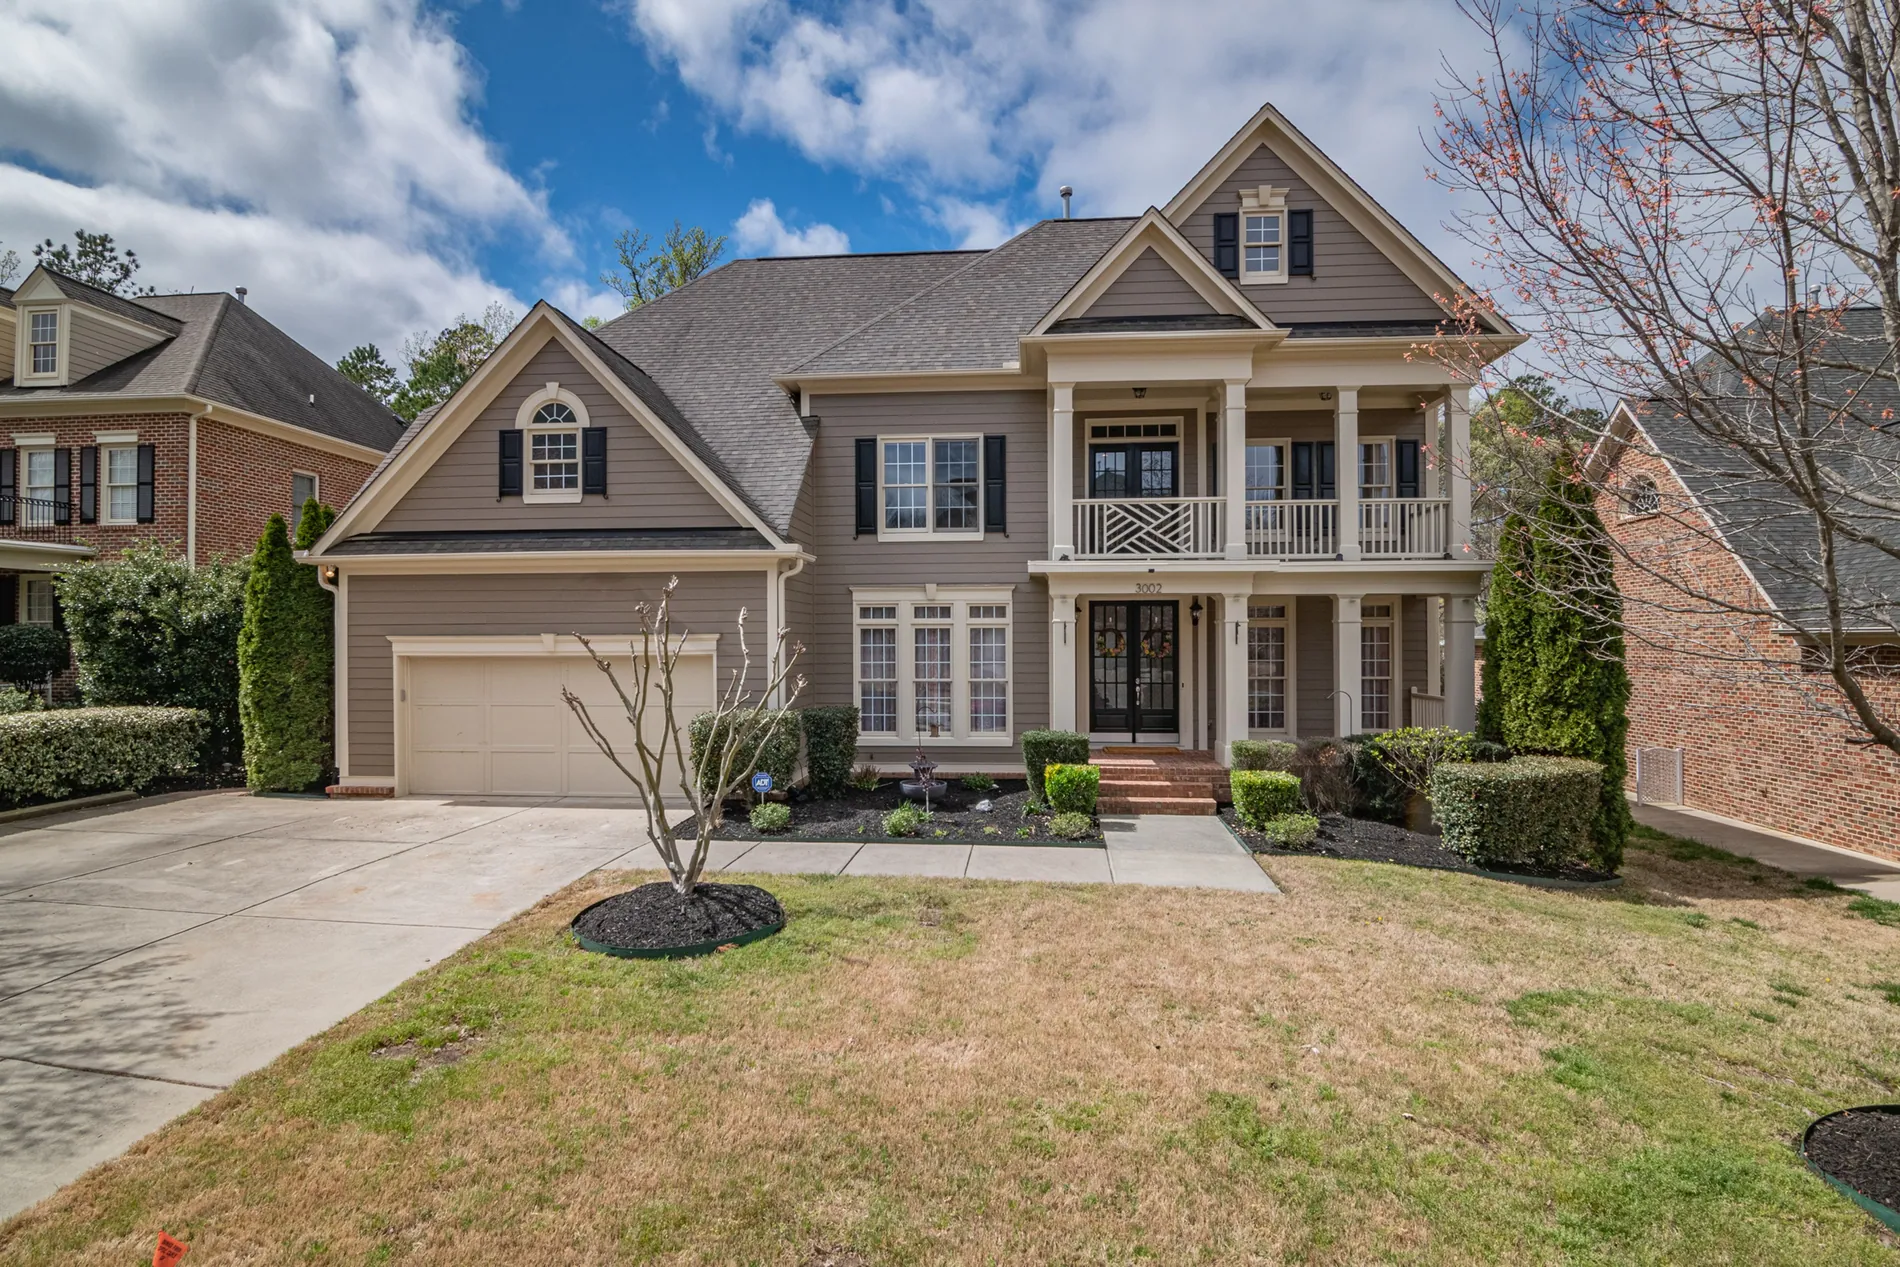
Keep the camera level, so vertical lines stay vertical. A bubble level on the hot shoe or the camera's electronic level is enough. Perspective correction in the edit straightens small errors, but a level camera gives a more natural result.
Focus: set it once
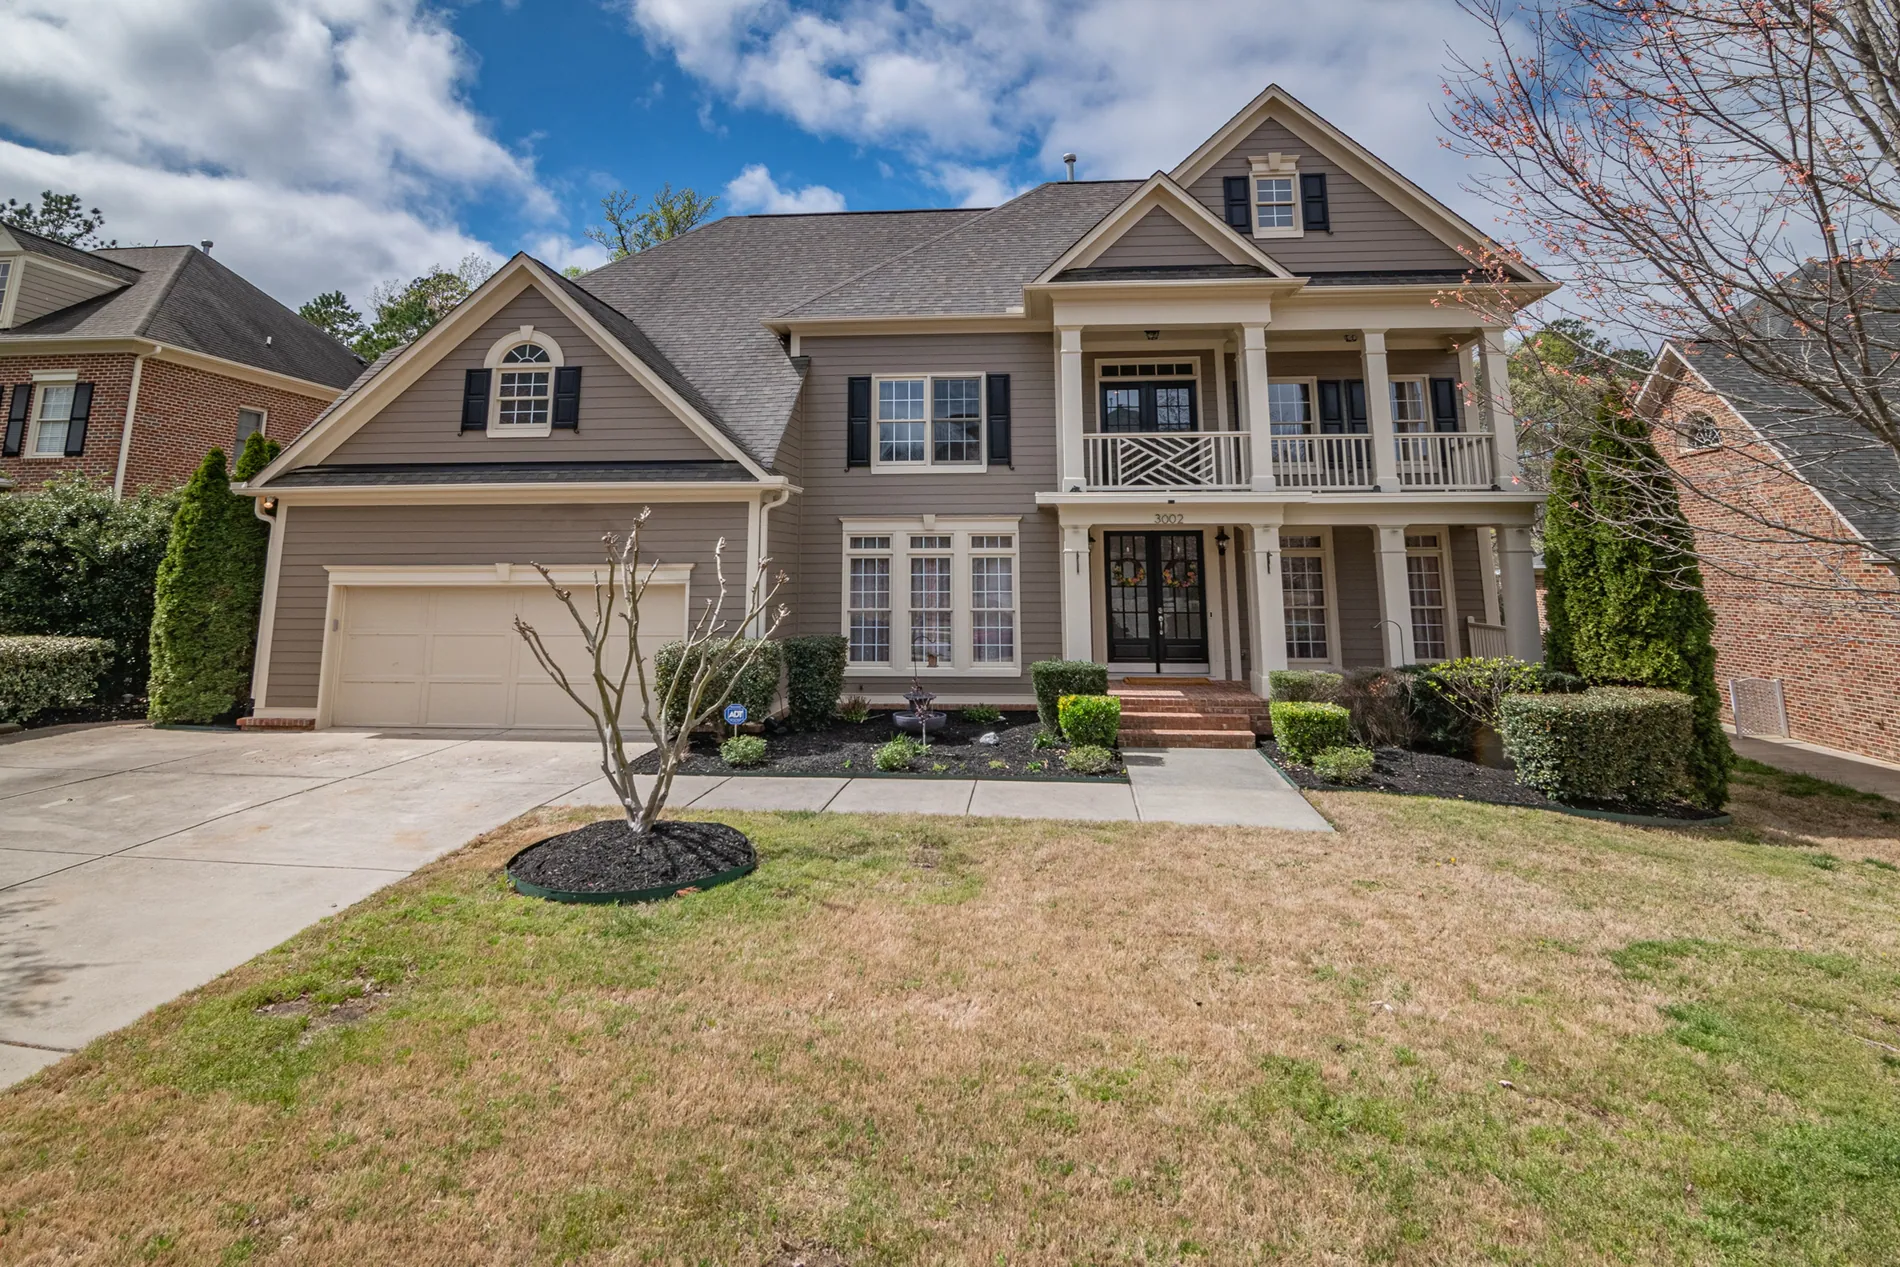
Focus about a third of the way into the room, then switch to manual focus so the camera doesn't refocus between bracketed frames. With a middle aperture and a wide lens, that keeps both the foreground and the far wall sharp.
Real estate photography settings, room by room
| Room | Camera height | Focal length | Watch out for |
|---|---|---|---|
| Living room | Around chest height | Wide, avoid extremes | Bright windows: shoot more brackets |
| Kitchen | Around counter height | Wide | Mixed light from spotlights and windows |
| Bathroom | Around counter height | Widest you're comfortable with | Your reflection in mirrors and glass |
| Bedroom | A little below chest height | Wide | Making the bed look flat and neat |
| Exterior | Around chest height or a little higher | Moderate wide | Converging verticals, cars, a grey sky |
What about flash?
Everything above assumes ambient brackets. Some photographers add a flash frame (flambient) or shoot single flash exposures for speed, which changes the approach: shorter exposures, with the flash lighting the room. We cover that approach in AI flambient editing.
What the edit takes care of
Good settings make the edit easier, and a good edit fixes what settings can't. Stager AI Auto HDR merges your brackets and handles window pull, white balancing, lens correction, perspective correction, and photographer and camera removal in mirrors and glass. If you shoot for a team, agree these settings as a standard, as we suggest in our real estate photographer onboarding checklist.
Frequently asked questions
Common starting points are RAW files on a tripod, manual or aperture priority, an aperture around f/7.1 to f/11, base ISO, a fixed white balance and focus set once. Adjust them to your camera, lens and look.
A middle aperture, commonly around f/7.1 to f/11, keeps the whole room sharp with most wide lenses. Very small apertures like f/16 or f/22 soften the image.
Many photographers work around 16 to 24 mm on a full-frame camera, or the equivalent on other sensors, and go wider only in small rooms. The widest settings stretch furniture at the edges.
A common starting point is around chest height in living rooms and bedrooms and around counter height in kitchens and bathrooms. Use the same height across a gallery and keep the camera level.
It's better to set a fixed white balance, such as daylight, so frames and rooms match. With RAW files you can still adjust it later.