On this page
- What bracketing does in real estate photography
- How many brackets for real estate photography?
- Camera settings to lock before you bracket
- Shoot so your brackets are grouped correctly
- Common bracketing mistakes and how to spot them
- Do more brackets cost more?
- What about flash and single exposures?
- From brackets to a finished photo
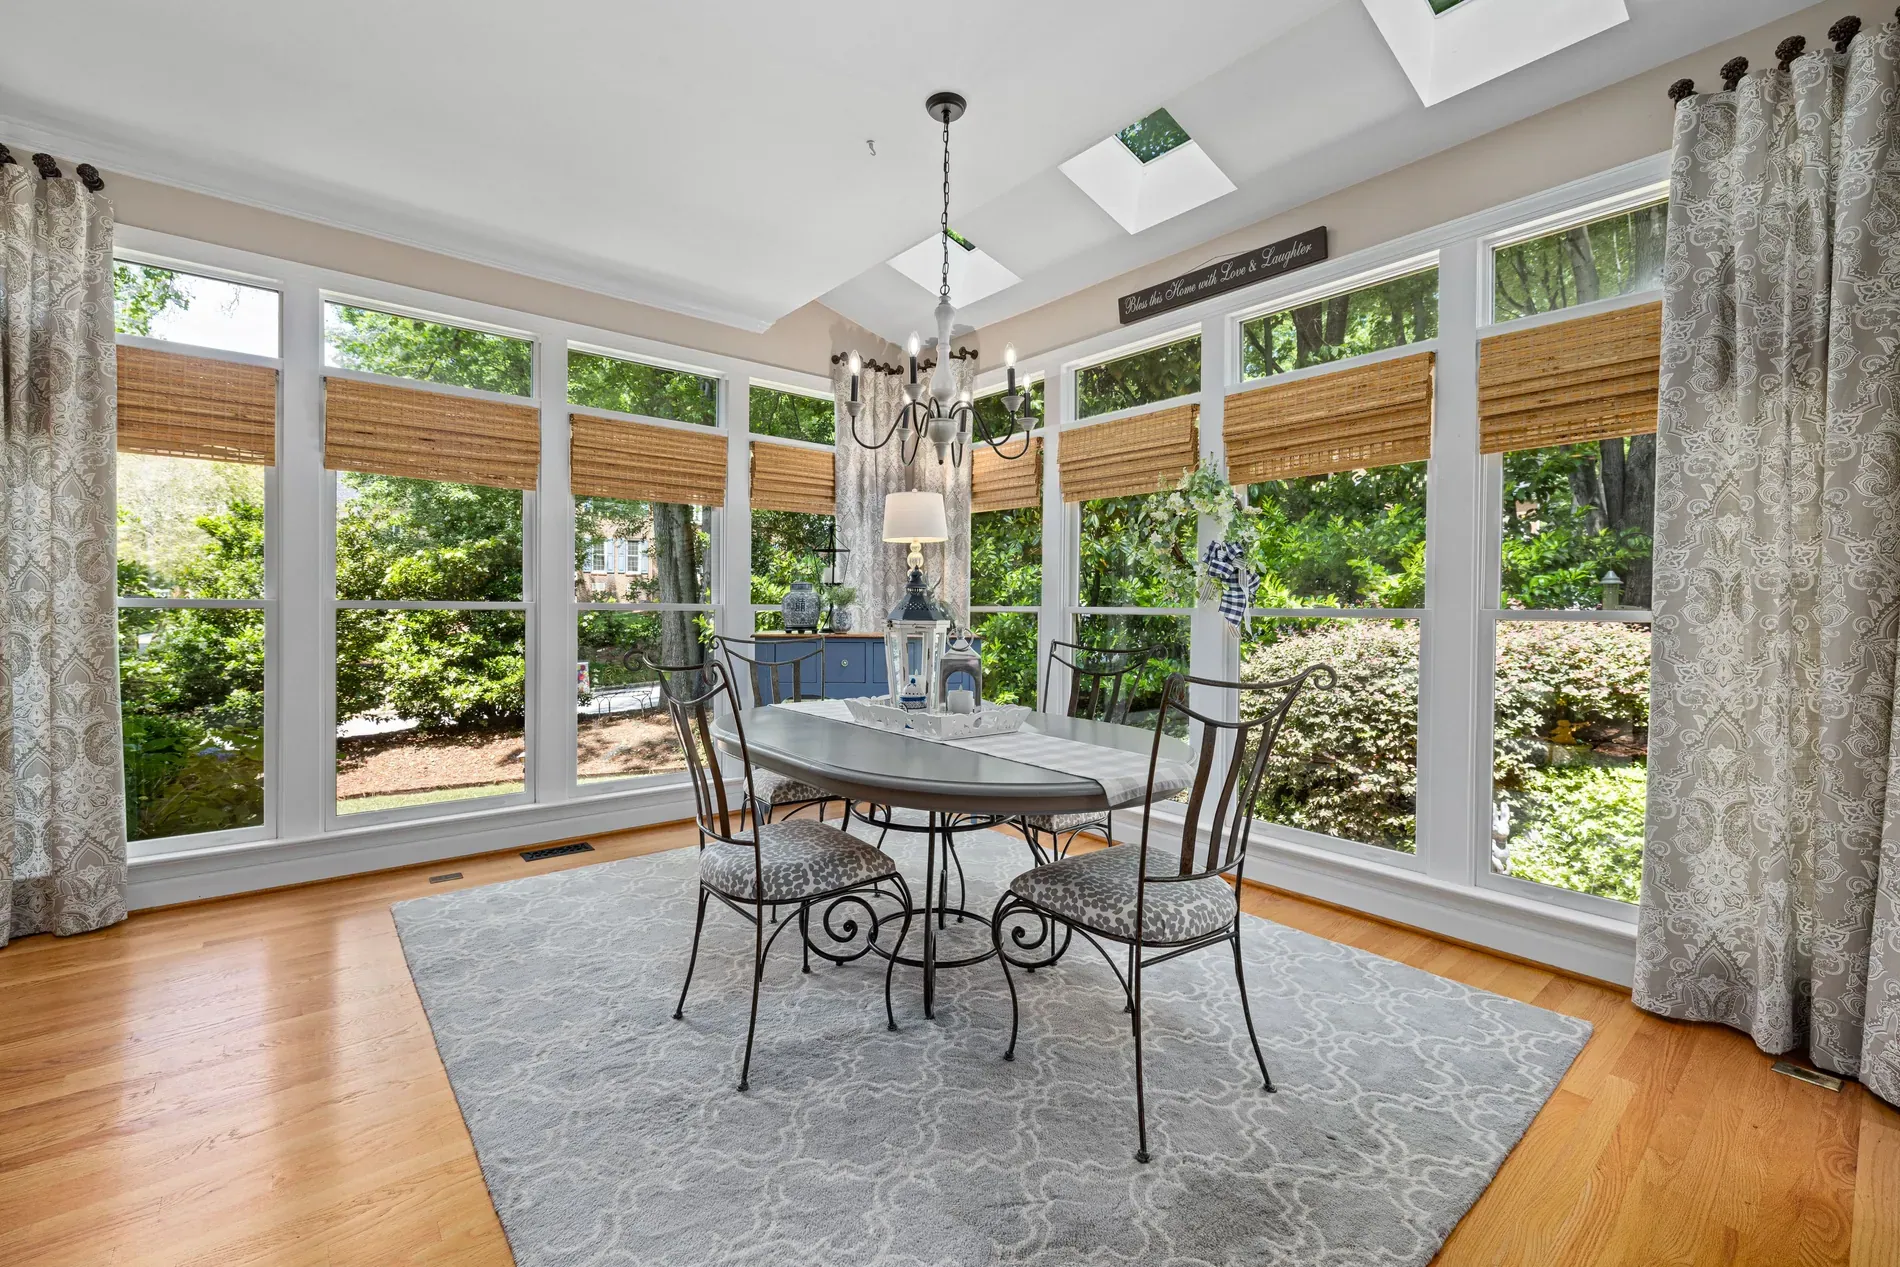
Stand in a living room on a sunny afternoon and the camera has a problem your eyes don't: the view through the window is many times brighter than the corner behind the sofa. One exposure can show the garden or the room, not both. That's why real estate photographers bracket.
This guide covers real estate photography bracketing from the photographer's side: how many brackets each kind of room needs, the camera settings to lock, how to shoot so your brackets are grouped and merged correctly, and the mistakes that show up later as halos, ghosts or grey windows.
What bracketing does in real estate photography
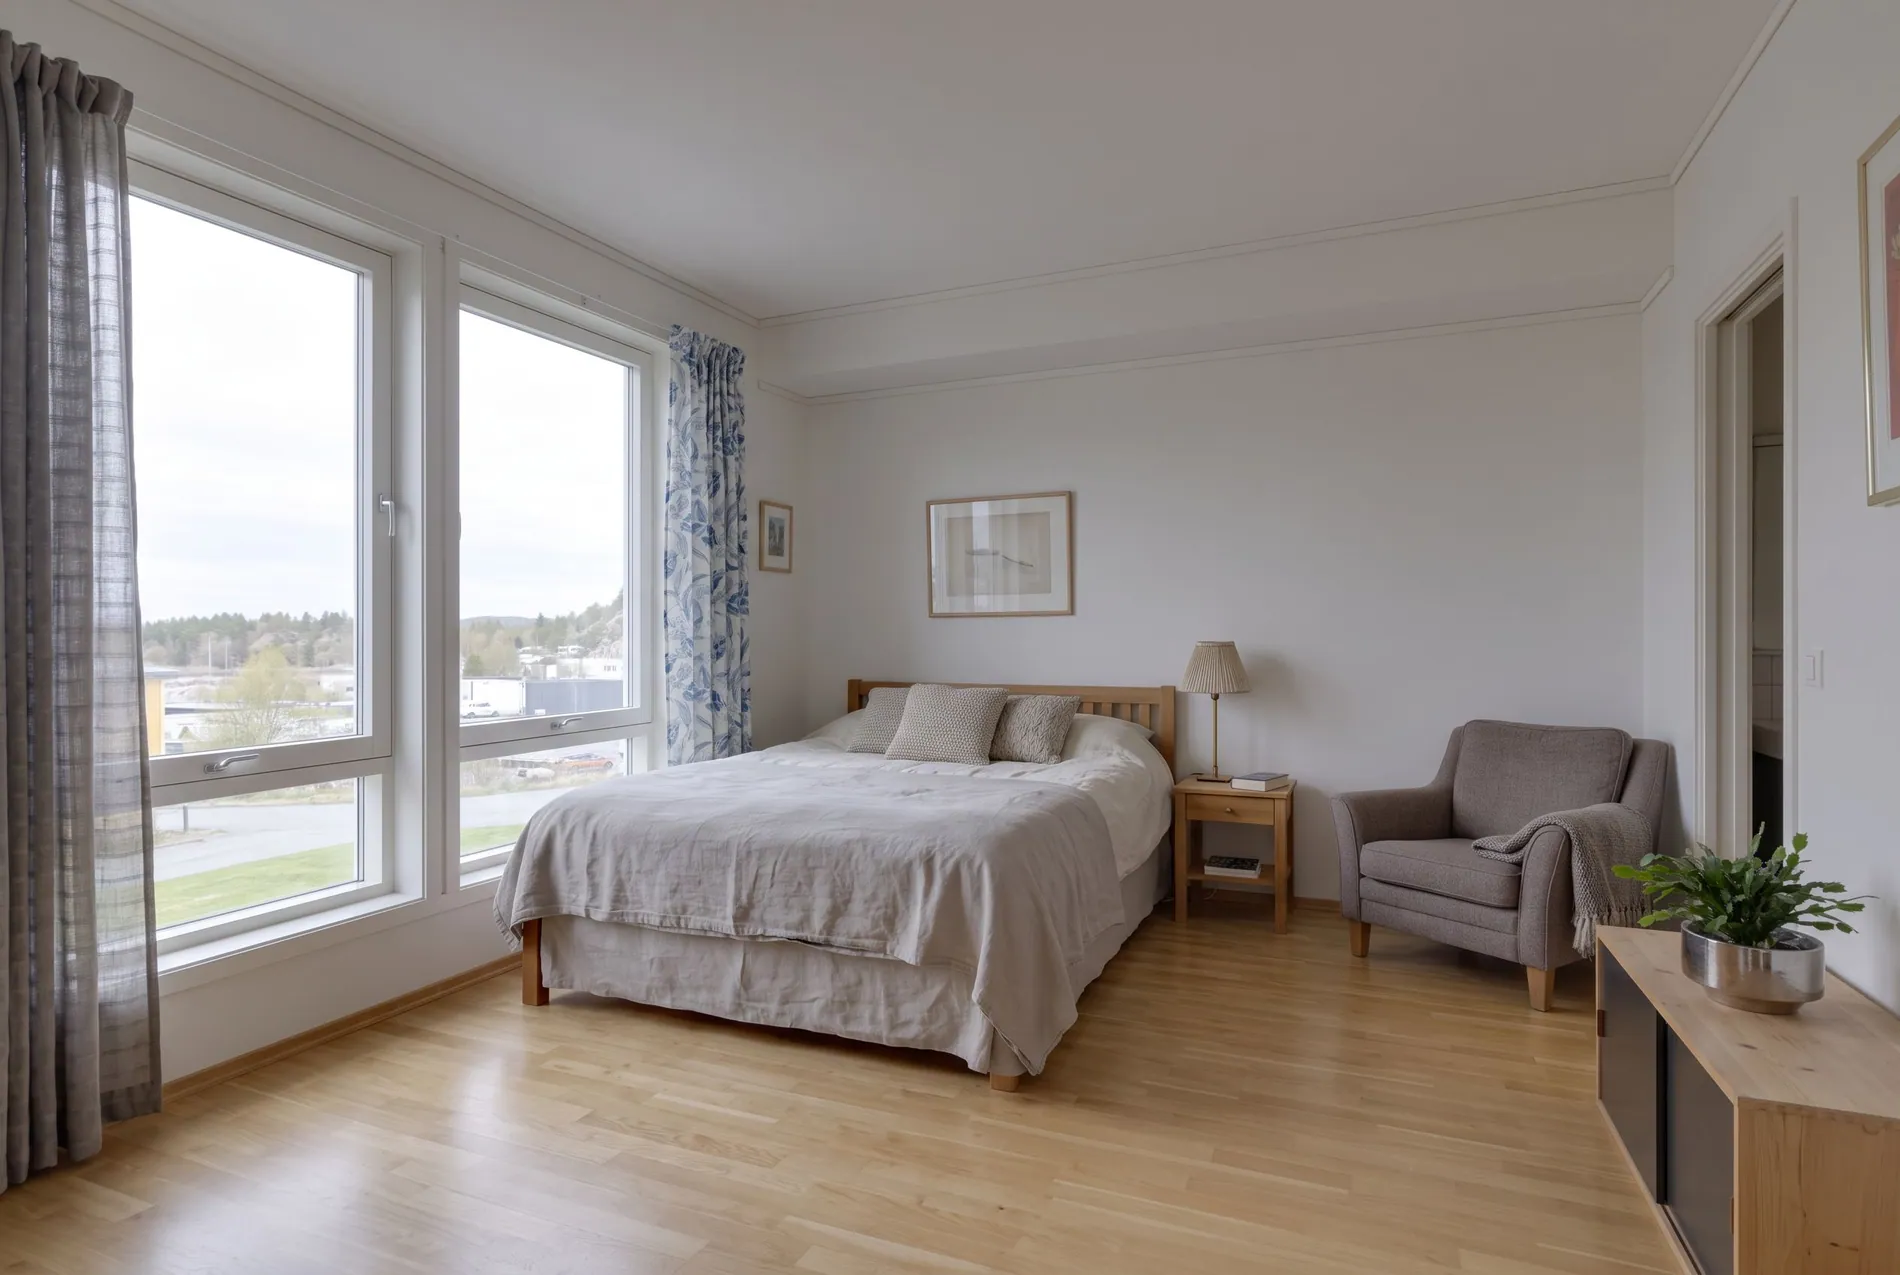
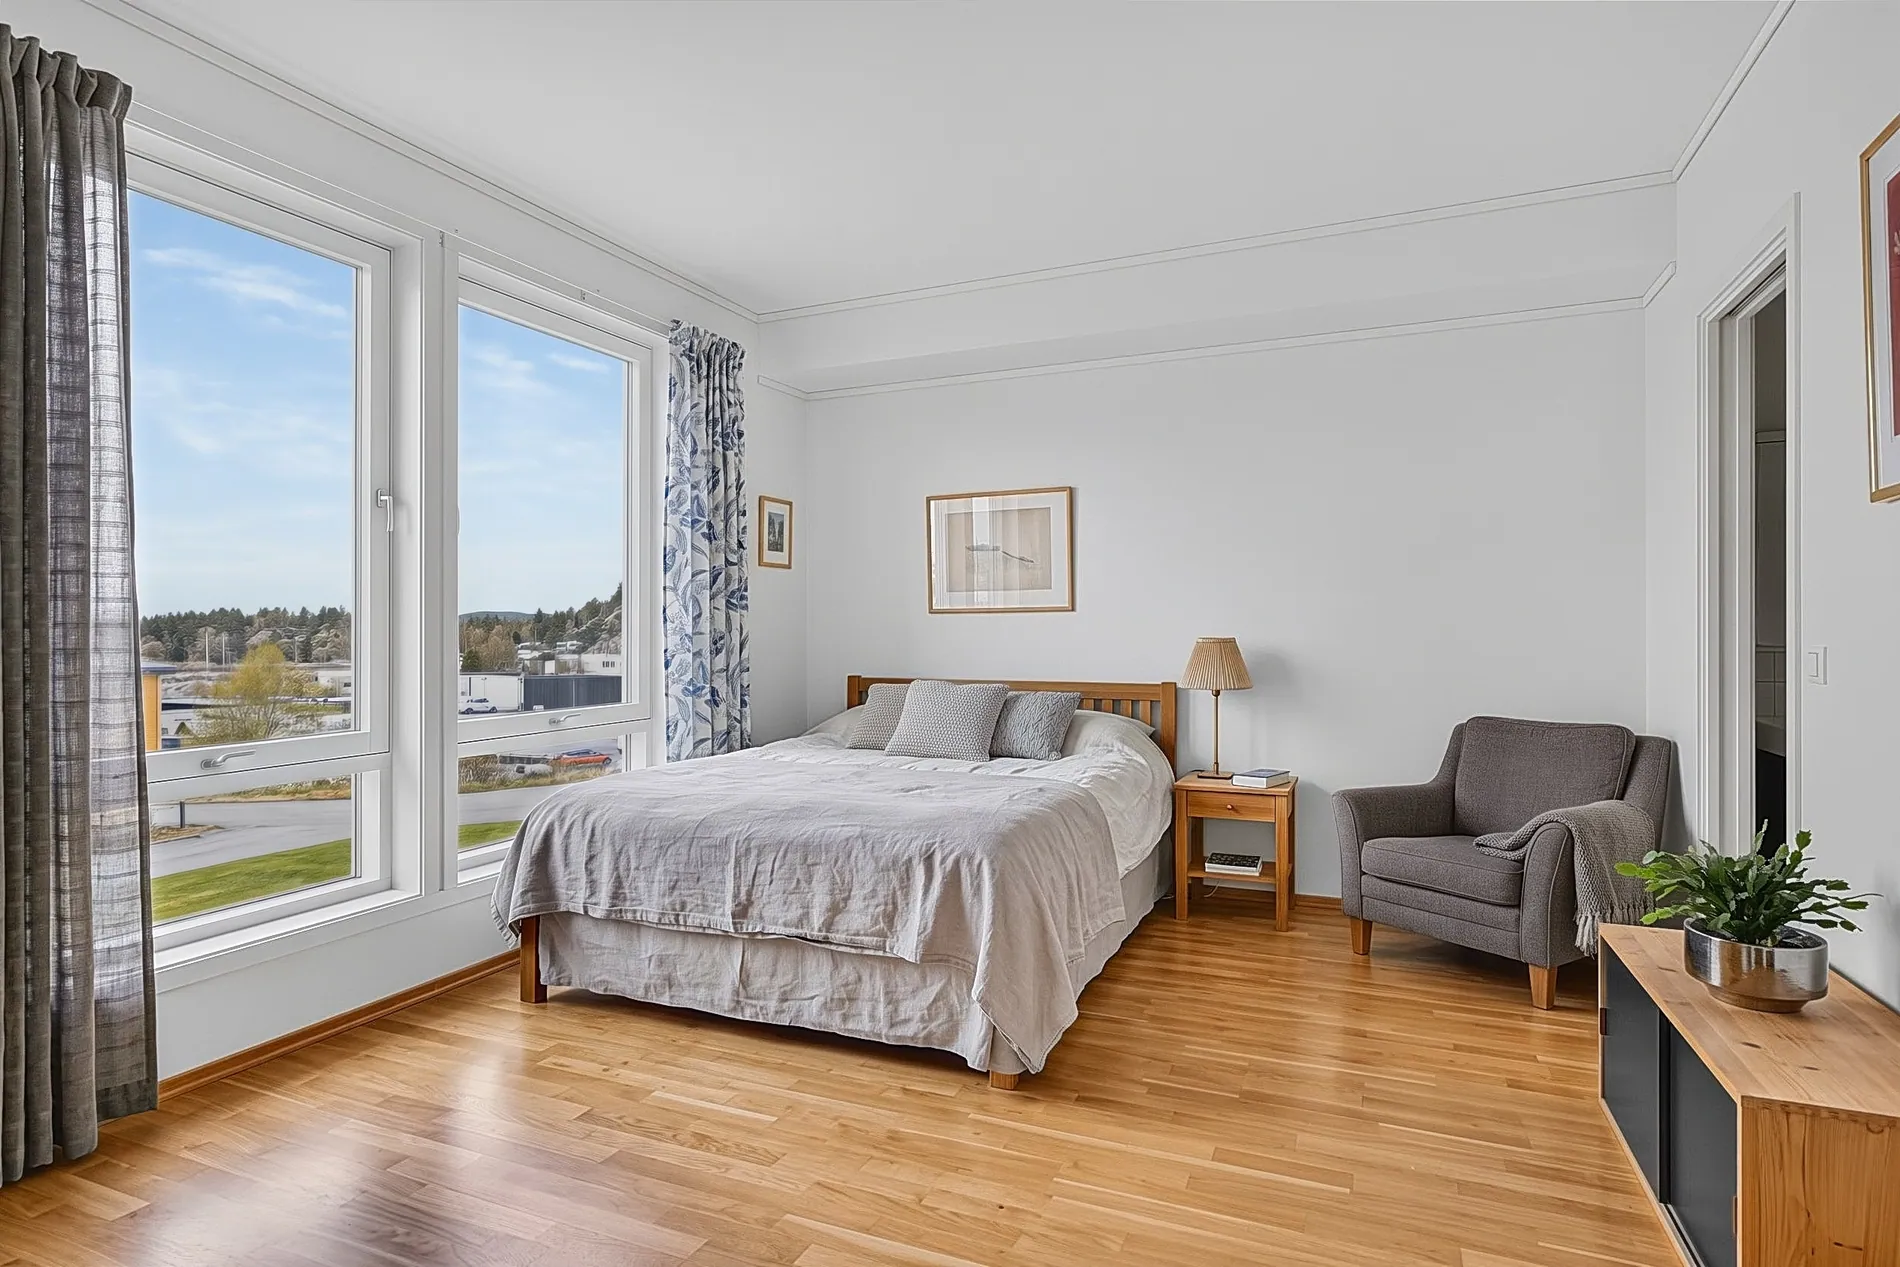
A bracket is a set of exposures of the same scene, from deliberately dark to deliberately bright. The dark frame holds the window view and the bright light fixtures. The bright frame holds the shadows under furniture and in corners. The middle frames hold everything in between.
An HDR merge combines them into one photo that looks like what you saw in the room. Done well, the windows show the view, the room is evenly lit and nothing looks over-processed. If your merges tend to look flat or grey, see why HDR real estate photos look fake.
How many brackets for real estate photography?
The right number depends on the contrast in the scene, not on the size of the room. These are common starting points; adjust them to your camera and your look.
| Brackets | Common spacing | Use it for | Trade-off |
|---|---|---|---|
| 3 | 2 stops apart | Most interiors, overcast days, exteriors | Can lose detail in very bright windows |
| 5 | 1 to 2 stops apart | Bright windows with a darker room, kitchens with spotlights | More files to upload and store |
| 7 | 1 stop apart | Dim rooms facing direct sun, dark wood interiors | Slowest to shoot, more risk of movement |
When 3 brackets are enough
Most rooms on an overcast day, bathrooms without windows and nearly all exteriors fit comfortably in three frames: one at the metered exposure, one 2 stops darker and one 2 stops brighter. If you're unsure, start here and check the darkest frame: if the window view is still white, add brackets.
When to shoot 5 or 7
Move to 5 when the window view is bright and the room is noticeably darker, which describes most living rooms on a sunny day. Go to 7 only for extreme cases: a dim room with dark floors facing direct sun, or a twilight interior with every lamp on. More frames give the merge more to work with, but each one adds time on site and a chance that something moves.
Camera settings to lock before you bracket
The frames in a bracket should differ in brightness and nothing else. That means locking every setting except the shutter speed:
- Mode: manual or aperture priority, so the camera changes only the shutter speed between frames.
- Aperture: fixed, usually in the middle of the lens's range for sharpness from front to back.
- ISO: fixed at your camera's base ISO. Auto ISO changes noise and brightness between frames.
- Focus: set once, then switch to manual focus so it doesn't hunt between frames.
- White balance: fixed rather than auto, so frames match. With RAW files you can still adjust it later.
- File format: RAW. Stager AI accepts RAW (ARW, CR3, NEF, DNG and more), JPEG, PNG and TIFF, but RAW keeps the most detail in highlights and shadows.
Use the camera's automatic exposure bracketing (AEB), a tripod and a 2-second timer or a remote, so all frames are fired without touching the camera.
Shoot so your brackets are grouped correctly
When you upload a whole shoot, the editor has to work out which frames belong together before it can merge anything. Stager AI reads each photo's capture time and exposure data to group brackets into scenes automatically. A few habits make that reliable:
- Fire each bracket in one burst with auto-bracketing. Frames of one bracket are taken seconds apart; scenes are usually further apart.
- Pause between scenes. Moving the tripod to the next angle naturally creates that gap. Frames taken more than 15 seconds apart are never treated as one bracket.
- Don't move the camera mid-bracket. If you bump the tripod, shoot the bracket again.
- Keep the original files and their metadata. Exporting or renaming in a way that strips the capture time makes grouping harder.
- Don't mix RAW and JPG of the same frame. If your camera saves both, upload one. Shoots coming in through Dropbox skip the duplicate JPGs automatically.
Common bracketing mistakes and how to spot them
| Mistake | What you see after the merge | Fix |
|---|---|---|
| Too few brackets for the scene | Grey or white windows | Add darker frames, or shoot 5 instead of 3 |
| Auto ISO or changing aperture | Uneven noise, odd tones | Lock ISO and aperture |
| Camera moved between frames | Soft edges, double lines | Tripod, timer or remote; reshoot the bracket |
| People, pets or trees moving | Ghosts in part of the frame | Wait for the scene to be still |
| More than 7 frames in a set | The set isn't merged | Reduce the bracket count or split the scene |
| Files renamed or re-exported | Brackets grouped incorrectly | Upload the original camera files |
Stager AI aligns the frames and removes ghosting from small movements, but the cleanest result always starts with a steady camera and a still scene.
Do more brackets cost more?
Not with Stager AI. Each bracket set counts as 1 final photo, whether it has 3, 5 or 7 exposures. So the choice should be about the scene, not the bill. The real costs of more frames are time on site, storage and upload time. If you use Dropbox auto-import with a daily file limit, note that each exposure counts as one file there.
What about flash and single exposures?
Bracketing isn't the only way. Some photographers combine ambient brackets with a flash frame (flambient), and some shoot single flash exposures for speed. Stager AI accepts all three. We cover the flash approach in AI flambient editing.
From brackets to a finished photo
With Stager AI Auto HDR, you upload whole shoots of 3 to 7 bracketed exposures in RAW or JPEG. Stager AI groups the brackets into scenes, aligns them, removes ghosting, pulls the window views and merges each set into one balanced photo at full resolution. Read how AI HDR merging works for the details, or the full workflow from bracketed shots to delivery.
Frequently asked questions
Three brackets about 2 stops apart cover most interiors and exteriors. Shoot 5 when windows are bright and the room is darker, and 7 only for extreme contrast, such as a dim room facing direct sun.
Manual or aperture priority with a fixed aperture, base ISO, fixed focus and fixed white balance, in RAW, on a tripod with auto-bracketing and a 2-second timer or remote. Only the shutter speed should change between frames.
No. Each bracket set counts as 1 final photo, whether it has 3, 5 or 7 exposures.
Stager AI merges sets of up to 7 exposures. A set with more than 7 frames stops with an error and its photo credit is refunded.
It reads each photo's capture time and exposure data to group frames into scenes. Firing each bracket in one burst, pausing between scenes and uploading the original camera files keeps grouping reliable.