On this page
Sooner or later every real estate photographer shoots a home in the dark. In the Nordic winter, it happens every day. Low light real estate photography isn't harder than daylight work, but it's less forgiving. Small mistakes on set, like a hand-held shot, one bracket too few or a mix of cold and warm bulbs, show up clearly in the edit.
This guide covers the shooting side step by step, then how to edit the brackets so the result looks like a deliberate evening photo, not an underexposed day.
Gear: what changes in low light
- A solid tripod. Exposures of one second or longer are normal. Any movement between brackets blurs the merge.
- A remote or the self-timer, so pressing the shutter doesn't shake the camera.
- A wide lens you already know well. Focus can be harder to find in the dark, so use live view and magnify on a lit edge.
- Spare batteries. Long exposures and cold weather both drain them faster.
Camera settings for low light real estate photography
The aim is clean files with as little noise as possible. That means letting the shutter, not the ISO, do the work.
| Setting | Starting point | Why |
|---|---|---|
| ISO | 100–400 | Low ISO keeps noise down in the shadows. |
| Aperture | f/7.1–f/9 | Sharp from front to back without diffraction. |
| Shutter | Whatever the bracket needs, often 1/4 s to several seconds | The tripod makes long exposures safe. |
| White balance | Fixed, around 3200–4000 K indoors | Keeps brackets consistent; a fixed value is easier to edit. |
| Format | RAW | More room to recover shadows and highlights. |
For the full daylight setup, see our best camera settings for real estate photography.
Bracketing in the dark
The dynamic range in a dark room with lamps on is wide. The bulb itself is very bright, the corner behind the sofa is very dark. Three brackets often isn't enough. Shoot 5 to 7 frames, 1 to 2 stops apart, so the darkest frame holds the lamps and windows and the brightest frame opens up the shadows. Our real estate bracketing guide explains how to choose.
Lights: your main tool after dark
In daylight, the window is the main light. After dark, the home's own lights are. Use that.
- Turn on every light, including under-cabinet strips, wall lights and outdoor lights.
- Replace dead bulbs before you start. One dark spot in a pendant row is the first thing people notice.
- Match color temperature where you can. A cold LED next to a warm bulb gives two colors of light in one room.
- Avoid bright bulbs pointing at the lens. Turn the shade or shift your angle so the bulb isn't a hot spot.
What to shoot first
- 1Rooms with an important view. Shoot them while there's still some light outside, otherwise the windows go black or reflect the room.
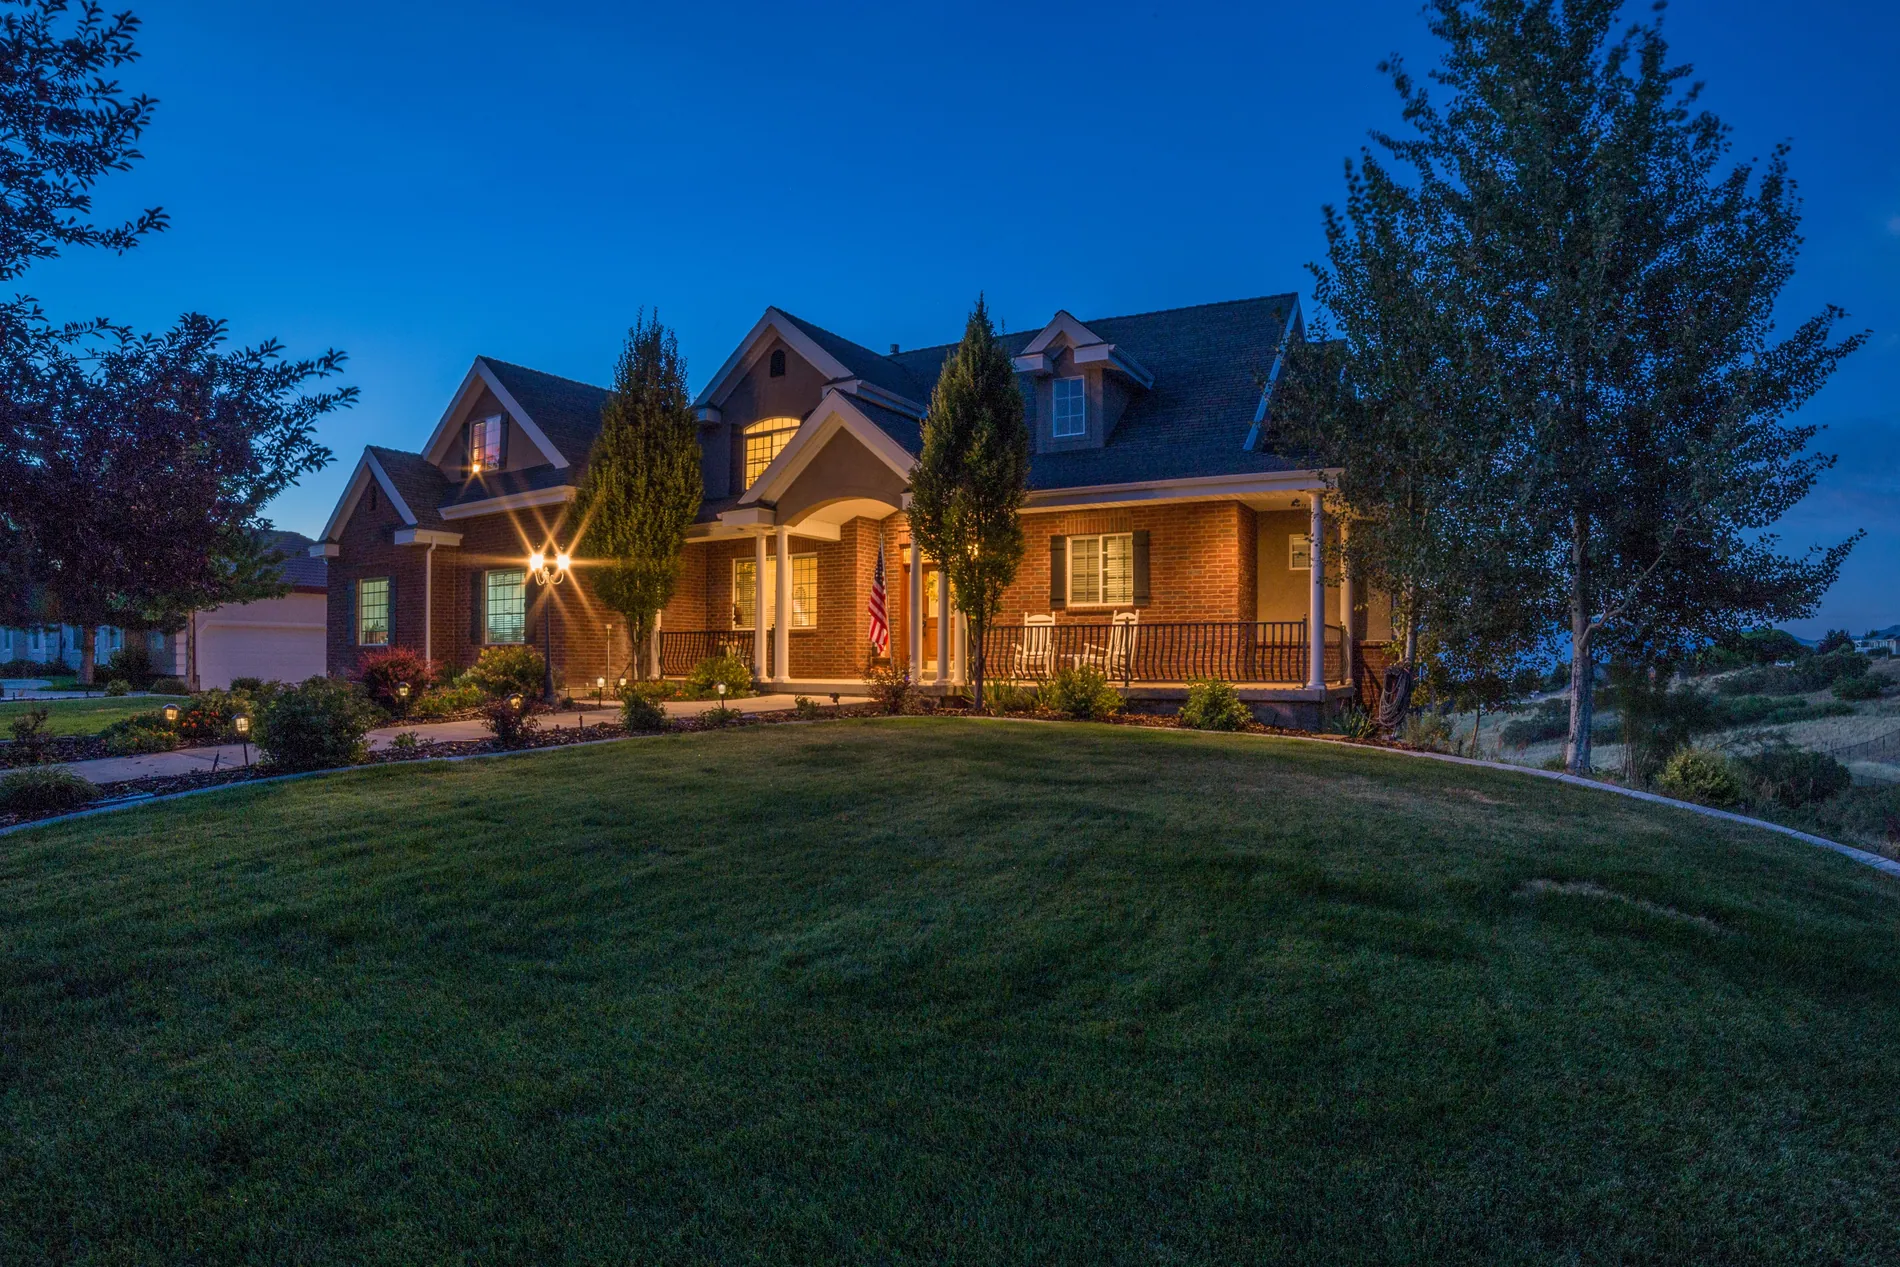
- 2The front exterior at blue hour, when the sky is still blue. See our blue hour real estate photography guide.
- 3The rest of the interiors, which can be shot fully after dark.
How to edit low light real estate photos
There are two ways to edit a shoot that happened in the dark. You can push it towards daylight: lift the shadows, cool the white balance, brighten the windows. That rarely works well. The sky goes grey, noise appears and the light feels wrong for the time it was shot.
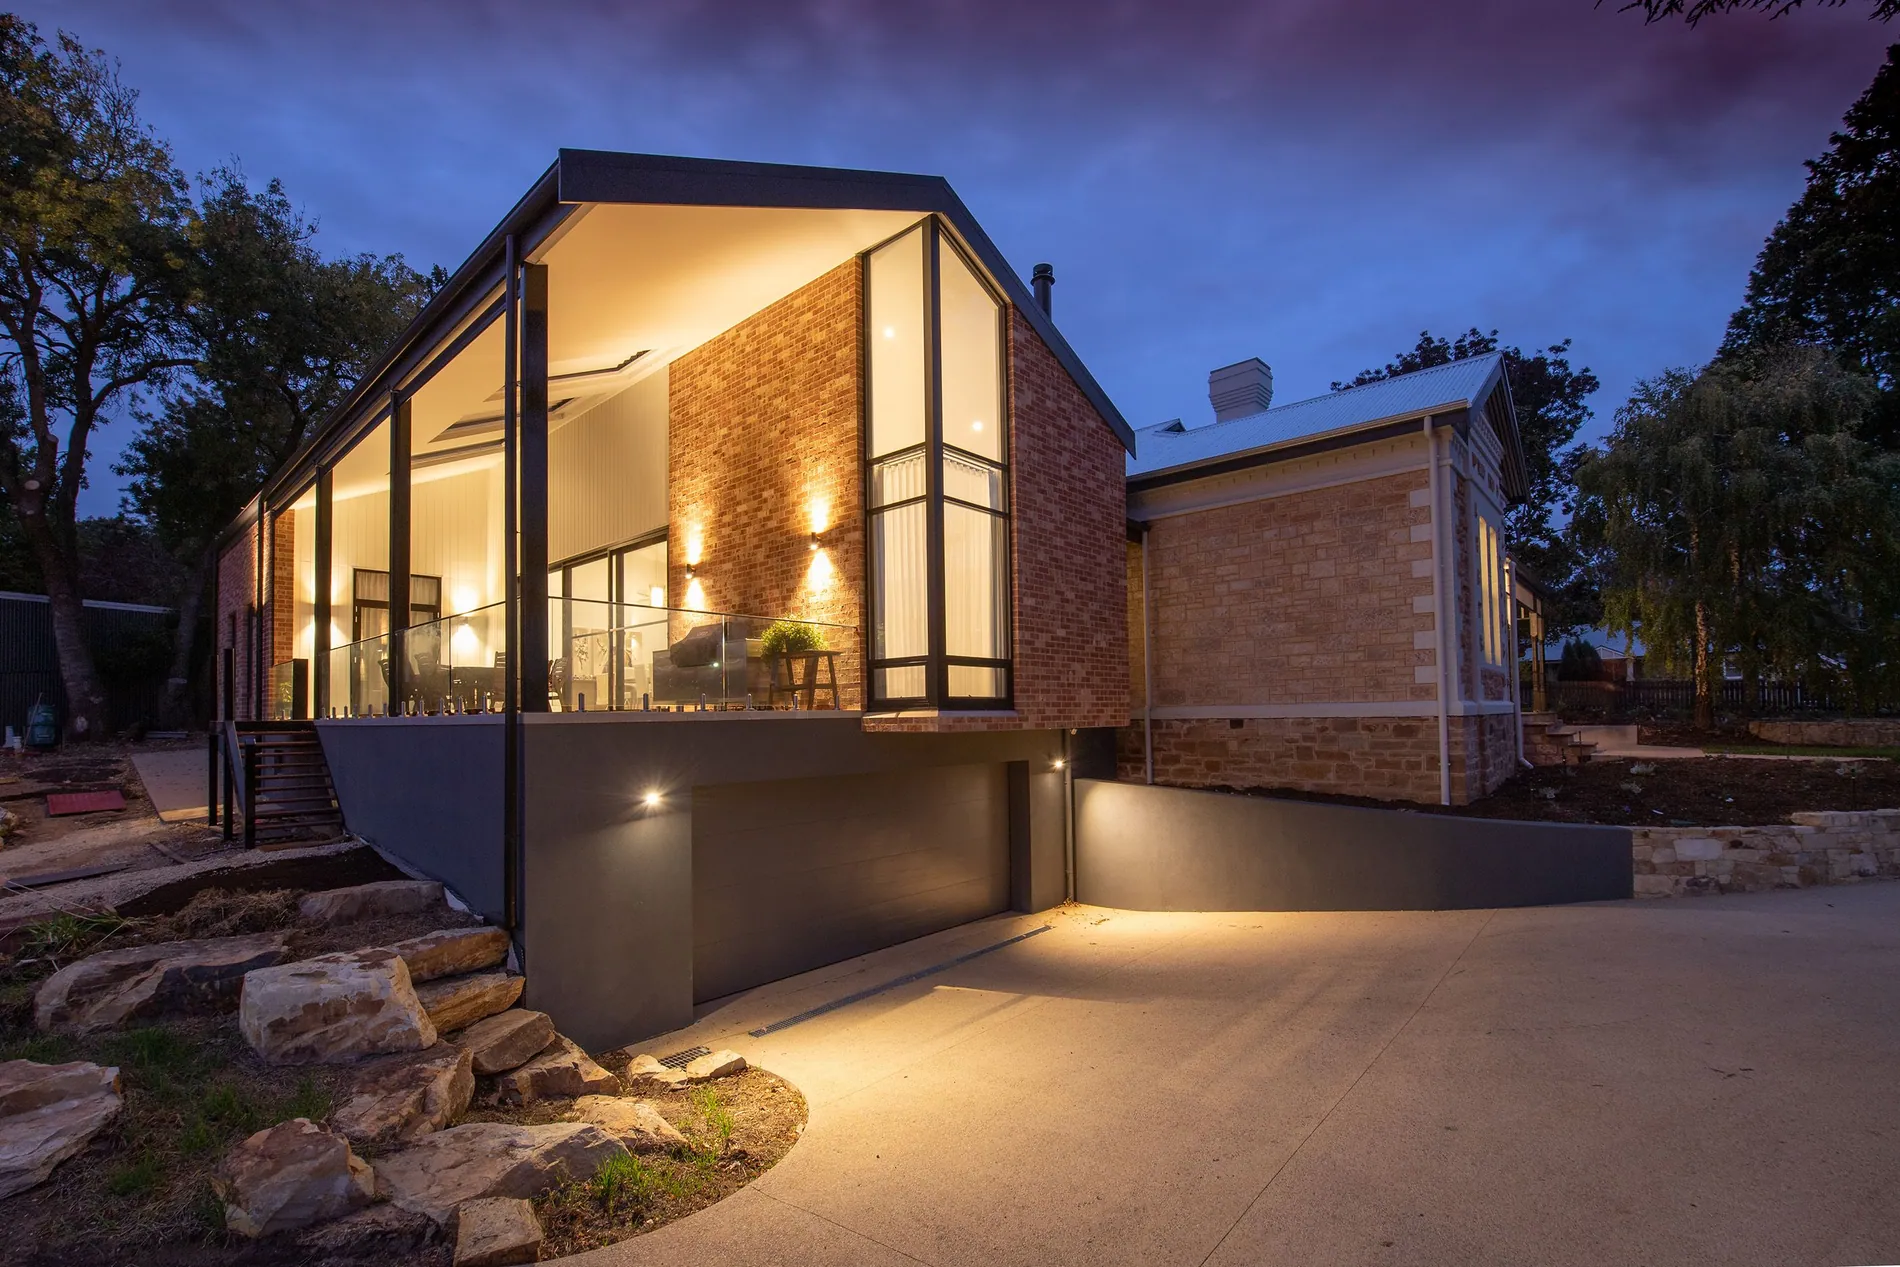
Or you can edit it as what it is: an evening. Keep a deep blue in the sky and windows, let the lamps glow warm, and keep the shadows dark enough to feel like evening while holding detail. Done well, the result looks like a deliberate twilight shoot.
That's what Stager Twilight does automatically. It's an editing style in Stager AI Auto HDR, built for brackets shot in low light or after dark, interiors and exteriors. Upload the brackets, pick Stager Twilight, and the whole shoot comes back in about 1–5 minutes at full resolution. The introduction to Stager Twilight explains what it changes and what it leaves alone.
Frequently asked questions
A good starting point is ISO 100–400, f/7.1–f/9, RAW and a fixed white balance, with the shutter speed set by each bracket on a tripod.
Usually 5 to 7 frames, 1 to 2 stops apart, so the darkest holds the lamps and windows and the brightest opens up the shadows.
Usually not. Pushing dark brackets to daylight tends to give grey skies, noise and light that feels wrong. Editing them as twilight on purpose looks more natural.
Stager Twilight, an Auto HDR editing style built for brackets shot in low light or after dark, interiors and exteriors.