On this page
A great set of photos in the wrong order still undersells a home. Portals usually show the first photo in search results and the first few at the top of the listing, so that's where buyers decide whether to click and keep scrolling. Getting the real estate listing photo order right costs nothing and changes what buyers see first.
This guide is for agents uploading listings, and for real estate photographers who deliver galleries already in order. It covers the cover photo, the first five, a sequence that follows a walkthrough, and what goes at the end.
The cover photo: the one that earns the click
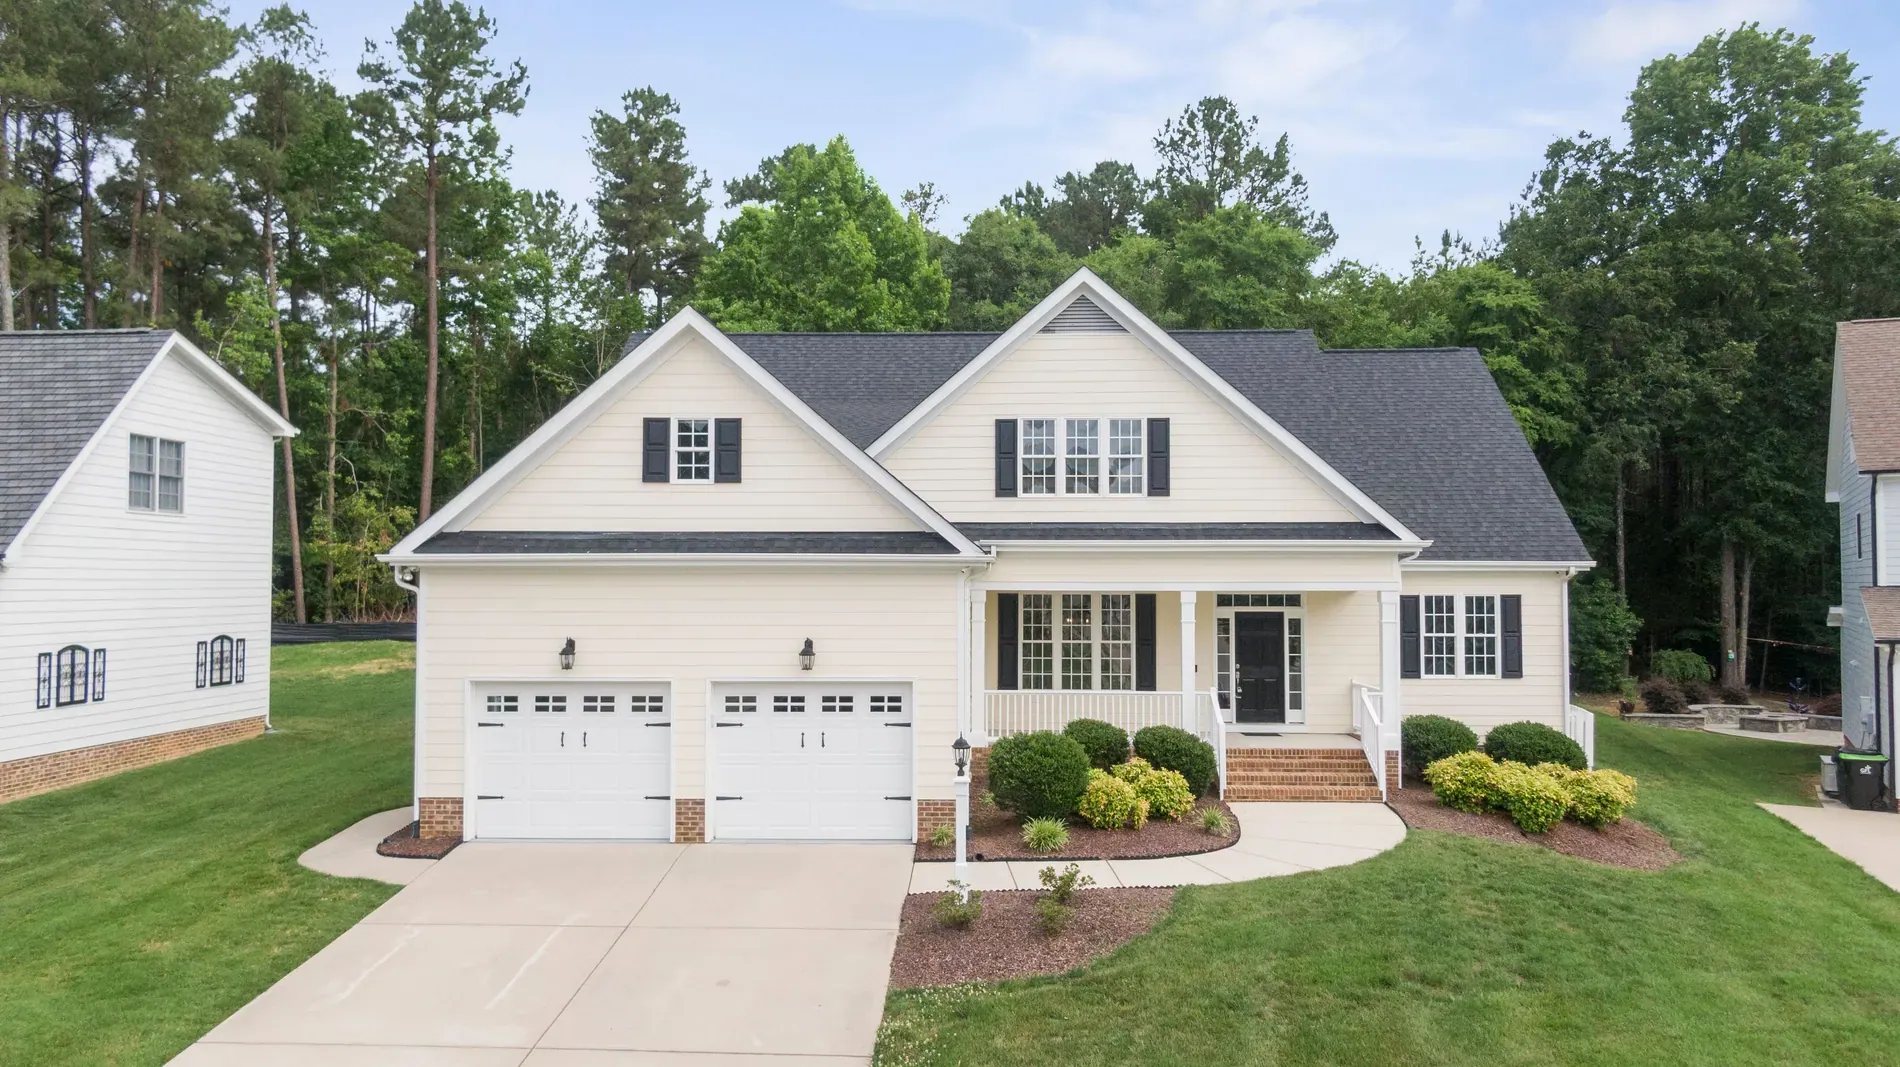
The first photo works like a thumbnail. In search results it sits next to dozens of others, often small, so it needs to read instantly. Most of the time that's the front exterior: it tells buyers what kind of home this is. Lead with something else when it's clearly the stronger selling point, such as a sea view from the terrace, a pool or an unusually good living room.
- Choose a wide, bright, simple photo. Small details disappear at thumbnail size.
- Check how it crops. Some portals crop the cover to a different shape; keep the house centered.
- Consider a twilight version. A dusk exterior stands out in a feed of daytime photos. See virtual twilight for real estate.
- Don't lead with a staged or heavily edited room if the portal requires it to be labeled; it's better to lead with the real exterior.
The first five photos
After the cover, buyers usually see a handful of photos before deciding to scroll on. Put the rooms that sell the home here:
- 1Cover: front exterior or the best view.
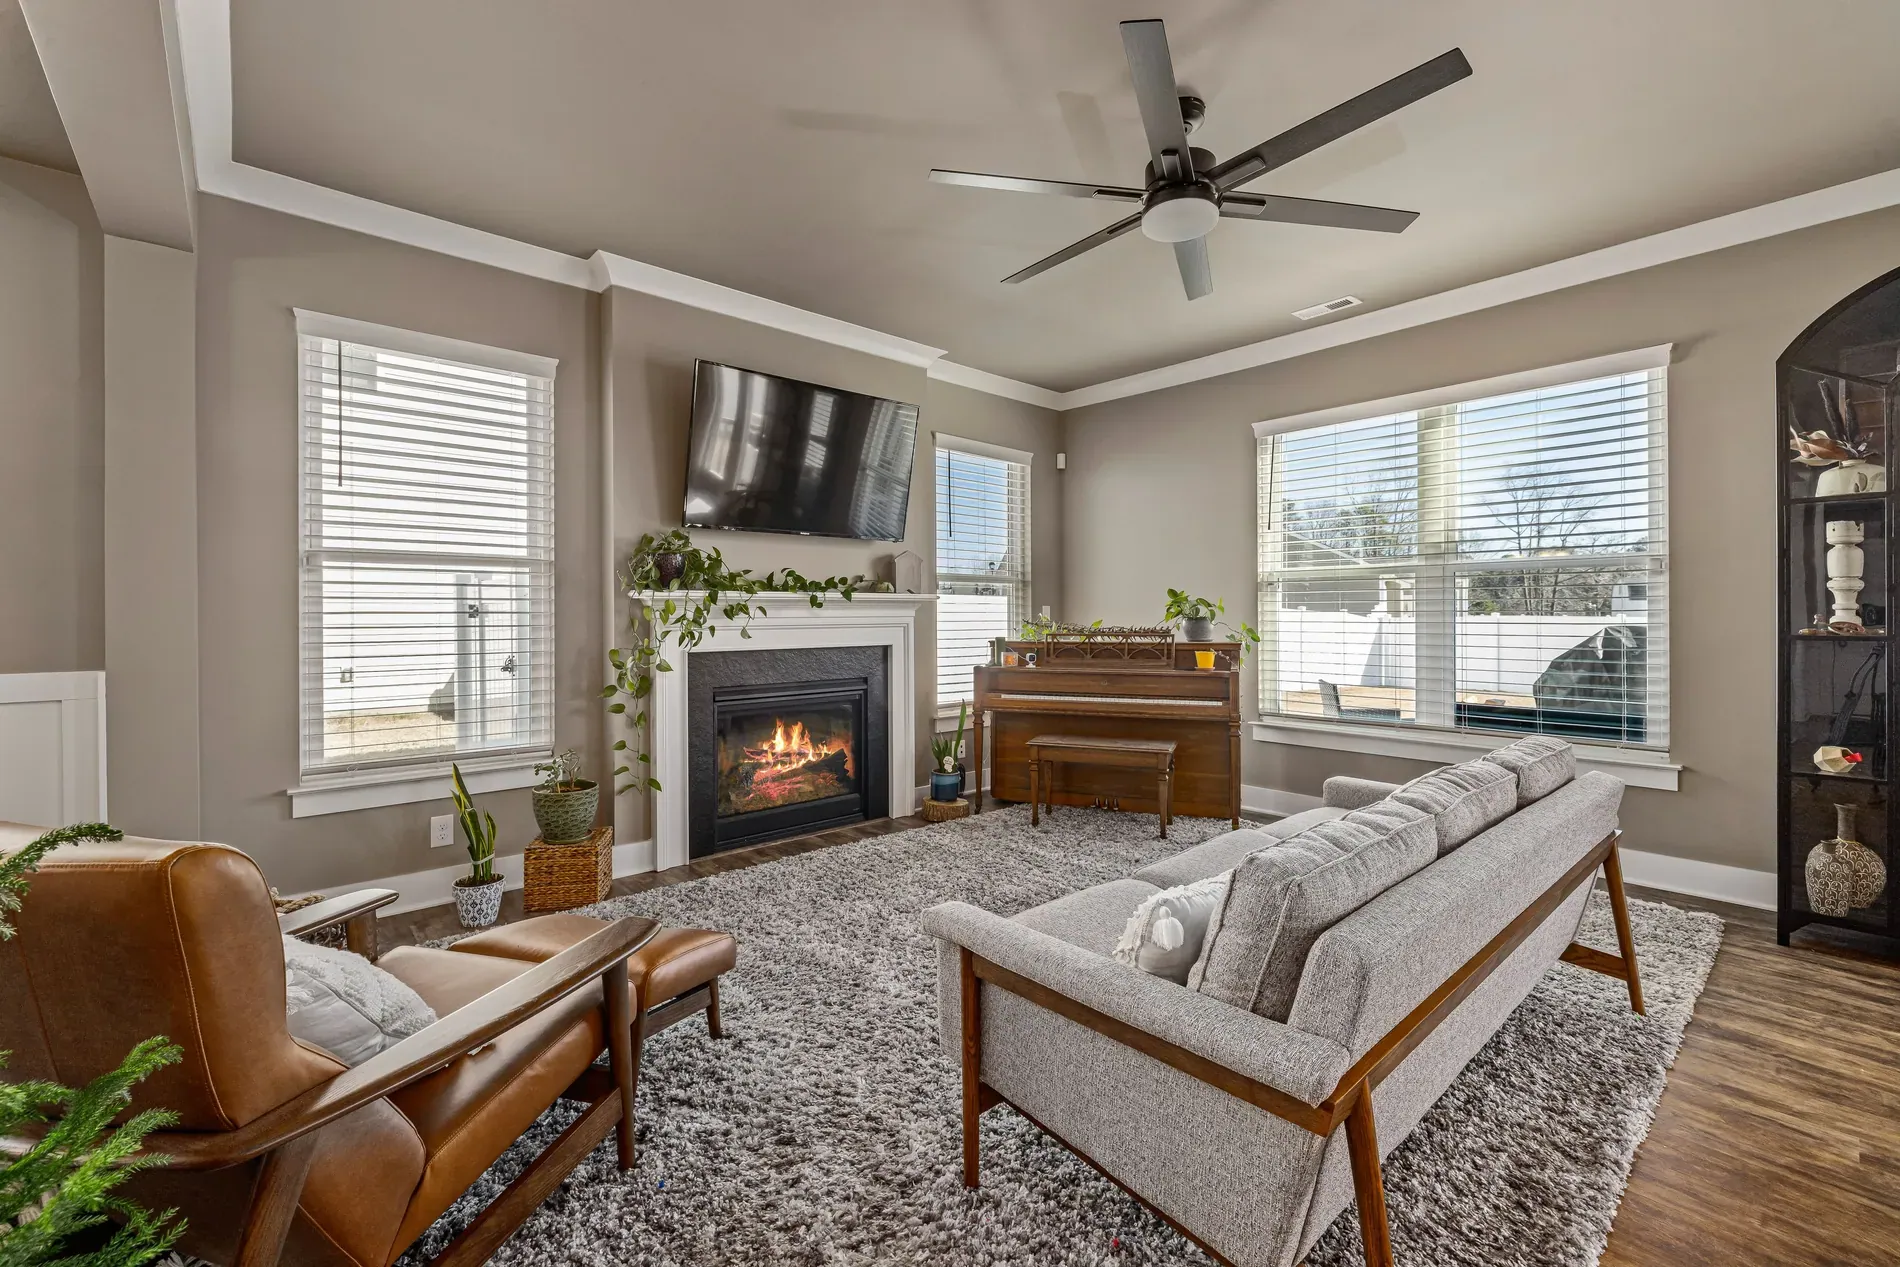
- 2Main living space: the widest, brightest living room shot.
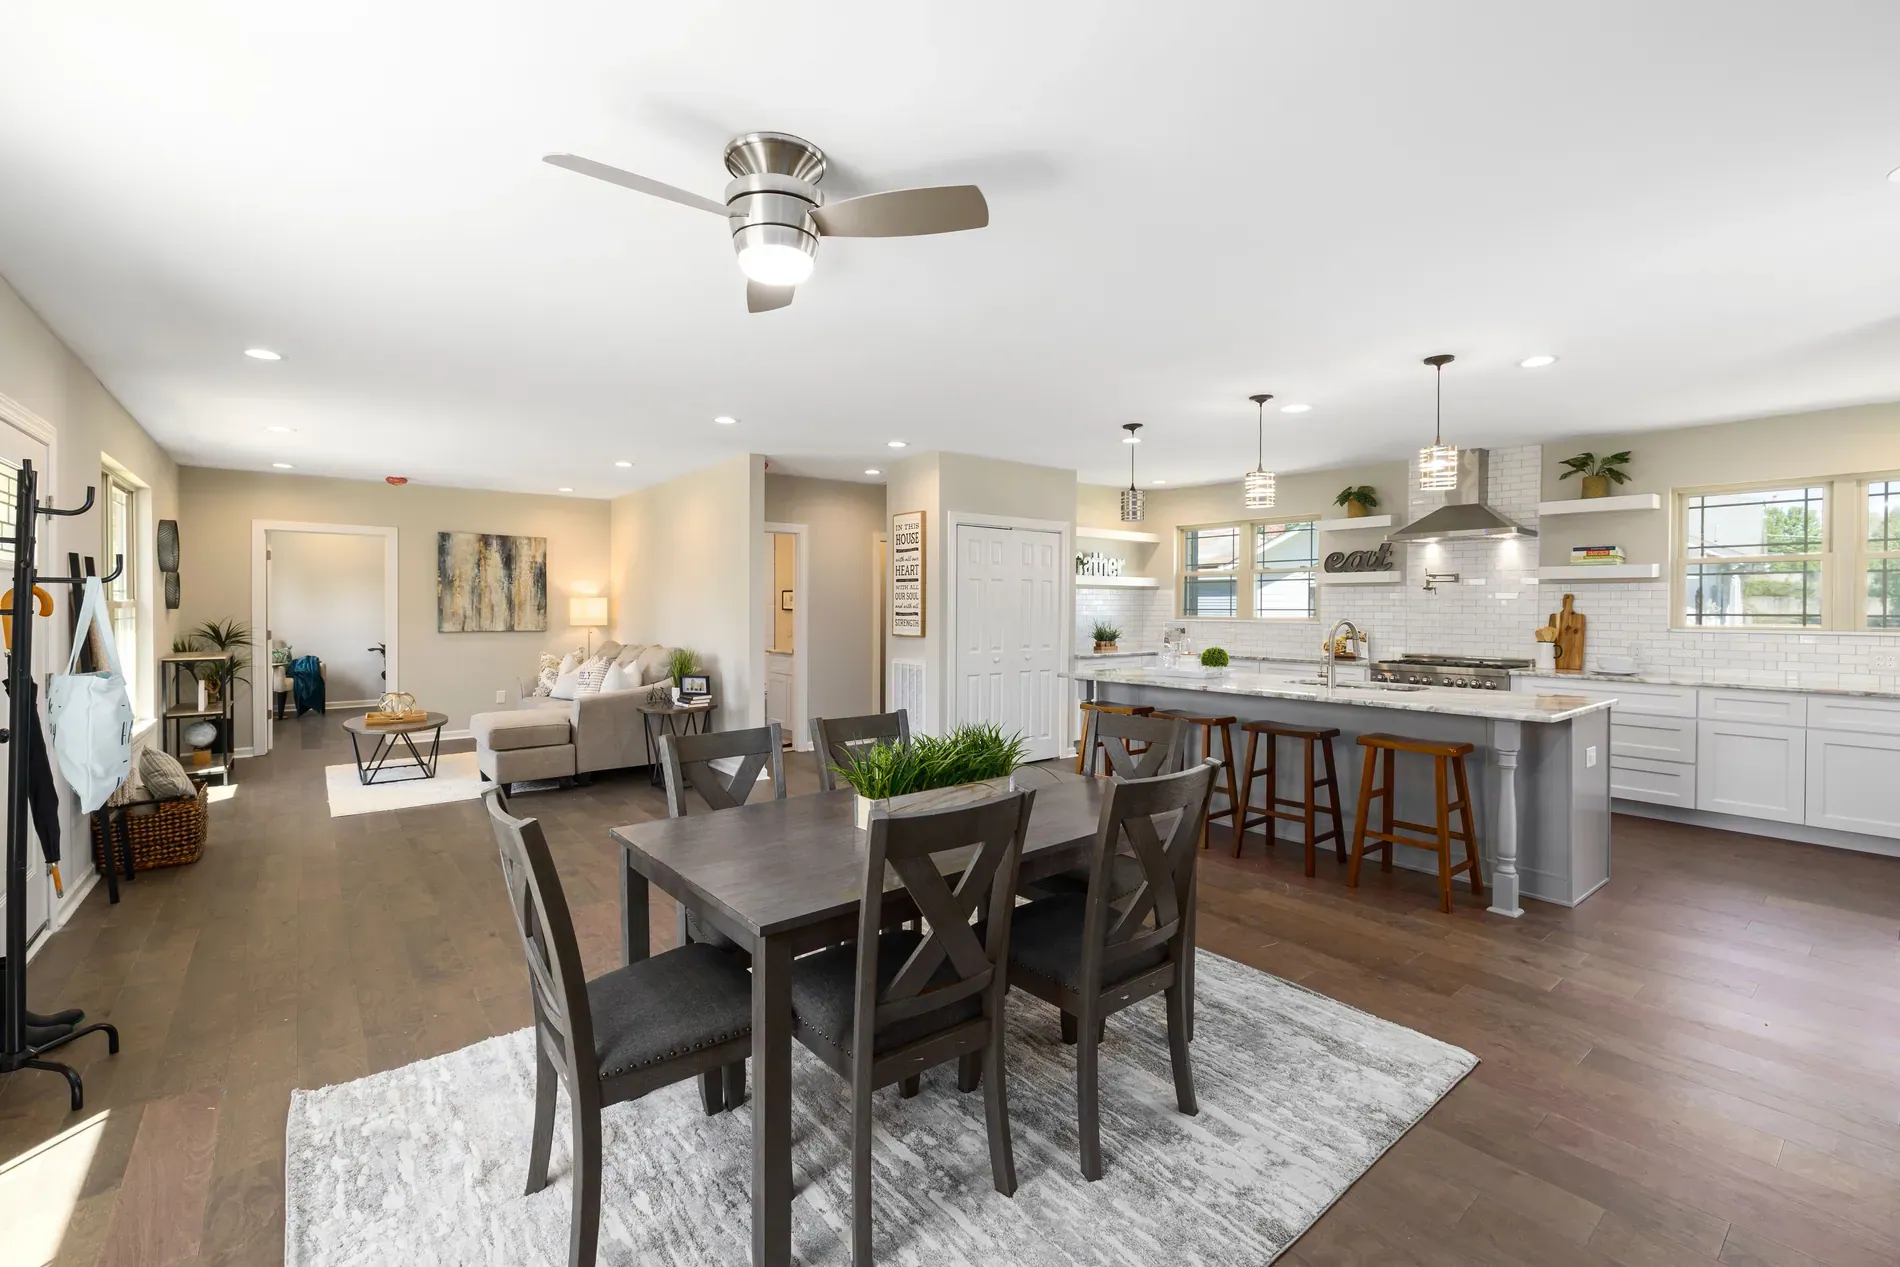
- 3Kitchen: a wide view of the whole layout.
- 4The standout feature: a view, terrace, pool or garden.
- 5Primary bedroom.
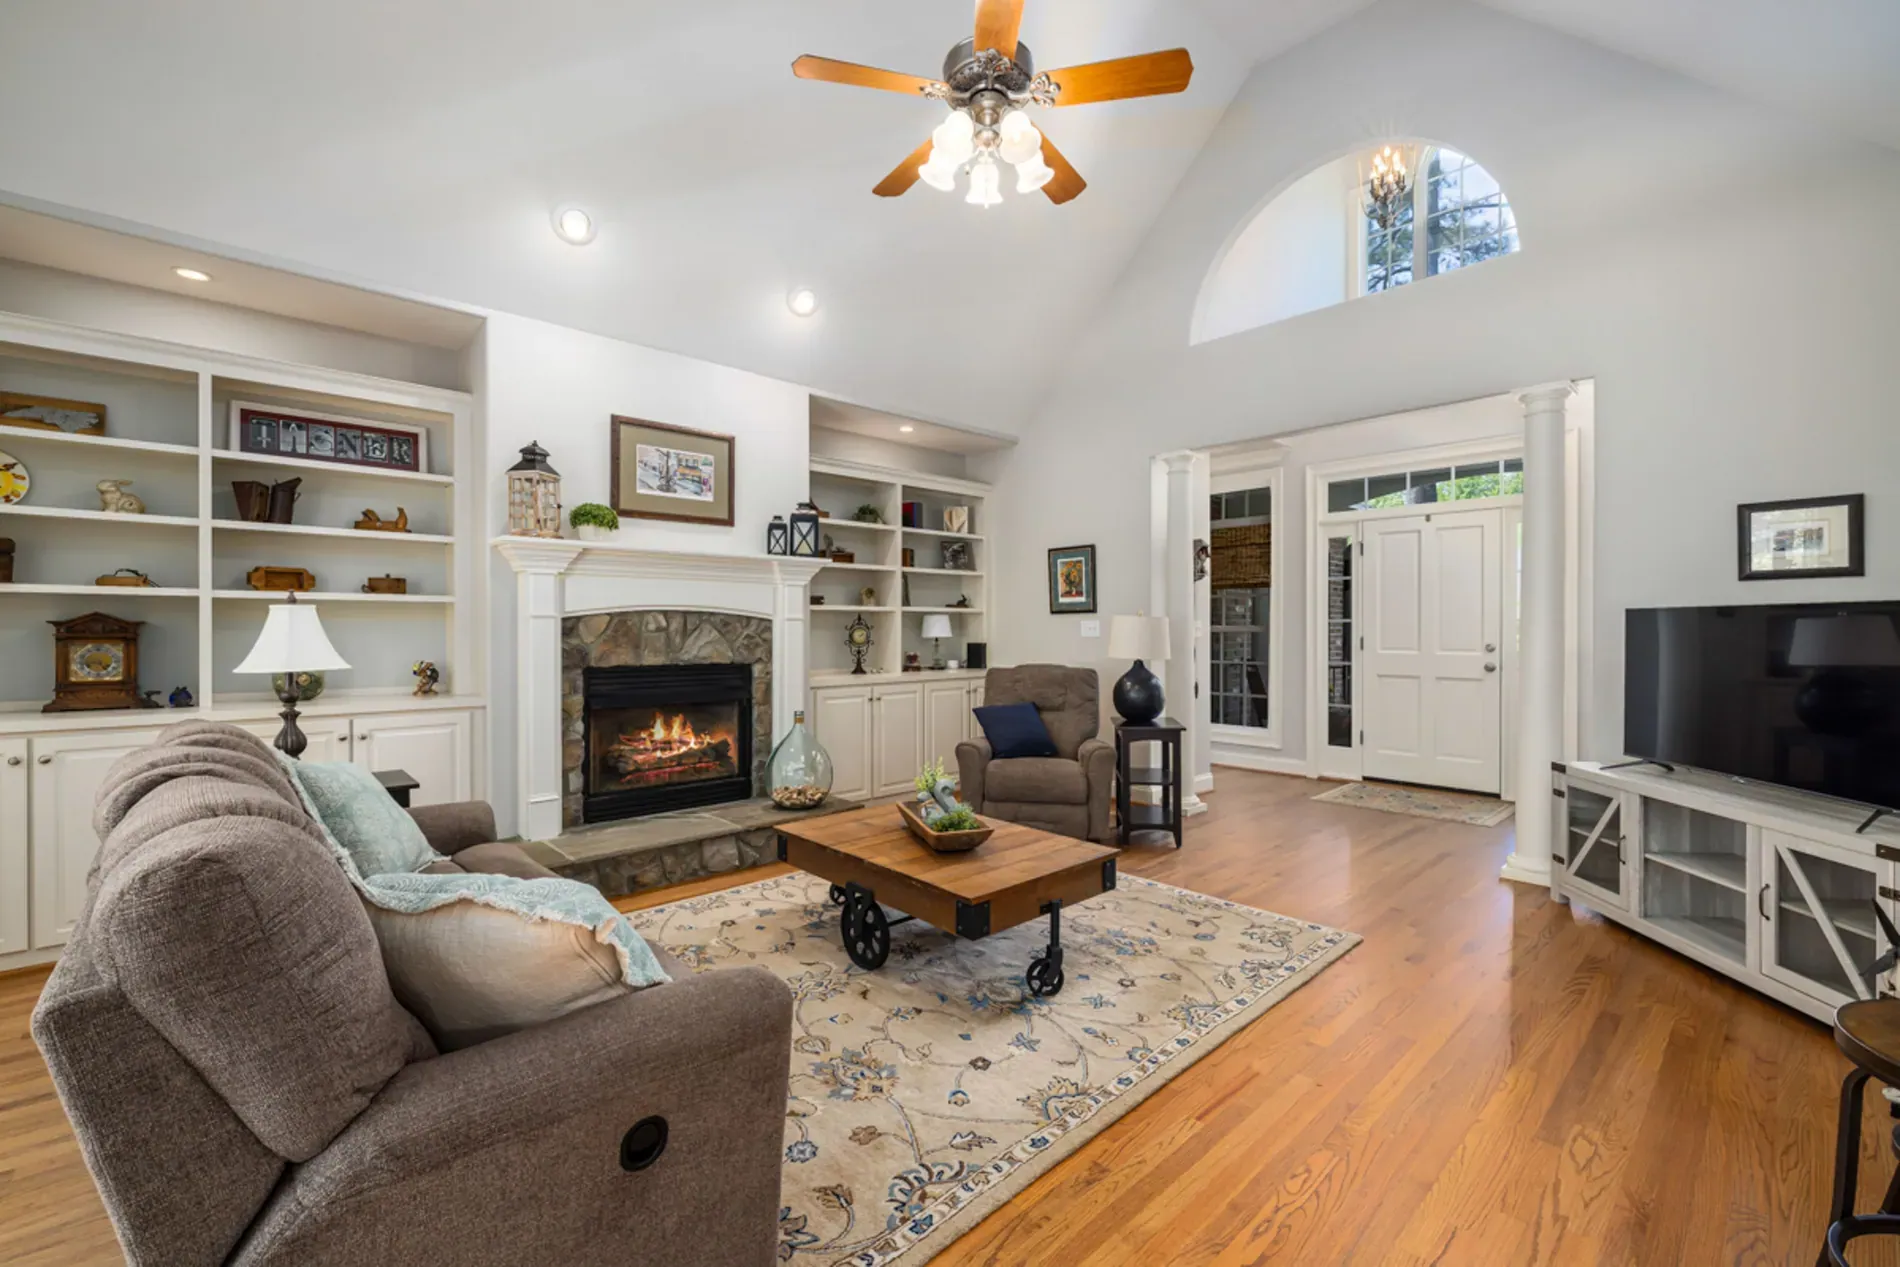
Adjust the order to the property. In a city apartment, the view from the living room may deserve second place; in a family house, the garden may.
Then follow a walkthrough
After the first five, order the photos the way a visitor would walk through the home. It helps buyers build a mental map of the layout, which a random order makes impossible.
| Section | What to include |
|---|---|
| Arrival | Entrance, front door, hallway |
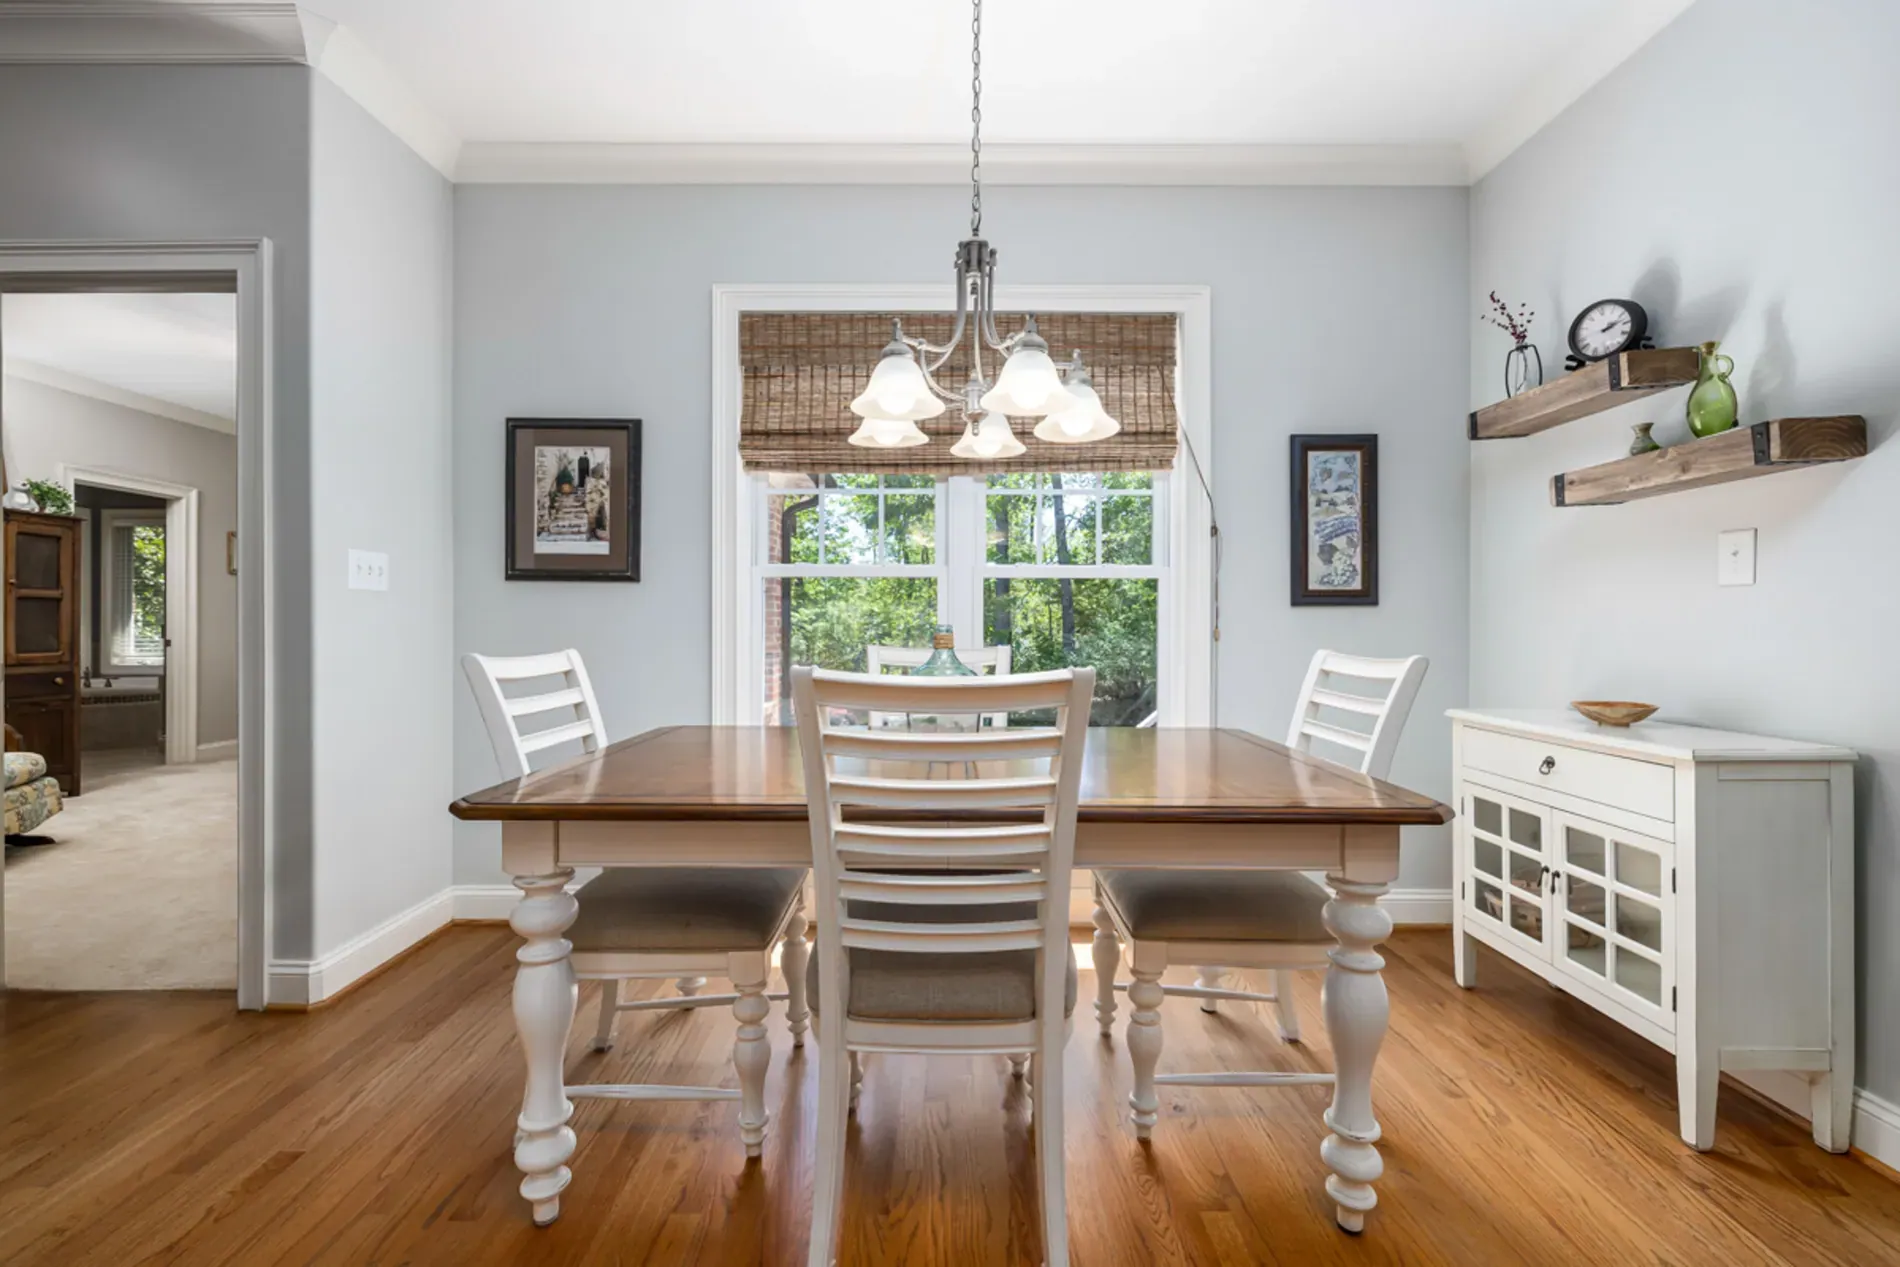
| Living areas | Living room, dining area, connecting spaces |
| Kitchen | Wide view, then one or two details of finishes |
| Bedrooms | Primary bedroom, then the others |
| Bathrooms | Main bathroom, then the others |
| Outside | Back of the house, garden, terrace, pool |
| Extras | Laundry, garage, storage, views from windows |
What goes last
- Secondary rooms like laundry, storage and garage.
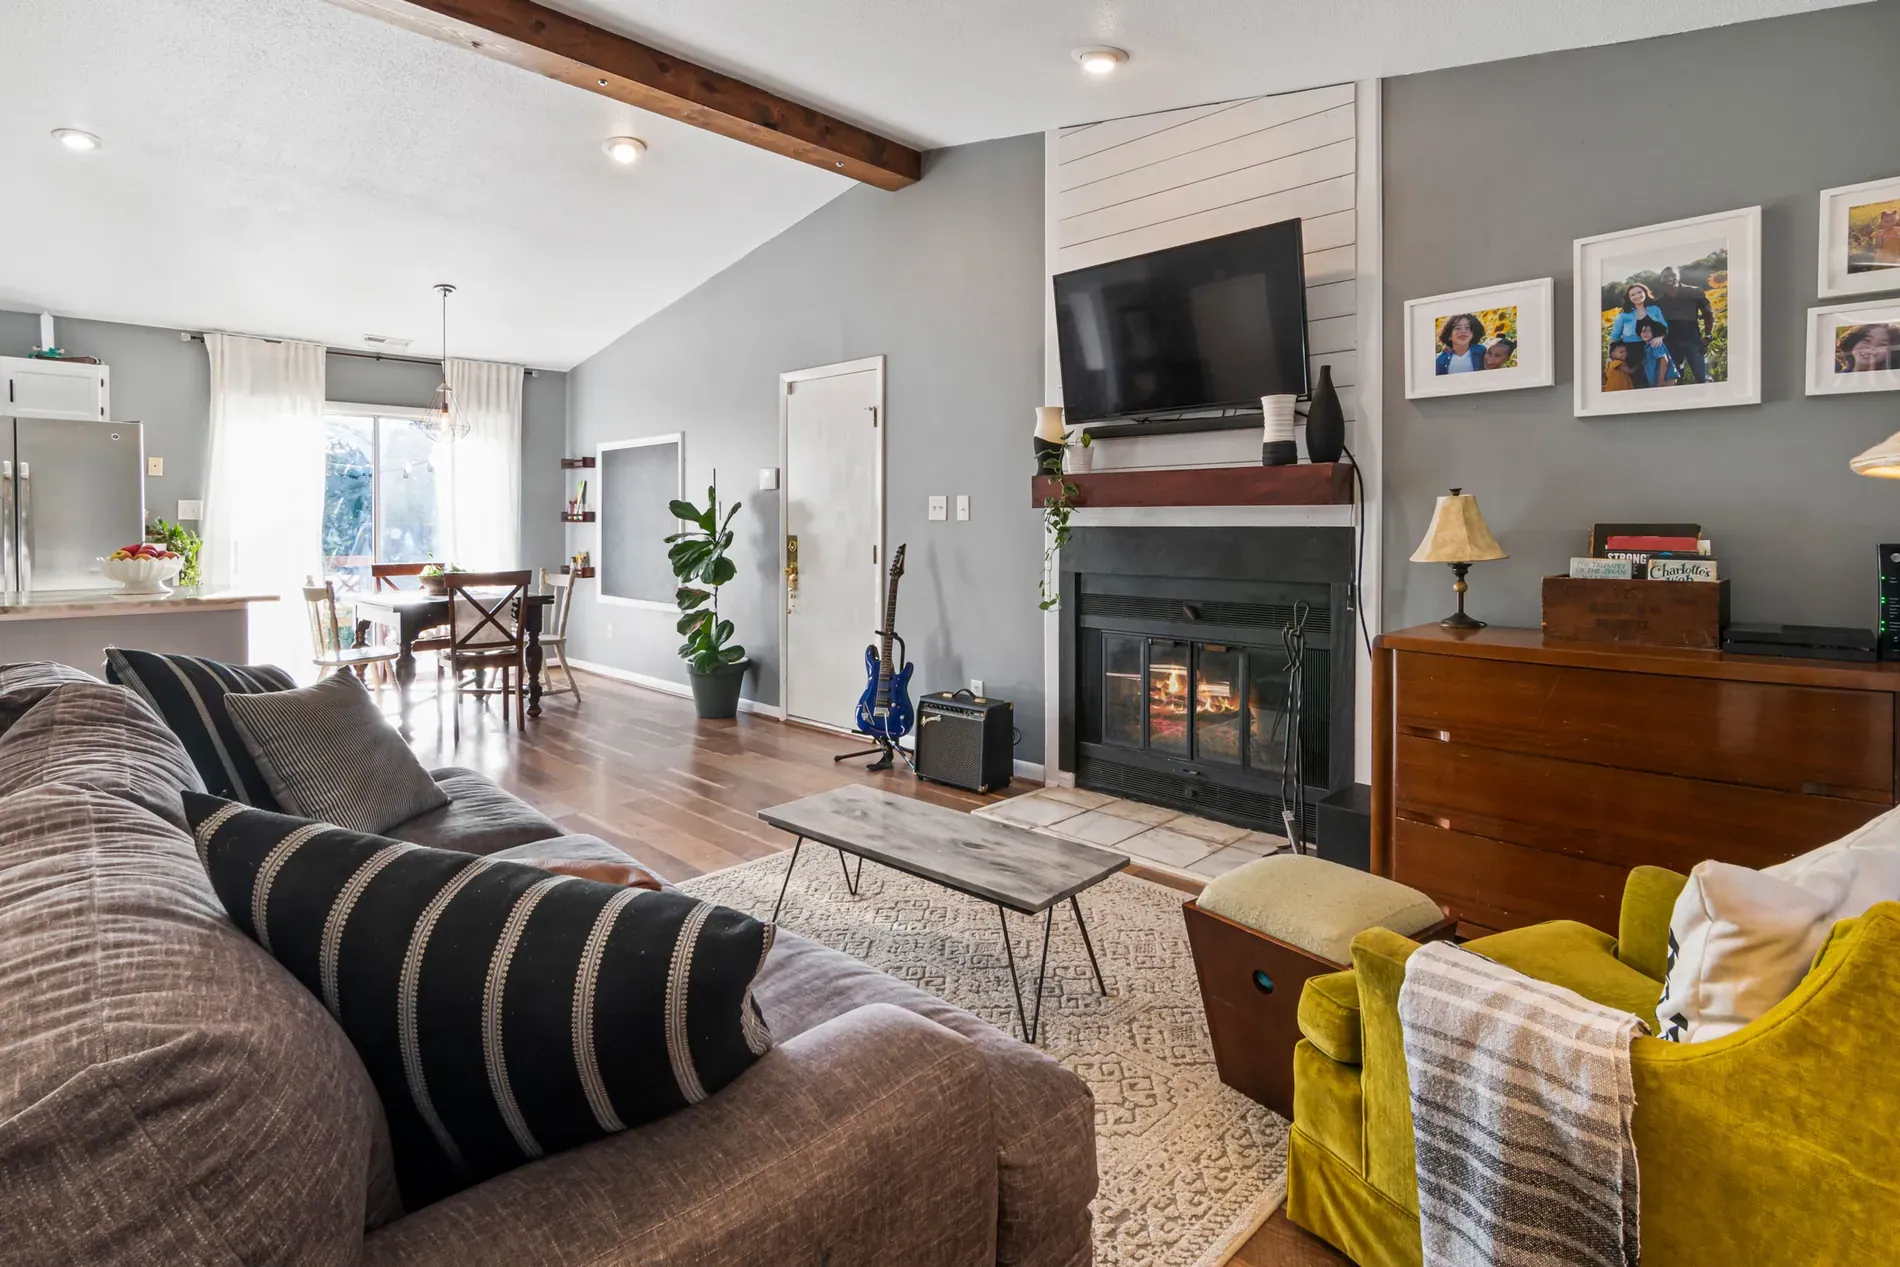
- Details that support the story: a fireplace, built-in storage, finishes.
- The building and the area, for apartments: communal pool, gardens, entrance.
- The floor plan, if you have one. It's often the last image, where buyers who've seen enough to be interested look for it.
Cut near-duplicates
Two almost identical angles of the same room make a gallery feel long and the home feel smaller. Keep one angle per idea, and only add a second if it shows something new, like the view from the other side. For how many photos a listing should have in total, see how many photos a real estate listing should have.
Where staged and edited photos go
If you use virtual staging, a common approach is to show the staged version of a room in the main sequence and the empty original right after it, labeled where your portal asks for it. Twilight versions of the exterior can lead the gallery, with the daytime photo later. Never use edits to hide the condition of the property.
For photographers: deliver galleries in order
Agents are busy, and many upload photos in whatever order they arrive. Delivering a gallery already sorted in listing order, with the cover first, is a small service that makes your work look better online. If you run a team, add the order to your standards, as in our real estate photographer onboarding checklist.
Frequently asked questions
Usually the front exterior, because it tells buyers what kind of home it is. Lead with a view, pool or standout room instead when it's clearly the stronger selling point.
Put the cover and the best rooms in the first five photos, then follow a walkthrough: entrance, living areas, kitchen, bedrooms, bathrooms and outside, with extras and the floor plan last.
Often last, where buyers who are interested look for it after seeing the photos.
A common approach is to show the staged room in the main sequence and the empty original right after it, labeled where your portal asks for it.
It helps. Many agents upload photos in the order they arrive, so a gallery sorted with the cover first makes the listing look better online.